Giving unfinished kitchen cabinets a good finish changes their look and helps them last a long time. You can choose to paint or stain them. Both ways need careful work to get a great result. This guide walks you through the steps.
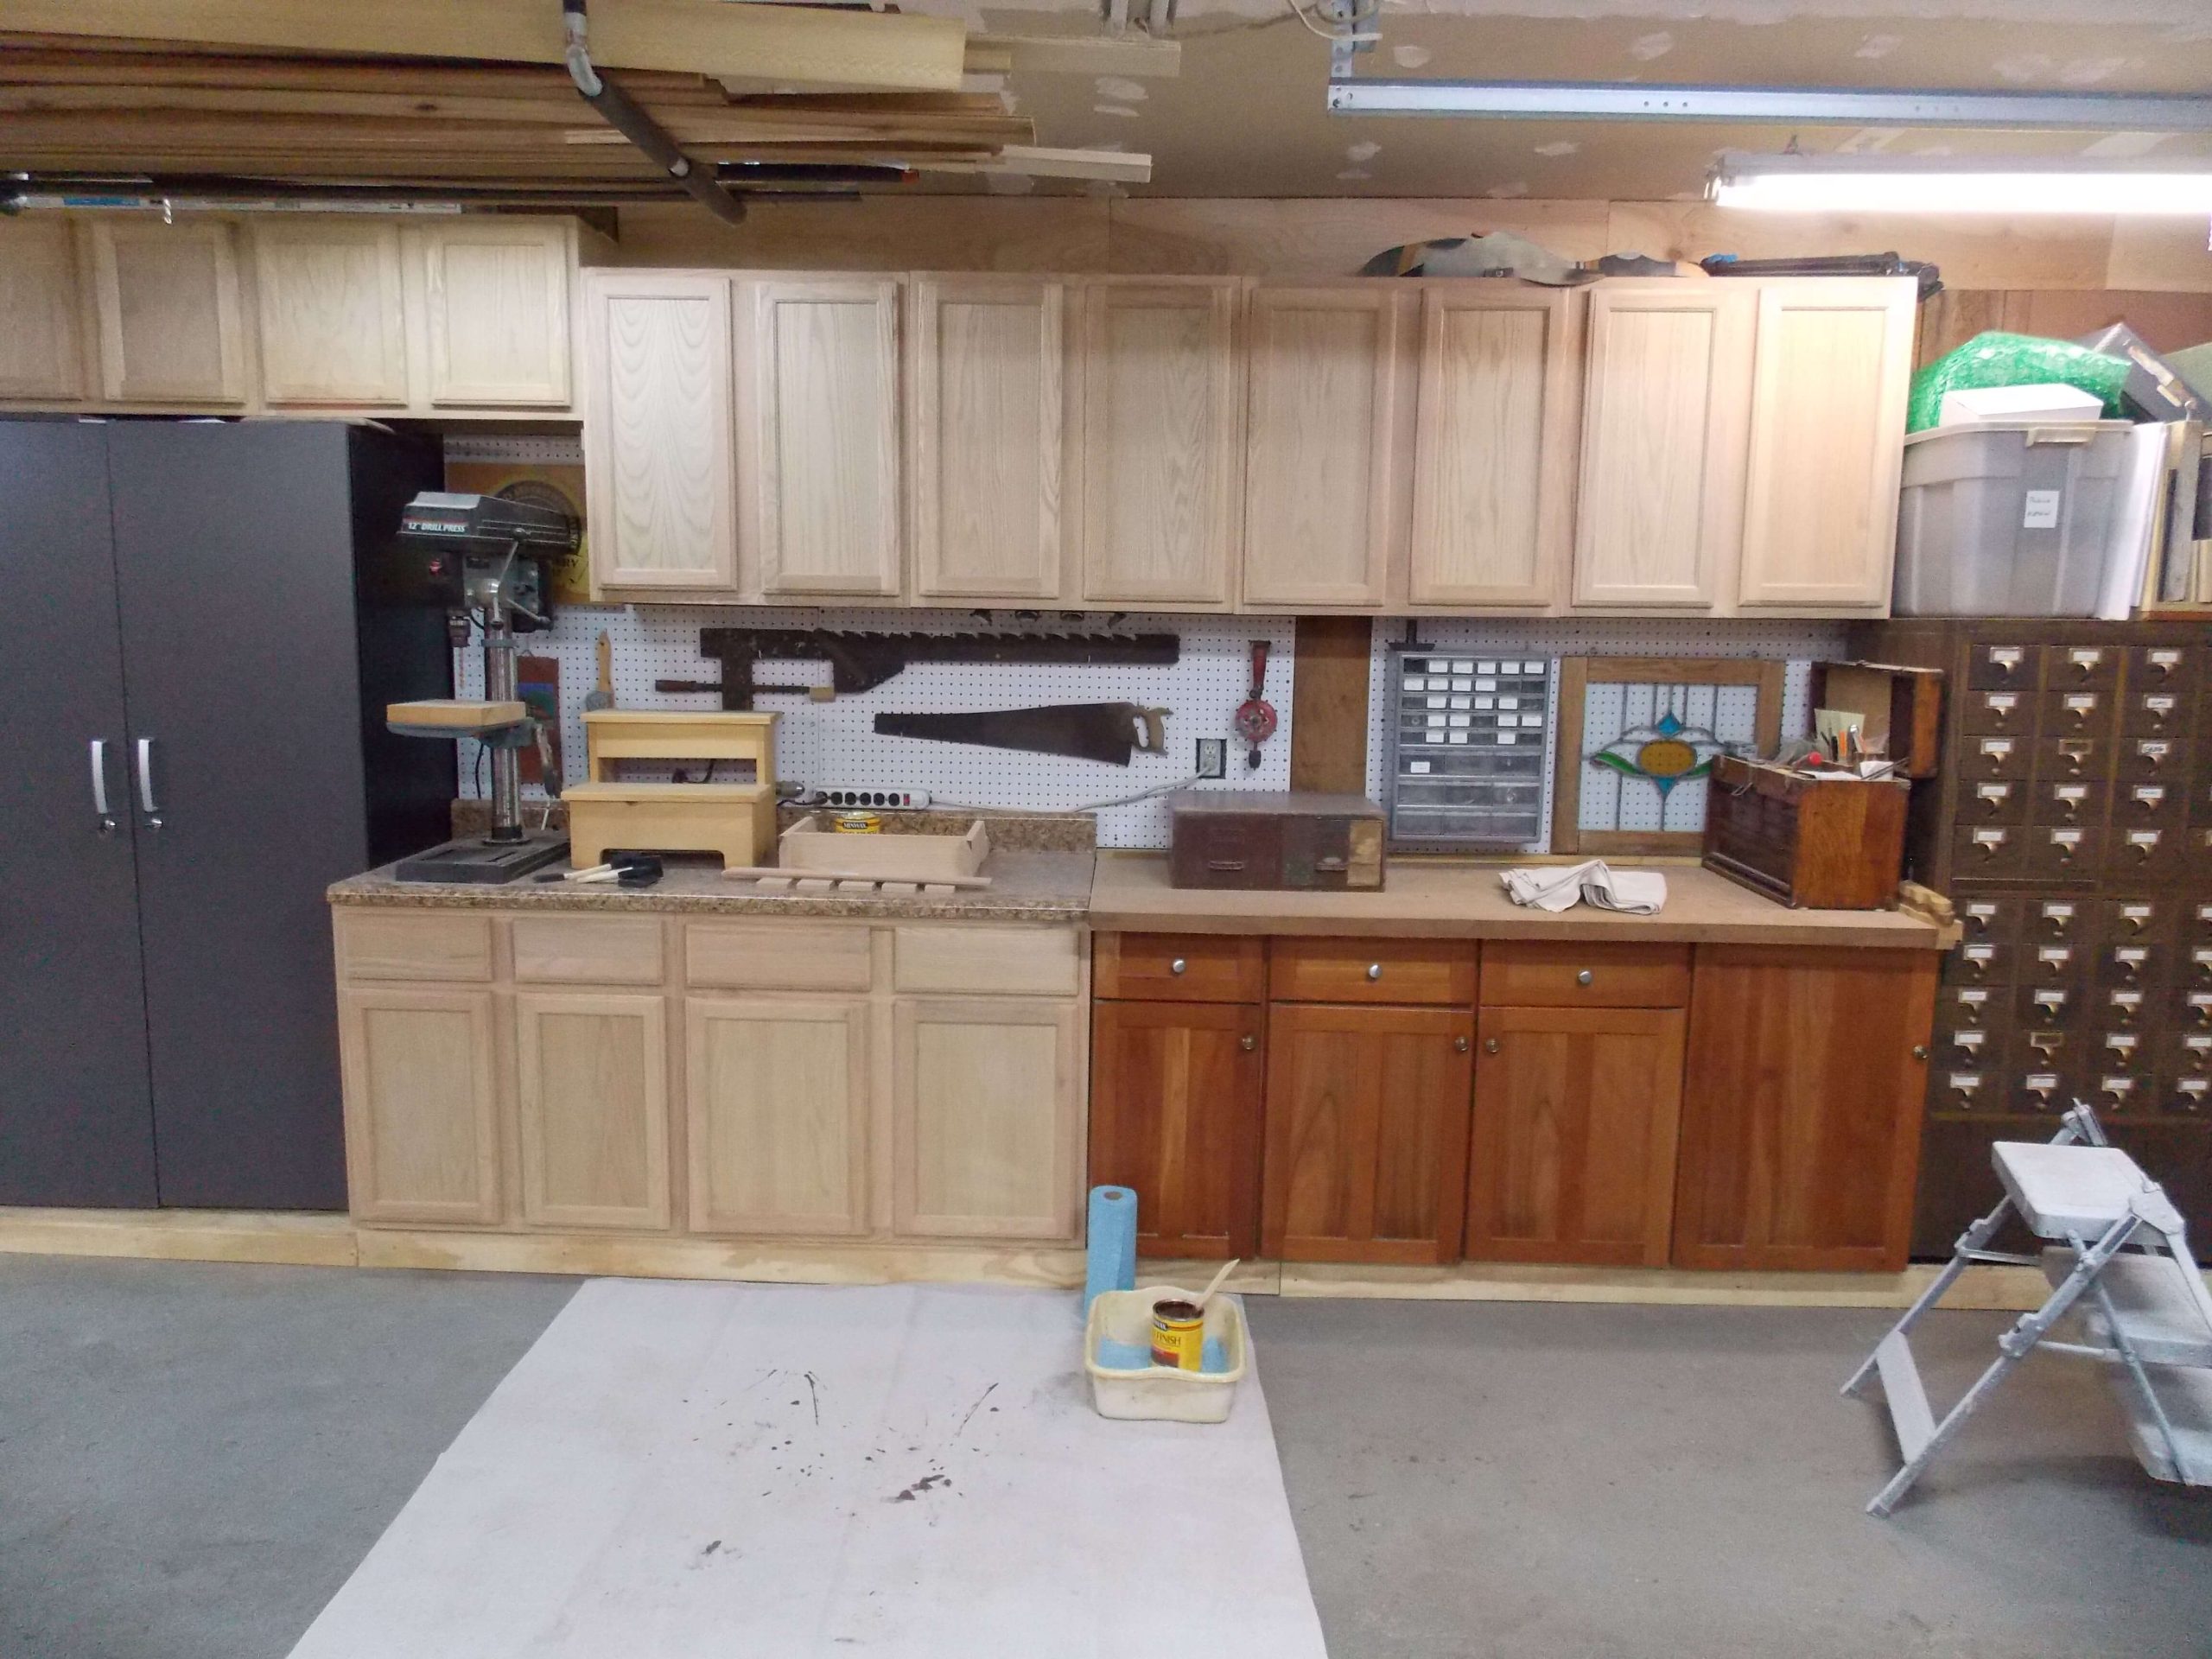
Image Source: www.highlandsdesigns.com
Why Finish Unfinished Cabinets?
Unfinished cabinets are just bare wood. They look plain. Finishing them does more than make them pretty.
- Protection: Wood is natural. It can soak up water, grease, and smells. A finish puts a shield on the wood. This stops stains and damage from spills.
- Durability: Bare wood can scratch or dent easily. A finish makes the surface harder and stronger. It helps the cabinets stand up to daily use in a busy kitchen.
- Look: Finishing lets you make the cabinets match your style. You can make them light or dark, colorful or natural. This makes your kitchen look just right.
- Easy Cleaning: A finished surface is smooth. It is much easier to wipe clean than rough, bare wood.
Choosing Your Finish: Paint or Stain?
You have two main choices for how to finish unfinished kitchen cabinets: paint or stain. Each gives a different look and feel.
Deciphering Your Options
- Stain: Stain colors the wood but lets the wood grain show through. It is good if you like the natural look of wood. You need to put a clear coat over stain to protect it.
- Paint: Paint covers the wood completely. It hides the wood grain. Paint lets you use many colors. You can get a smooth, even color look.
Here is a quick look at how they compare:
| Feature | Wood Stain | Cabinet Paint |
|---|---|---|
| Look | Shows wood grain, adds color | Covers wood grain, solid color |
| Steps | Sand, Stain, Clear Coat (Poly) | Sand, Prime, Paint (multiple coats) |
| Color Choice | Limited by wood type, fewer colors | Many colors possible |
| Durability | Needs clear coat for protection | Durable, especially good cabinet paint |
| Prep | Needs careful sanding for even color | Primer helps hide wood flaws |
Choose stain if you love the wood grain. Choose paint if you want a specific color or want to hide the wood’s natural look.
Getting Ready: What You Need
Finishing cabinets needs the right tools and stuff. Gather everything before you start. This saves time later.
Materials List
- Cleaning Supplies:
- Mild soap or cabinet cleaner
- Clean cloths or sponges
- Bucket
- Sanding Supplies:
- Sandpaper (various grits: 120, 150, 180, 220)
- Sanding block or random orbital sander (faster)
- Tack cloth or vacuum with brush part
- Finishing Supplies (Choose Paint OR Stain):
- For Painting:
- Primer (Bonding primer is best for cabinets) – Priming cabinets
- Paint (High-quality cabinet paint, like acrylic enamel) – Best paint for cabinets
- Paint brushes (good quality synthetic for paint)
- Small foam rollers (for smooth finish)
- Paint tray
- For Staining:
- Wood stain (Oil-based or water-based) – Applying wood stain
- Clear coat (Polyurethane, polycrylic, or lacquer) – Clear coat for wood
- Applicator pads, brushes (natural bristle for oil, synthetic for water)
- Clean rags (for wiping stain)
- For Painting:
- Protection and Safety:
- Drop cloths or plastic sheeting
- Painter’s tape
- Safety glasses
- Dust mask or respirator
- Gloves (nitrile or latex)
- Ventilation fan or open windows
- Tools:
- Screwdriver (manual or drill)
- Numbered labels and small bags (for hardware)
- Work area setup (sawhorses, plastic sheeting)
The Step-by-Step Finishing Process
Working on cabinets takes time and care. Do each step well before moving to the next. This is key to getting a smooth finish on cabinets.
Step 1: Prepare Your Workspace
Pick a place to work that has good air flow. A garage or basement is often good. Lay down drop cloths or plastic sheets. This protects the floor and makes cleanup easier.
Step 2: Take Everything Apart
You cannot finish cabinets properly if the doors and drawers are still on.
- Empty the cabinets and drawers.
- Remove all doors. Use a screwdriver. Keep the screws and hinges together for each door.
- Label each door and its parts. Use numbered tape on the door and a small bag for its screws/hinges. Write the same number on both. This makes putting them back simple. Mark where the door goes on the cabinet frame too (e.g., “Upper Left, Door 1”).
- Remove drawer fronts if they come off easily. If not, remove the whole drawer. You can finish the whole drawer box or just the front face.
- Remove all knobs and pulls from doors and drawers. Put these in the labeled bags with the screws.
Step 3: Clean Everything Well
Kitchen cabinets get dirty. Grease and grime must go before you finish. Paint or stain will not stick to dirt.
- Mix a little mild soap or cabinet cleaner with water.
- Dip a cloth or sponge in the water. Wring it out so it is not too wet.
- Wipe down all cabinet frames, doors, and drawer fronts. Pay attention to areas around handles.
- Use a clean, damp cloth to wipe off soap.
- Let everything dry completely. This is very important.
Step 4: Prepare Surfaces for Finish
This step is very important for a smooth finish on cabinets. It involves sanding wood cabinets. Even if they feel smooth now, a light sand helps the finish stick better.
- First Sanding (120 or 150 grit): Start with a medium grit sandpaper (120 or 150). If the wood is rough, start with 120. If it feels fairly smooth, 150 is fine.
- Use a sanding block for flat areas by hand. Go with the wood grain.
- A random orbital sander makes this faster, but still go with the grain as much as you can.
- For detailed parts, use a sanding sponge or fold the sandpaper.
- Sand all surfaces you plan to finish: frames, doors, drawer fronts.
- The goal here is to make the surface even and take off any small bumps from the factory.
- Second Sanding (180 grit): Switch to a finer grit, like 180. Sand everything again. This takes out the small scratch marks from the last step. Go with the grain.
- Third Sanding (220 grit): For a smooth finish on cabinets, finish with 220 grit sandpaper. This makes the wood feel very smooth. This is the final sanding before applying finish. Sand lightly with the grain.
Step 5: Clean Off Sanding Dust
Sanding creates a lot of dust. You must remove all of it. Finish will not stick well to dust.
- Use a vacuum with a brush part to get most of the dust off the cabinets and work area.
- Use a tack cloth (a sticky cloth for dust) to wipe every surface you sanded. Tack cloths pick up the fine dust the vacuum misses. Wipe gently with the grain.
- You might need a few tack cloths. Make sure no dust remains.
Step 6: Apply Primer (For Painting Only)
Priming cabinets is a must if you are painting. Primer helps the paint stick, covers the wood color or grain, and helps the final color look true.
- Choose a good bonding primer. These stick well to wood.
- Stir the primer well.
- Use a brush to cut in edges and detailed areas.
- Use a small foam roller for flat surfaces like door panels and frame sides. This helps get a smooth finish on cabinets. Roll with light, even strokes.
- Apply a thin, even coat. Avoid thick spots or drips.
- Let the primer dry completely. Check the can for dry times. Drying time depends on the primer type and how warm or wet the air is.
- Lightly sand the dried primer coat with very fine sandpaper (220 or 320 grit). This makes the surface even smoother and helps the next coat stick. Sand just enough to feel smooth, not through the primer.
- Clean off the sanding dust with a tack cloth.
- Apply a second coat of primer if needed. Sometimes two coats give better coverage or a smoother base. Let it dry and sand lightly again.
Step 6: Apply Stain (For Staining Only)
If you chose stain, this is your next step after sanding and cleaning. Applying wood stain is about letting the wood soak up the color.
- Choose your wood stain color. Test it on a small hidden area of the wood first to see how it looks. Unfinished wood takes stain differently based on the type.
- Stir the stain well. Do not shake it; this can create bubbles.
- Use a brush or a clean rag/applicator pad to apply the stain.
- Work in sections. Put the stain on, making sure to cover everything evenly.
- Let the stain sit for a short time. How long depends on how dark you want the color. The longer it sits, the darker the color. Check the stain can for timing. Usually, it is just a few minutes.
- Use a clean rag to wipe off the extra stain. Wipe with the wood grain. This is important for an even color. If you do not wipe, the stain can look blotchy.
- Check for any spots you missed. Apply more stain if needed or wipe more if too dark.
- Let the stain dry completely. This can take 24 hours or more. Check the can. The wood should feel dry to the touch. Do not rush this.
- Do not sand the stain coat itself. Sanding would remove the color you just put on.
Step 7: Apply Paint (For Painting Only)
Now comes the color! Painting cabinet doors and frames takes patience for a nice, smooth finish on cabinets.
- Stir your paint well. Use best paint for cabinets you can find. Acrylic enamel is often suggested as it is tough and cleans up with water.
- Use a brush for corners and details.
- Use a small foam roller for flat parts. Roll evenly with light pressure. This helps prevent roller marks and gives a smooth finish on cabinets.
- Apply thin coats of paint. Thick coats take too long to dry and can sag or drip.
- Let the first coat dry completely. Check the paint can for times.
- Lightly sand the first coat with very fine sandpaper (320 or 400 grit). This is key to removing any tiny bumps and making the next coat even smoother.
- Clean off the dust with a tack cloth.
- Apply a second thin coat of paint.
- You will likely need 2-3 coats of paint to get good, even color. Let each coat dry and sand lightly between coats, cleaning dust each time.
Step 7: Apply Clear Coat (For Staining Only)
Stain needs protection. Applying wood stain is only half the job. A clear coat for wood shields the stain and the wood. Polyurethane is a common choice.
- Choose your clear coat. Polyurethane is very strong. Polycrylic is water-based, has less smell, and dries faster. Lacquer dries fast and is hard, but has strong fumes.
- Stir the clear coat gently. Do not shake it. Shaking makes bubbles.
- Use a good brush (natural for oil-based poly, synthetic for water-based polycrylic) or a foam applicator.
- Apply thin, even coats. Go with the wood grain. Avoid drips.
- Let the first coat dry completely. Check the can.
- Lightly sand the first coat with very fine sandpaper (320 or 400 grit). This smooths out any small bumps or dust specks.
- Clean off the dust with a tack cloth.
- Apply a second thin coat.
- You will need 2-3 coats of clear coat, maybe more for surfaces that get a lot of use. Let each coat dry and sand lightly between coats, cleaning dust each time.
- The final coat should not be sanded. Let it cure fully. Curing takes longer than drying. Check the can – it could be several days or even a week before the finish is fully hard and ready for heavy use. Sealing kitchen cabinets well takes time.
Step 8: Reassemble Your Cabinets
Once all the finished pieces are fully dry (and cured for clear coats), it is time to put them back together.
- Bring the finished doors and drawers back to the kitchen.
- Use your labels to find where each piece goes.
- Attach hinges back onto the doors.
- Attach the doors to the cabinet frames. This might need some small adjustments to make sure they hang straight.
- Attach drawer fronts back onto drawers, or put whole drawers back in.
- Install the knobs and pulls using the hardware you saved in the bags.
Tips for a Great Outcome
- Work Clean: Dust is the enemy of a smooth finish on cabinets. Keep your workspace clean. Vacuum often.
- Thin Coats are Best: Whether paint, stain, or clear coat, many thin coats are better than one thick coat. They dry faster, cure harder, and are less likely to drip or show brush marks. This is key for DIY cabinet finishing.
- Let Dry Times Matter: Do not rush drying or curing times. If you apply the next coat too soon, the finish will not be as strong and might not stick right. Sealing kitchen cabinets properly requires patience.
- Test First: Always test your stain, primer, paint, and clear coat on a piece of scrap wood (ideally the same kind as your cabinets) or a hidden spot before doing the whole thing.
- Ventilate: Use fans and open windows. Finishes can have strong fumes. Good air flow is safer and helps finishes dry faster.
- Sanding Technique: When sanding wood cabinets or finish coats, go with the grain. Sand lightly and evenly. The goal is to smooth, not remove lots of material.
Maintaining Your Finished Cabinets
Once your cabinets are finished and fully cured, they will be easier to clean.
- Use a soft, damp cloth for cleaning.
- Use mild soap if needed. Avoid harsh cleaners or abrasive pads that can scratch the finish.
- Wipe up spills right away, especially water, to prevent damage.
Frequently Asked Questions (FAQ)
How long does it take to finish unfinished kitchen cabinets?
Finishing cabinets is not a fast job. It often takes several days, maybe a week or more, depending on how many cabinets you have, the finish you choose (stain takes longer due to clear coat curing), and drying times. You have to wait for each coat to dry before the next step. DIY cabinet finishing is a project that needs patience.
Can I skip sanding the unfinished cabinets?
No, you should not skip sanding wood cabinets, even if they feel smooth. Sanding does two things: it makes the surface perfectly even, and it creates tiny scratches that the primer or stain can grab onto. This helps the finish stick well and last longer. If you skip sanding, the finish might peel or not look smooth.
Do I need to finish the inside of the cabinets?
You do not have to finish the inside of the cabinet boxes or drawers if you don’t want to. However, sealing kitchen cabinets inside and out offers the best protection from moisture and makes them easier to clean. If you choose not to finish the inside, make sure the outside finish goes just inside the door opening a little bit.
What is the difference between polyurethane and polycrylic?
Both are clear protective coats. Polyurethane application usually refers to oil-based poly. It is very durable, often has a slight amber tint, and has strong fumes. Polycrylic is water-based. It is clear (doesn’t yellow), dries faster, has less smell, and cleans up with water. However, it is generally not as heat or chemical resistant as oil-based poly.
Is applying wood stain hard?
Applying wood stain is not hard, but getting an even color takes practice. The main thing is to wipe off the excess stain properly and quickly. If you leave too much on, it can look blotchy. Test on scrap wood first!
What is the best paint for cabinets?
High-quality acrylic enamel paint is often seen as the best paint for cabinets. These paints are made to be durable and washable. They level out nicely for a smooth finish on cabinets and stand up well to kitchen use. Look for paints specially made for cabinets or trim.
How do I get a smooth finish on cabinets?
Getting a smooth finish on cabinets comes from good prep and careful application.
* Sand well with fine grits (up to 220 for bare wood, 320/400 between finish coats).
* Clean all dust away after sanding.
* Use a good primer (if painting).
* Apply thin coats of paint or clear coat.
* Use a good quality brush and a small foam roller for flat areas.
* Sand lightly between coats of primer, paint, or clear coat (but not stain or the final clear coat).
* Let coats dry fully.
Bringing It Together
Finishing unfinished kitchen cabinets is a rewarding project. It saves money compared to buying new ones and lets you customize your space. By taking your time with each step – cleaning, sanding wood cabinets, priming cabinets (if painting), applying wood stain or paint, and adding a clear coat for wood to protect them (sealing kitchen cabinets) – you can achieve a durable, beautiful, smooth finish on cabinets that will update your kitchen for years to come. DIY cabinet finishing is doable with the right plan and patience.