A leaky kitchen faucet can be more than just an annoyance; it’s a drain on your water bill and a potential sign of bigger plumbing problems. So, why is my kitchen faucet leaking? Most often, kitchen faucet drips are caused by worn-out internal parts like washers, O-rings, or cartridges. Can I fix a leaky faucet myself? In many cases, yes, you can perform common faucet repair jobs with basic tools and a little guidance.
A constantly dripping tap is a common household issue that many people face. Whether it’s a steady drip from the spout or a mysterious under sink leak, these sink faucet issues can waste gallons of water and lead to frustration. This comprehensive guide will help you pinpoint the common culprits behind a leaky faucet and provide clear, actionable solutions for faucet maintenance and repair.
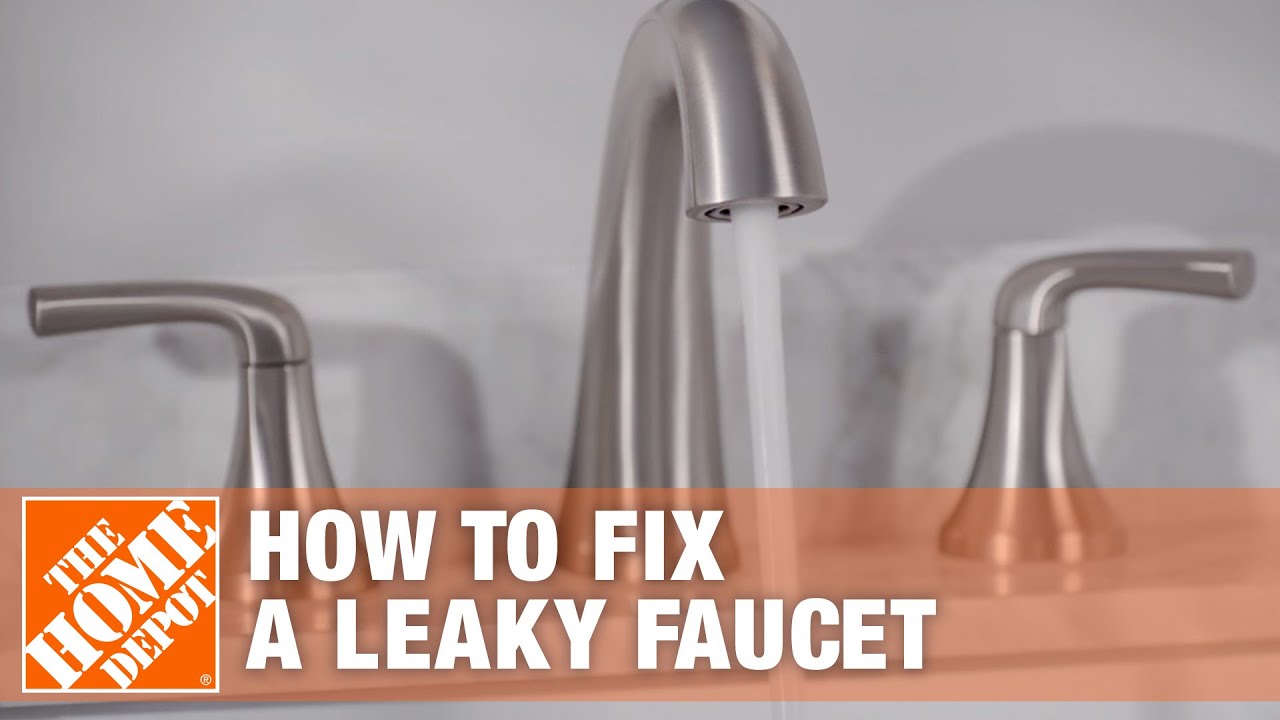
Image Source: i.ytimg.com
Deciphering the Drip: Common Causes of a Leaky Faucet
Faucets, while seemingly simple, are intricate pieces of plumbing. Over time, the various components can wear down, leading to leaks. Let’s dive into the most frequent reasons your kitchen faucet might be dripping.
1. Worn-Out Washers
One of the most common culprits for kitchen faucet drips is a damaged or worn-out washer. In compression faucets, the most traditional type, a rubber washer sits at the base of the valve stem. When you turn the handle, this washer presses against the valve seat, stopping the water flow.
- How it happens: Constant use, mineral buildup from hard water, or even simply age can cause these washers to harden, crack, or get torn.
- The result: A worn washer can’t create a proper seal, allowing water to seep through and create that annoying drip from the spout.
2. Faulty O-Rings
O-rings are small rubber rings that create a watertight seal around various parts of the faucet, particularly around the valve stem.
- How it happens: Similar to washers, O-rings can degrade over time due to wear and tear, corrosion, or mineral deposits.
- The result: When an O-ring fails, water can leak around the faucet handle or base, contributing to an under sink leak or a drip from the spout.
3. The Culprit: The Faucet Cartridge
Many modern faucets, especially single-handle models, utilize a faucet cartridge. This is a self-contained unit that controls the water flow and temperature.
- How it happens: The internal components within the cartridge, such as seals or the cartridge body itself, can become worn, cracked, or clogged with sediment.
- The result: A damaged cartridge can lead to a variety of leaks, including drips from the spout or leaks around the handle. Replacing the cartridge is often the solution.
4. Damaged Valve Seat
The valve seat is the part of the faucet where the washer seals against. It’s typically a metal component.
- How it happens: Mineral deposits from hard water can accumulate on the valve seat, creating an uneven surface. Corrosion can also wear down or pit the metal seat.
- The result: An imperfect valve seat prevents the washer from forming a complete seal, leading to a persistent drip.
5. Loose Parts and Connections
Sometimes, the cause of a plumbing leak is surprisingly simple: loose components.
- How it happens: Over time, screws, nuts, or other fittings within the faucet assembly can loosen due to vibration or improper installation.
- The result: Loose parts can create gaps that allow water to escape, manifesting as leaks around the base or handle, or even an under sink leak.
6. Aerator Issues
While not a cause of a dripping spout in the traditional sense, a clogged or damaged aerator can affect water flow and sometimes lead to unexpected drips or sprays. The aerator is the small screen at the very end of your faucet spout.
- How it happens: Mineral deposits and debris can build up in the aerator, restricting water flow. If it’s damaged, it might not fit snugly, or it could have internal components that fail.
- The result: A clogged aerator can cause water to spray erratically. While not a leak in the typical sense, it’s a common sink faucet issue worth checking.
7. High Water Pressure
Excessive water pressure in your home’s plumbing system can put undue stress on all your fixtures, including your kitchen faucet.
- How it happens: If your home’s water pressure is consistently higher than the recommended level (typically 40-60 PSI), it can force water past seals and gaskets that are designed for normal pressure.
- The result: This can accelerate wear on internal components, leading to leaks and the potential for more significant plumbing leak issues.
Identifying the Leak’s Origin: A Step-by-Step Approach
Before you can fix a leaky faucet, you need to figure out where the water is coming from.
Step 1: Observe the Leak
- Is it dripping from the spout? This usually points to issues with the internal seals (washers, O-rings, or cartridge).
- Is it leaking around the handle(s)? This often indicates a problem with the O-ring around the valve stem or a cracked faucet cartridge.
- Is there an under sink leak? This could be from loose connections, a faulty supply line, or a problem with the faucet’s mounting hardware.
Step 2: Gather Your Tools
Most faucet repair jobs require a few basic tools:
- Adjustable wrench
- Screwdriver set (Phillips and flathead)
- Pliers (slip-joint or channel-lock)
- Allen wrench set (hex keys)
- Plumber’s grease
- Rag or old towel
- Bucket
Step 3: Turn Off the Water Supply!
This is the most crucial step. Before doing any work on your faucet, you must turn off the water supply.
- Locate the shut-off valves: These are usually found under the sink, attached to the pipes leading to the faucet. Turn the handles clockwise until they stop.
- Test: Turn on the faucet to ensure the water is completely off. If you can’t find or operate these valves, you may need to shut off the main water supply to your house.
Step 4: Disassemble the Faucet (Carefully!)
The exact disassembly process varies depending on the type of faucet you have (compression, cartridge, ball, or ceramic disc). However, the general steps often involve:
- Removing decorative caps: Pry off any caps covering screws.
- Removing handles: Unscrew or lift off the handles.
- Accessing internal components: You’ll then need to unscrew retaining nuts, clips, or collars to expose the inner workings like the faucet cartridge or valve stem.
Tip: Take pictures as you go! This will help you remember how everything fits back together.
Solutions for Common Kitchen Faucet Leaks
Once you’ve identified the likely cause, here are the solutions for common sink faucet issues.
H3: Replacing Worn Washers
If your faucet is a compression type and the drip originates from the spout, a faulty faucet washer is the prime suspect.
How to Replace a Faucet Washer:
- Turn off the water supply.
- Remove the faucet handle.
- Unscrew the packing nut (the hexagonal nut below the handle).
- Remove the stem: You might need to unscrew it completely or pull it out.
- Locate the washer: It’s usually held in place by a screw at the bottom of the stem.
- Remove the old washer and replace it with a new one of the exact same size and type.
- Replace the screw and a small amount of plumber’s grease on the stem threads.
- Reassemble the faucet in reverse order.
- Turn the water back on slowly and check for leaks.
H3: Replacing O-Rings
Leaking around the handle often means it’s time for new O-rings.
How to Replace O-Rings:
- Turn off the water supply.
- Disassemble the faucet to access the valve stem or cartridge.
- Inspect the O-rings: Look for any that are cracked, brittle, or worn down.
- Carefully remove the old O-rings. You might need a small screwdriver or pick.
- Lubricate new O-rings with plumber’s grease.
- Install the new O-rings in their proper grooves.
- Reassemble the faucet.
- Turn the water back on and check for leaks.
H3: Replacing a Faucet Cartridge
For single-handle faucets or those with ceramic disc mechanisms, the faucet cartridge is often the component needing replacement.
How to Replace a Faucet Cartridge:
- Turn off the water supply.
- Remove the faucet handle. There might be a set screw or a cap to remove first.
- Remove any retaining clip or nut holding the cartridge in place.
- Pull out the old cartridge. It might be stuck; gentle wiggling or using pliers (carefully!) may be necessary. Some cartridges have specific removal tools.
- Identify the make and model of your faucet to ensure you get the correct replacement cartridge. Taking the old one to the hardware store is often helpful.
- Insert the new cartridge, ensuring it’s aligned correctly.
- Reassemble the faucet, including any clips or nuts.
- Turn the water back on and test.
H3: Addressing a Damaged Valve Seat
If a new washer doesn’t stop a drip from the spout in a compression faucet, the valve seat might be the problem.
How to Repair or Replace a Valve Seat:
- Resurfacing: You can use a valve seat dresser tool to grind down the corroded or pitted surface of the existing seat, creating a smoother surface for the washer to seal against.
- Replacement: If the seat is too damaged, it can often be unscrewed and replaced. You’ll need a specific valve seat wrench for this.
Note: This repair can be trickier than replacing washers or O-rings and requires specific tools.
H3: Fixing Under Sink Leaks
Under sink leak issues are usually related to connections.
Common Causes and Solutions:
- Loose Supply Lines: Check the connections where the flexible water supply lines attach to the faucet and the shut-off valves. Tighten them gently with a wrench.
- Worn Supply Lines: If the supply lines themselves are cracked or bulging, they need to be replaced. Ensure you get the correct length and fitting types.
- Loose Mounting Hardware: The nuts that hold the faucet to the sink or countertop can loosen. Tighten these from underneath the sink.
- Drain Connections: While not directly a faucet leak, check the drain assembly under the sink for any leaks from its seals or pipe connections.
H3: Cleaning and Replacing the Aerator
A simple fix for spray issues.
How to Clean or Replace an Aerator:
- Unscrew the aerator from the tip of the spout. You might be able to do this by hand or with pliers (use a cloth to protect the finish).
- Disassemble the aerator (if it’s a multi-part one) and rinse all the components.
- Scrub away any mineral buildup with an old toothbrush or a vinegar soak.
- Inspect for damage. If it’s corroded or cracked, replace it with a new one.
- Reassemble and screw the aerator back onto the spout.
H3: Managing High Water Pressure
If high water pressure is the root cause of your faucet maintenance issues:
- Install a Pressure Reducing Valve (PRV): This is a more involved fix that should ideally be done by a plumber. A PRV regulates the water pressure entering your home.
- Check existing PRV: If you have one, it might need adjustment or replacement.
Faucet Maintenance Tips for Longevity
Preventing sink faucet issues is often easier than fixing them. Regular faucet maintenance can save you time, money, and frustration.
H4: Regular Inspections
- Periodically check your faucets for any signs of leaks, drips, or corrosion. Pay attention to the base of the handles and the spout.
- Look under the sink for any moisture or signs of a plumbing leak.
H4: Cleaning with Care
- Use mild soap and water to clean your faucet.
- Avoid abrasive cleaners or scouring pads, as these can scratch the finish and damage seals.
- For mineral deposits, a vinegar soak (on a rag applied to the affected area) can be effective, but rinse thoroughly afterward.
H4: Tighten Loose Connections Periodically
- Every six months to a year, check and gently tighten any accessible nuts or fittings under the sink. Don’t overtighten, as this can damage threads.
H4: Know Your Faucet Type
Familiarize yourself with the type of faucet you have. This will help you understand its components and the correct way to perform faucet repair. Common types include:
| Faucet Type | Key Component for Leaks | Common Fix |
|---|---|---|
| Compression | Washers, Valve Seats | Replace washer or resurface/replace seat |
| Cartridge | Faucet Cartridge | Replace cartridge |
| Ball | Seals, Springs, Ball Assembly | Replace worn seals and springs |
| Ceramic Disc | Ceramic Disc Cartridge | Replace cartridge |
H4: Address Small Leaks Promptly
Don’t ignore a small kitchen faucet drip. A minor leak can quickly worsen and lead to water damage or more extensive repairs.
When to Call a Professional Plumber
While many faucet leaks are DIY-friendly, there are times when it’s best to call in the experts.
H5: Complex Repairs
If you’re dealing with a leak that isn’t from a simple worn-out part, or if your faucet is old and corroded, a professional might be needed.
H5: Unfamiliarity with Plumbing
If you’re not comfortable with basic plumbing tasks or don’t have the right tools, attempting a repair can lead to more damage.
H5: Persistent Leaks
If you’ve tried replacing common parts and the leak persists, there might be a more significant issue with the faucet body, water lines, or even your home’s overall plumbing system.
H5: High Water Pressure Issues
As mentioned, dealing with high water pressure often requires professional installation of a PRV.
H5: Under Sink Leaks from Pipes
If the under sink leak isn’t from the faucet itself but from the drain pipes or water supply pipes, it’s time to call a plumber.
Frequently Asked Questions (FAQ) about Leaky Faucets
Q1: How much water does a dripping faucet waste?
A small drip can waste a surprising amount of water. A faucet dripping just one drop per second can waste over 3,000 gallons of water per year!
Q2: Can I use tape to fix a leaky faucet?
Plumber’s tape (PTFE tape) is used on threaded pipe connections, not on the internal sealing components of a faucet like washers or cartridges. It won’t effectively fix a dripping spout or a leak around the handle.
Q3: My faucet is old, is it worth repairing?
If your faucet is very old, corroded, or frequently needs repairs, it might be more cost-effective in the long run to replace the entire faucet. Modern faucets are often more water-efficient and durable.
Q4: What’s the difference between a leaky faucet and a faulty connection?
A leaky faucet usually refers to water escaping from the spout or handle due to worn internal parts. A faulty connection is when water leaks from where pipes or hoses join together, often found under the sink.
Q5: How often should I perform faucet maintenance?
A good general guideline is to inspect your faucets every 6-12 months and perform light cleaning and tightening as needed.
By following these steps and tips, you can effectively diagnose and resolve most kitchen faucet drips, saving water, money, and the annoyance of a leaky faucet. Regular faucet maintenance is key to keeping your sink faucet issues at bay.