Yes, you can easily use your KitchenAid chopper for various food preparation tasks! This guide will show you how to get the most out of your KitchenAid food chopper, from assembly to cleaning, and even offer some tasty recipes.
A KitchenAid chopper is a fantastic tool for anyone looking to speed up their kitchen prep. Whether you’re dicing onions, mincing garlic, or making a quick pesto, this handy appliance can save you time and effort. This article will cover everything you need to know to become a pro with your KitchenAid mini chopper.
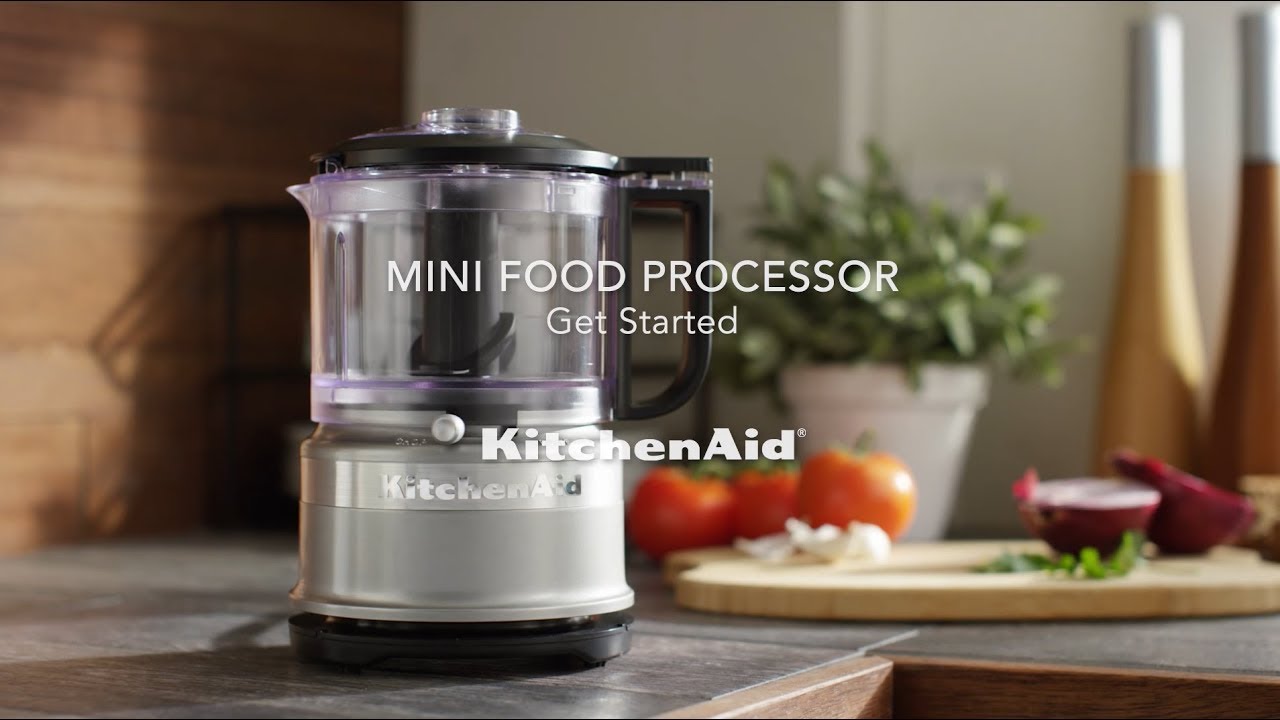
Image Source: i.ytimg.com
Getting Started: KitchenAid Chopper Assembly
Before you can start chopping, you need to assemble your KitchenAid chopper correctly. Most KitchenAid chopper models, including those that might be a KitchenAid chopper attachment for a stand mixer or a standalone unit, follow a similar assembly process.
Main Components of Your KitchenAid Chopper
Let’s break down the typical KitchenAid chopper parts you’ll find:
- Motor Base: This houses the motor and is the power source. For attachments, this is your KitchenAid stand mixer.
- Chopping Bowl: This is where you place your ingredients. It’s usually made of durable plastic.
- Lid: This fits securely onto the bowl and often contains the power switch or activation mechanism.
- Blade Assembly: This is the sharp, multi-pronged blade that does the actual chopping. It’s crucial to handle this with care.
- Drizzle Tray/Opening: Some models have a specific opening in the lid for adding liquids or oil while the chopper is running.
Step-by-Step Assembly for Your KitchenAid Food Chopper
- Place the Bowl: Set the chopping bowl onto the motor base. Ensure it clicks or locks into place. If it’s an attachment, make sure it’s securely connected to the stand mixer’s power hub.
- Insert the Blade: Carefully place the blade assembly into the center of the chopping bowl. It usually sits on a spindle or shaft. Always handle the blade by its plastic hub to avoid cuts.
- Add Your Ingredients: Put your fruits, vegetables, nuts, or herbs into the bowl. Don’t overfill the bowl; it’s better to chop in batches for best results.
- Secure the Lid: Place the lid on top of the bowl. Make sure it aligns correctly and locks or twists into place. This is a safety feature – the chopper won’t run if the lid isn’t secured.
- Connect to Power (if applicable): For standalone units, plug it into a power outlet. If it’s a KitchenAid chopper attachment, ensure your stand mixer is plugged in and ready.
Important Safety Notes During Assembly
- Always unplug the appliance or turn off your stand mixer before assembling or disassembling.
- Handle the blade assembly with extreme caution. It is very sharp.
- Ensure all parts are dry before assembly to prevent slipping.
Mastering the Art of Chopping: How to Use Your KitchenAid Chopper
Using your KitchenAid chopper is straightforward. The key is to pulse the ingredients to achieve your desired consistency.
Chopping Techniques for Various Ingredients
The versatility of a KitchenAid food chopper means you can tackle a wide range of ingredients. Here’s how to approach different items:
- Hard Vegetables (Carrots, Celery, Onions): Cut larger items into roughly 1-inch pieces to ensure even chopping. Pulse in short bursts, checking the consistency frequently.
- Softer Foods (Cooked Meats, Fruits): These will chop more quickly. Be careful not to over-process, which can turn them into a paste.
- Nuts: Pulse until they reach your desired coarseness. Stop before they turn into butter!
- Herbs: Mince herbs like parsley or cilantro by pulsing until finely chopped. Add a little olive oil if you want to create a smoother herb paste.
- Garlic and Ginger: Peel and rough chop these before adding them to the bowl for easy mincing.
The Pulse Method: Your Best Friend
The “pulse” function is essential for controlled chopping. Instead of holding the button down, press and release it repeatedly. This allows you to:
- Monitor Consistency: You can see exactly how finely your ingredients are chopped.
- Prevent Over-Processing: Avoid turning everything into a mush.
- Achieve Uniformity: Short bursts help create more even pieces.
General Guideline for Pulsing:
- Coarse Chop: 2-3 short pulses.
- Medium Chop: 4-6 short pulses.
- Fine Chop/Mince: 7-10 short pulses, or until desired fineness.
Using the Drizzle Tray (If Your Model Has One)
If your KitchenAid chopper has a drizzle tray or opening in the lid, this is perfect for adding liquids while chopping.
- Making Dressings and Sauces: Start by pulsing your solid ingredients. Then, slowly drizzle in oil or other liquids through the opening while the motor is running (if the manual permits). This emulsifies ingredients, creating smooth dressings and sauces.
- Adding Spices or Seasonings: You can also use this opening to add spices or seasonings during the chopping process.
KitchenAid Chopper Tips for Optimal Results
- Don’t Overfill: Leave some space in the bowl for the ingredients to move around and chop evenly.
- Cut Large Items: Prep ingredients by cutting them into smaller, uniform pieces (about 1-2 inches) before adding them.
- Start with Short Pulses: You can always chop more, but you can’t un-chop!
- Scrape Down the Sides: If ingredients are sticking to the sides, stop the chopper, remove the lid and blade (carefully!), and scrape down the bowl with a spatula. Then reassemble and continue.
- Batch Processing: For larger quantities, it’s best to chop in smaller batches to ensure consistency.
Exploring KitchenAid Chopper Recipes
Your KitchenAid chopper isn’t just for basic dicing. It can be a key player in creating a variety of delicious dishes. Here are some ideas for KitchenAid chopper recipes:
Quick Dips and Spreads
- Salsa: Combine tomatoes, onions, cilantro, jalapeños, and lime juice. Pulse until chunky or smooth.
- Pesto: Blend fresh basil, pine nuts, garlic, Parmesan cheese, and olive oil.
- Hummus: Process chickpeas, tahini, lemon juice, garlic, and olive oil until creamy.
- Guacamole: Pulse avocado, onion, cilantro, lime juice, and a pinch of salt.
Chopped Salads and Sides
- Coleslaw: Chop cabbage and carrots for a quick homemade coleslaw base.
- Potato Salad or Egg Salad: Chop boiled potatoes or eggs for a faster salad preparation.
- Chopped Salad: Dice a variety of vegetables like bell peppers, cucumbers, and celery for a refreshing salad.
Baking and Dessert Prep
- Chopped Nuts: Perfect for adding to cookies, cakes, or as a topping.
- Cookie Dough: For recipes that call for finely chopped chocolate or nuts, your chopper is ideal.
- Crumb Topping: Process graham crackers or cookies for pie crusts or crumble toppings.
Savory Dishes
- Breadcrumbs: Turn stale bread into fresh breadcrumbs.
- Minced Garlic and Onions: A base for many sauces, soups, and stews.
- Chopped Meat: For meatballs or burgers, you can pulse cooked meat into smaller pieces.
Table: Recipe Ideas and Chopper Usage
| Dish | Ingredients to Chop | Chopper Technique |
|---|---|---|
| Fresh Salsa | Tomatoes, Onion, Cilantro, Jalapeño | Pulse until desired consistency (chunky to smooth) |
| Classic Pesto | Basil, Pine Nuts, Garlic, Parmesan Cheese | Pulse until finely chopped, drizzle in olive oil |
| Hummus | Cooked Chickpeas, Garlic, Tahini, Lemon Juice | Pulse until smooth and creamy |
| Coleslaw Mix | Cabbage, Carrots | Coarse chop for both ingredients |
| Breadcrumbs | Stale Bread | Pulse until fine crumbs form |
| Chopped Nuts | Walnuts, Pecans, Almonds | Pulse until desired coarseness is reached |
| Minced Garlic | Garlic Cloves | Pulse until finely minced |
KitchenAid Chopper vs. Food Processor: Knowing the Difference
It’s common to wonder about the difference between a KitchenAid chopper and a full-sized food processor. While both chop food, they have distinct uses and capabilities.
Key Distinctions
- Size and Capacity: A KitchenAid food chopper (especially the mini versions) is significantly smaller than a food processor. Choppers are designed for smaller tasks and quantities, while food processors can handle larger volumes.
- Motor Power: Food processors generally have more powerful motors, allowing them to handle tougher tasks like kneading dough or pureeing large quantities of fibrous vegetables.
- Blade Variety: Food processors often come with a variety of blades and discs for slicing, shredding, and grating. A KitchenAid chopper typically has just one primary chopping blade.
- Functionality: Choppers excel at quick mincing, chopping, and grinding small amounts. Food processors are more versatile, capable of making dough, emulsifying sauces, slicing, shredding, and more.
When to Choose Which
-
Choose a KitchenAid Chopper if:
- You frequently need to chop small amounts of ingredients like herbs, garlic, onions, or nuts.
- You want a compact appliance for quick tasks.
- You are looking for a less expensive option than a full-sized food processor.
- You have a KitchenAid stand mixer and want a complementary attachment.
-
Choose a Food Processor if:
- You regularly prepare large meals and need to process bigger batches of food.
- You want to slice, shred, or knead dough.
- You need a powerful appliance for pureeing large volumes of ingredients.
- You have counter space and budget for a larger appliance.
A KitchenAid chopper is an excellent complement to a kitchen, not necessarily a replacement for a food processor if you do extensive cooking.
KitchenAid Chopper Accessories and Maintenance
To keep your KitchenAid chopper running smoothly and to expand its utility, consider these accessories and maintenance tips.
Useful KitchenAid Chopper Accessories
While the primary chopper comes with its essential parts, some retailers or KitchenAid might offer specific accessories depending on the model. Always check your product manual for compatibility.
- Extra Bowls and Lids: For busy cooks, having a spare bowl and lid can be incredibly helpful for multitasking.
- Replacement Blades: Blades can dull over time, especially with heavy use. Having a spare ensures you can always maintain optimal chopping performance.
- Cleaning Brushes: Small brushes designed to get into the nooks and crannies of the blade and bowl can be very useful for thorough cleaning.
Maintaining Your KitchenAid Chopper for Longevity
Proper care is key to ensuring your KitchenAid food chopper lasts for years.
How to Clean KitchenAid Chopper
Cleaning your chopper after each use is crucial.
- Unplug and Disassemble: Always unplug the unit or detach the attachment from the mixer. Carefully remove the lid and blade assembly from the bowl.
- Wash the Bowl, Lid, and Blade:
- Dishwasher Safe: Most KitchenAid chopper bowls and lids are dishwasher safe (top rack is usually recommended). Check your manual to confirm.
- Hand Washing: For hand washing, use warm, soapy water. Use a soft sponge or cloth.
- Blade Care: Handle the blade with extreme care. You can wash it by hand with warm, soapy water and a brush to get around the sharp edges, or place it in the dishwasher. Ensure it is completely dry before storing.
- Clean the Motor Base: Never submerge the motor base in water. Wipe it clean with a damp cloth. For stand mixer attachments, refer to your stand mixer’s cleaning instructions.
- Dry Thoroughly: Make sure all parts are completely dry before reassembling or storing them. This prevents mold, mildew, and corrosion.
Storage Tips
- Store the bowl, lid, and blade separately or nested together if your model allows.
- Keep the power cord neatly wrapped.
- Store in a dry, accessible cupboard or on your countertop if it’s a frequently used appliance.
Troubleshooting Common KitchenAid Chopper Issues
Even the best kitchen appliances can have hiccups. Here are some common issues and how to resolve them.
Issues and Solutions
| Problem | Possible Cause | Solution |
|---|---|---|
| Chopper not turning on | Not plugged in, lid not secured, motor overheated. | Ensure it’s plugged in. Double-check that the lid is locked correctly. Allow the motor to cool down if it has been running continuously. |
| Inconsistent chopping | Overfilled bowl, ingredients too large, dull blade. | Chop in smaller batches. Cut ingredients into uniform pieces. Ensure the blade is sharp and properly seated. |
| Ingredients sticking to the sides | Lack of movement in the bowl, overfilled bowl. | Stop the unit, scrape down the sides with a spatula, and resume chopping, possibly in shorter bursts. |
| Motor making unusual noise or smells | Overload, foreign object, motor issue. | Stop immediately. Check for any obstructions. If the noise persists or there’s a burning smell, discontinue use and contact KitchenAid support. |
| Lid difficult to secure or remove | Misalignment, food debris in the groove. | Ensure the bowl and lid are properly aligned. Clean any food particles from the lid’s rim or the bowl’s edge. |
| Chopper leaking from the base or lid | Seal compromised, overfilled bowl. | Ensure the lid is securely locked. Do not fill past the max fill line. If the seal appears damaged, contact customer support. |
Frequently Asked Questions (FAQ) About KitchenAid Choppers
Here are answers to some common questions people have about using their KitchenAid chopper.
Q1: Can I use my KitchenAid chopper to chop ice?
A1: Most KitchenAid choppers are not designed to chop ice. The blades and motor may not be strong enough, and this can lead to damage. For crushing ice, a blender or a dedicated ice crusher is recommended.
Q2: How much food can I put in my KitchenAid chopper at once?
A2: The capacity varies by model, but generally, you should not fill the bowl beyond the “max fill” line indicated on the bowl. Overfilling can lead to uneven chopping and strain the motor. It’s often best to process in smaller batches for optimal results.
Q3: Are KitchenAid chopper parts dishwasher safe?
A3: Most KitchenAid chopper bowls and lids are dishwasher safe, typically on the top rack. However, always check your specific model’s user manual for confirmation, as some parts might require hand washing. The blade assembly should be handled with care, whether hand-washed or placed in the dishwasher.
Q4: My KitchenAid chopper attachment isn’t working with my stand mixer. What should I do?
A4: First, ensure your stand mixer is plugged in and turned on. Make sure the chopper attachment is correctly and securely attached to the mixer’s power hub. Check that the lid on the chopper bowl is properly secured, as most have a safety interlock mechanism. If problems persist, consult your stand mixer and chopper attachment manuals or contact KitchenAid customer service.
Q5: What is the difference between a KitchenAid chopper and a KitchenAid mini chopper?
A5: The terms are often used interchangeably. “Mini chopper” typically refers to the smaller, standalone electric chopping units that KitchenAid offers, designed for light-duty tasks. If you’re referring to a KitchenAid chopper attachment, it’s a specific accessory that connects to a KitchenAid stand mixer to perform chopping functions. The functionality is similar, but the power source and form factor differ.
Q6: Can I make nut butter with my KitchenAid chopper?
A6: While some powerful mini choppers might be able to make a small batch of nut butter with patience and by stopping to scrape down the sides frequently, it’s generally not recommended. The motors in most choppers are not designed for the sustained effort required, and you risk overheating or damaging the appliance. A dedicated food processor or blender is better suited for making nut butter.
Q7: How do I store my KitchenAid chopper?
A7: Ensure all parts are clean and completely dry before storage. Store the bowl, lid, and blade together or separately in a cupboard or pantry. Keep the cord tidy. If it’s a stand mixer attachment, store it safely where it won’t be damaged.
By following this guide, you’ll be well-equipped to use and care for your KitchenAid chopper, making meal preparation quicker and more enjoyable!