Image Source: nashfix.us
How To Repair Kitchenaid Dishwasher: Easy Guide
Can you fix a KitchenAid dishwasher yourself? Yes, many common KitchenAid dishwasher problems can be tackled with a bit of know-how and the right tools. This guide will walk you through KitchenAid dishwasher troubleshooting, helping you identify issues and find solutions, from minor fixes to more complex repairs. We’ll cover essential KitchenAid dishwasher maintenance, KitchenAid dishwasher cleaning tips, and how to handle specific issues like a KitchenAid dishwasher not draining, KitchenAid dishwasher leaks, or a KitchenAid dishwasher not starting.
Common KitchenAid Dishwasher Issues and Their Fixes
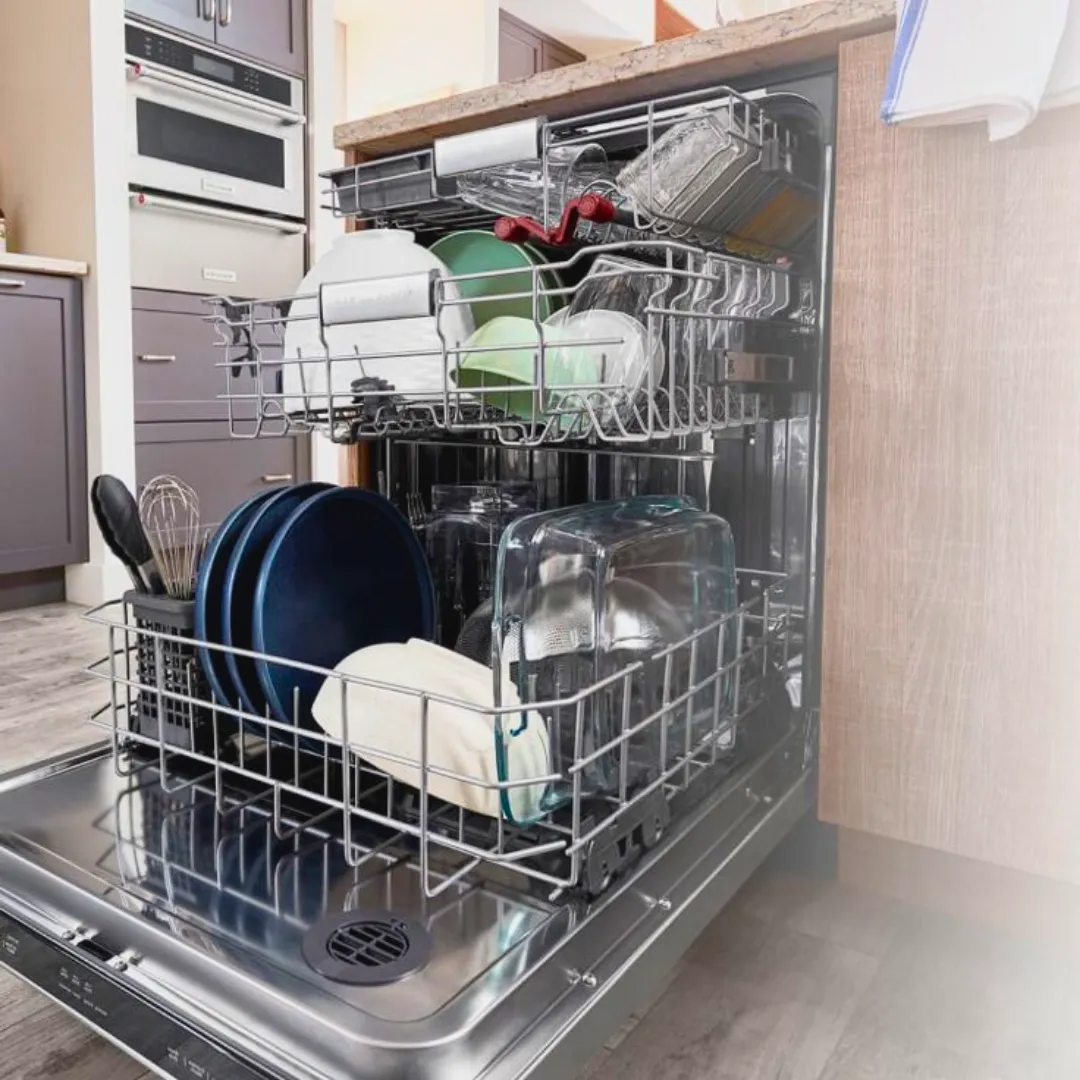
Dishwashers are complex appliances, but many problems stem from a few common culprits. By systematically diagnosing the issue, you can often save money on service calls and keep your KitchenAid dishwasher running smoothly.
KitchenAid Dishwasher Not Starting
When your KitchenAid dishwasher not starting, it’s often due to simple issues like power supply or door latch problems.
Possible Causes:
- No Power: The most basic check.
- Door Latch Not Engaged: The dishwasher won’t run if it thinks the door is open.
- Control Panel Malfunction: The electronics might be the issue.
- Water Supply Valve Closed: Dishwashers need water to start.
- Child Lock Engaged: Some models have this feature to prevent accidental starts.
Troubleshooting Steps:
-
Check Power:
- Ensure the dishwasher is plugged in securely.
- Check your home’s circuit breaker or fuse box. If the breaker has tripped, reset it. If it trips again immediately, there might be a short circuit.
- Test the outlet with another small appliance to confirm it’s working.
-
Inspect the Door Latch:
- Open the dishwasher door and check if it closes firmly.
- Look for any obstructions preventing the door from closing completely.
- Examine the latch mechanism itself for visible damage. Sometimes, debris can get lodged in the latch assembly.
- The strike plate on the door also needs to align correctly with the latch on the tub.
-
Verify Water Supply:
- Locate the water supply valve, typically under the sink. Ensure it’s fully open.
- Check the water supply hose for kinks or damage.
-
Deactivate Child Lock:
- Consult your KitchenAid dishwasher manual to find out how to disable the child lock feature. This usually involves pressing and holding a specific button or combination of buttons for a few seconds.
-
Reset the Dishwasher:
- Try resetting the dishwasher by turning off the power at the circuit breaker for a few minutes, then turning it back on. This can sometimes clear electronic glitches.
-
Examine the Control Panel:
- If the display is blank or showing error messages (we’ll discuss KitchenAid dishwasher error codes later), the control panel might be faulty. This is a more complex repair and may require professional assistance or replacing the control board.
KitchenAid Dishwasher Not Draining
A KitchenAid dishwasher not draining is a common and frustrating problem. It usually means water is left in the bottom of the tub after a cycle.
Possible Causes:
- Clogged Drain Filter: This is the most frequent cause.
- Kinked or Blocked Drain Hose: The hose carrying water away can get obstructed.
- Clogged Garbage Disposal/Sink Drain: If the dishwasher drains into the disposal, a blockage there will prevent draining.
- Faulty Drain Pump: The pump responsible for expelling water may have failed.
- Check Valve Issues: A stuck check valve can prevent water from leaving.
Troubleshooting Steps:
-
Clean the Drain Filter:
- Locate the filter at the bottom of the dishwasher tub. It’s usually a cylindrical or flat mesh piece.
- Remove the filter (often by twisting and lifting).
- Rinse it thoroughly under running water, using a soft brush to remove any food particles or debris.
- Reinstall the filter correctly. Regular cleaning of this filter is a key part of KitchenAid dishwasher maintenance.
-
Inspect the Drain Hose:
- Gently pull out the dishwasher to access the drain hose, usually connected to the sink plumbing or garbage disposal.
- Check for any kinks or visible blockages. If you find a kink, straighten it out.
- If you suspect a blockage inside the hose, you might need to disconnect it (with a bucket underneath to catch residual water) and try to blow through it or use a plumber’s snake.
-
Check the Garbage Disposal and Sink Drain:
- If your dishwasher drains into a garbage disposal, ensure the disposal is clear and working properly. Run the disposal with cold water to clear any potential blockages.
- If the sink drain itself is slow, this could impact the dishwasher’s draining.
-
Test the Drain Pump:
- The drain pump is a more involved repair. You’ll need to access the underside of the dishwasher.
- Disconnect power before working on any internal components.
- The pump is usually located near the bottom of the tub. You may need to remove panels to access it.
- Check the pump impeller for obstructions. If it’s clean and the pump still doesn’t work, the pump motor might be burned out. KitchenAid dishwasher pump repair often involves replacing the entire pump assembly.
-
Examine the Check Valve:
- Some dishwashers have a check valve to prevent dirty water from re-entering the tub. If this valve gets stuck, it can impede draining. Accessing and testing this requires more technical skill.
KitchenAid Dishwasher Leaks
KitchenAid dishwasher leaks can occur from various points. Identifying the source is crucial for effective repair.
Possible Causes:
- Door Gasket (Seal) Damage: A worn or damaged gasket won’t seal properly.
- Over-Sudsing: Using too much detergent, especially regular dish soap, creates excessive suds that can push water out.
- Loose Hoses or Connections: Inlet and drain hoses can become loose over time.
- Cracked Tub or Components: Less common, but a crack in the tub, spray arm, or float switch housing can cause leaks.
- Improper Loading: Overloading or placing large items that block water flow can sometimes contribute.
- Faulty Water Inlet Valve: If the valve doesn’t shut off correctly, it can cause overfilling.
Troubleshooting Steps:
-
Inspect the Door Gasket:
- Open the dishwasher door and carefully examine the rubber gasket around the door opening.
- Look for tears, cracks, or areas where the gasket is loose or detached.
- Clean the gasket with a damp cloth. Sometimes, food debris can adhere to it, preventing a proper seal. If it’s damaged, you’ll need to replace it. Finding the correct KitchenAid dishwasher parts for your model is key.
-
Use the Correct Detergent:
- Always use detergent specifically designed for automatic dishwashers. Regular dish soap will create far too many suds.
- Follow the detergent manufacturer’s recommended amount.
-
Check Hoses and Connections:
- With power to the dishwasher off, gently inspect the inlet water hose and the drain hose connections.
- Ensure all clamps are tight and that there are no visible cracks or leaks in the hoses themselves.
-
Examine the Tub and Internal Components:
- Look for any signs of cracks or damage on the dishwasher tub, especially around the spray arm mounts or where components are attached.
- Check the float switch assembly; if it’s damaged or stuck, it can lead to overfilling.
-
Review Loading Practices:
- Make sure large items aren’t blocking the spray arms or preventing the door from closing securely.
-
Test the Water Inlet Valve:
- If you suspect the water inlet valve is faulty, it’s a component that controls water entry into the dishwasher. A leaking valve can cause continuous filling. Replacement is often necessary.
KitchenAid Dishwasher Spray Arm Issues
KitchenAid dishwasher spray arm issues can lead to poor cleaning performance. The spray arms are responsible for distributing water effectively.
Possible Causes:
- Blocked Spray Arm Holes: Food debris can clog the small holes.
- Worn or Damaged Spray Arms: Cracks or warping can affect performance.
- Improperly Installed Spray Arms: They might not be seated correctly.
- Low Water Pressure: This can affect how forcefully the arms spin and spray.
- Faulty Wash Pump: The pump that sends water to the spray arms might be weak.
Troubleshooting Steps:
-
Clean the Spray Arm Holes:
- Remove the upper and lower spray arms. They usually unscrew or unclip.
- Use a toothpick, thin wire, or pipe cleaner to clear any blockages from the small holes in the spray arms.
- Rinse the spray arms under running water.
- Ensure the central hub where the water enters is also clear.
-
Inspect the Spray Arms:
- Check the spray arms for any visible cracks, warping, or damage. If damaged, they need to be replaced. Ensure you order the correct KitchenAid dishwasher parts.
-
Reinstall Correctly:
- Make sure the spray arms are securely attached and can spin freely. The lower spray arm often sits on a raised pedestal.
-
Check Water Pressure:
- If you’ve cleaned the spray arms and they still don’t spin well or spray effectively, low water pressure could be an issue. Check if other water sources in your home have reduced pressure.
-
Evaluate the Wash Pump:
- A weak wash pump won’t generate enough pressure for the spray arms to function optimally. This is a more significant repair.
General KitchenAid Dishwasher Maintenance and Cleaning
Regular KitchenAid dishwasher maintenance and KitchenAid dishwasher cleaning are vital for preventing problems and ensuring efficient operation.
Key Maintenance Tasks:
- Clean the Filter: As mentioned, this is critical for preventing draining issues and ensuring water circulation. Do this at least monthly, or more often if you use your dishwasher heavily.
- Wipe Down Door Seals: Food particles and grime can accumulate on the door gasket. Wipe it down with a damp cloth regularly to maintain a good seal and prevent leaks.
- Check and Clean Spray Arms: As detailed above, clearing spray arm holes is important for cleaning performance.
- Inspect and Clean the Tub: Periodically, you can wipe down the interior of the tub to remove any residue or mineral buildup.
- Run a Cleaning Cycle: Use a dishwasher cleaner (available at most hardware or grocery stores) or a cup of white vinegar placed on the top rack of an empty dishwasher. Run a hot water cycle to remove internal buildup, grease, and odors.
- Clean the Exterior: Wipe down the stainless steel or plastic exterior with a mild cleaner suitable for the material.
Table: KitchenAid Dishwasher Maintenance Schedule
| Task | Frequency | Notes |
|---|---|---|
| Clean Drain Filter | Monthly (or more) | Essential for draining and water flow. |
| Wipe Door Gasket | Weekly/Bi-weekly | Prevents leaks and grime buildup. |
| Clean Spray Arms | Quarterly | Ensures effective water distribution. |
| Run Cleaning Cycle (Vinegar/Cleaner) | Every 3-6 Months | Removes internal buildup and odors. |
| Inspect Hoses | Annually | Check for kinks, cracks, or loose connections. |
| Check Door Latch | As Needed | Ensure it closes securely. |
Fathoming KitchenAid Dishwasher Error Codes
Your KitchenAid dishwasher might display specific KitchenAid dishwasher error codes on its digital display to help diagnose problems. Referencing your owner’s manual is the best way to find the exact meaning of a particular code for your model. However, some common codes and their general meanings are:
Common KitchenAid Dishwasher Error Codes:
| Error Code (Example) | Likely Meaning | Initial Troubleshooting Steps |
|---|---|---|
| E1 or F1 | Water Inlet Issue | Check water supply valve, inlet hose, and water inlet valve. |
| E2 or F2 | Drain Issue | Clean filter, check drain hose, check drain pump and impeller. |
| E3 or F3 | Heating Element Failure | May require testing the heating element or its connections. |
| E4 or F4 | Door Latch/Lock Issue | Inspect door latch mechanism and its wiring. |
| E5 or F5 | Circulation Pump Problem | Potentially a faulty circulation pump or its motor. |
| E6 or F6 | Wash Cycle/Sensor Issue | May indicate a problem with water level sensors or control board. |
| E7 or F7 | Inlet/Outlet Water Problem | Check water supply and drainage system for blockages. |
| E9 or F9 | Leak Detected | Inspect all hoses, tub, and internal components for leaks. |
Important Note: Always disconnect power to the dishwasher before attempting any internal repairs. If you are unsure about diagnosing or fixing an error code, consult your owner’s manual or a qualified appliance repair technician.
Acquiring KitchenAid Dishwasher Parts
When you need to replace a part, knowing where to find KitchenAid dishwasher parts is essential.
- Manufacturer Websites: The official KitchenAid website often has a parts store where you can search by model number.
- Appliance Part Retailers: Online retailers specializing in appliance parts (e.g., RepairClinic, PartSelect, Sears Parts Direct) are excellent resources. They often have diagrams and videos to help identify the correct part.
- Local Appliance Repair Shops: Some local shops may carry common parts or be able to order them for you.
Always have your KitchenAid dishwasher’s model number handy when ordering parts. This number is typically found on a label inside the door, on the edge of the door, or on the side of the tub.
When to Call a Professional
While many KitchenAid dishwasher troubleshooting steps are DIY-friendly, some situations warrant calling a professional technician:
- Persistent Leaks: If you can’t pinpoint the source of a leak after basic checks.
- Electrical Issues: Problems with wiring, the control board, or the main motor should be handled by a qualified technician.
- Complex Pump Failures: While you can check for blockages, a failed pump motor might require specialized tools and knowledge.
- Error Codes You Can’t Resolve: If you’ve tried the basic fixes for an error code and the issue persists.
- Lack of Confidence or Time: If you’re not comfortable working with appliances or don’t have the time, hiring a pro is the safest bet.
Frequently Asked Questions (FAQ)
Q1: How often should I clean my KitchenAid dishwasher’s filter?
A1: It’s recommended to clean the filter at least once a month. If you use your dishwasher frequently or wash heavily soiled dishes, you may need to clean it more often to prevent draining problems.
Q2: Can I use regular dish soap in my KitchenAid dishwasher?
A2: No, you should never use regular dish soap in an automatic dishwasher. It creates excessive suds that can cause the dishwasher to overflow and potentially damage the appliance. Always use detergent specifically formulated for automatic dishwashers.
Q3: My KitchenAid dishwasher is making a loud grinding noise. What could it be?
A3: A grinding noise often indicates something is obstructing the drain pump or wash pump impeller. Check the drain filter first, and if that doesn’t resolve it, you may need to inspect the pump impeller for foreign objects. This can be a more advanced repair.
Q4: The dishes are still dirty. What are common causes for poor cleaning performance?
A4: Poor cleaning can be due to clogged spray arm holes, using the wrong detergent, not rinsing dishes adequately before loading, overloading the dishwasher, or a faulty wash pump. Ensure you’re performing regular KitchenAid dishwasher cleaning and maintenance.
Q5: How do I find my KitchenAid dishwasher’s model number?
A5: The model number is typically found on a sticker located on the inside edge of the dishwasher door, on the side of the tub, or on the door frame.
By following these guidelines for KitchenAid dishwasher troubleshooting, KitchenAid dishwasher maintenance, and KitchenAid dishwasher cleaning, you can keep your appliance in top working order and address many common issues effectively.