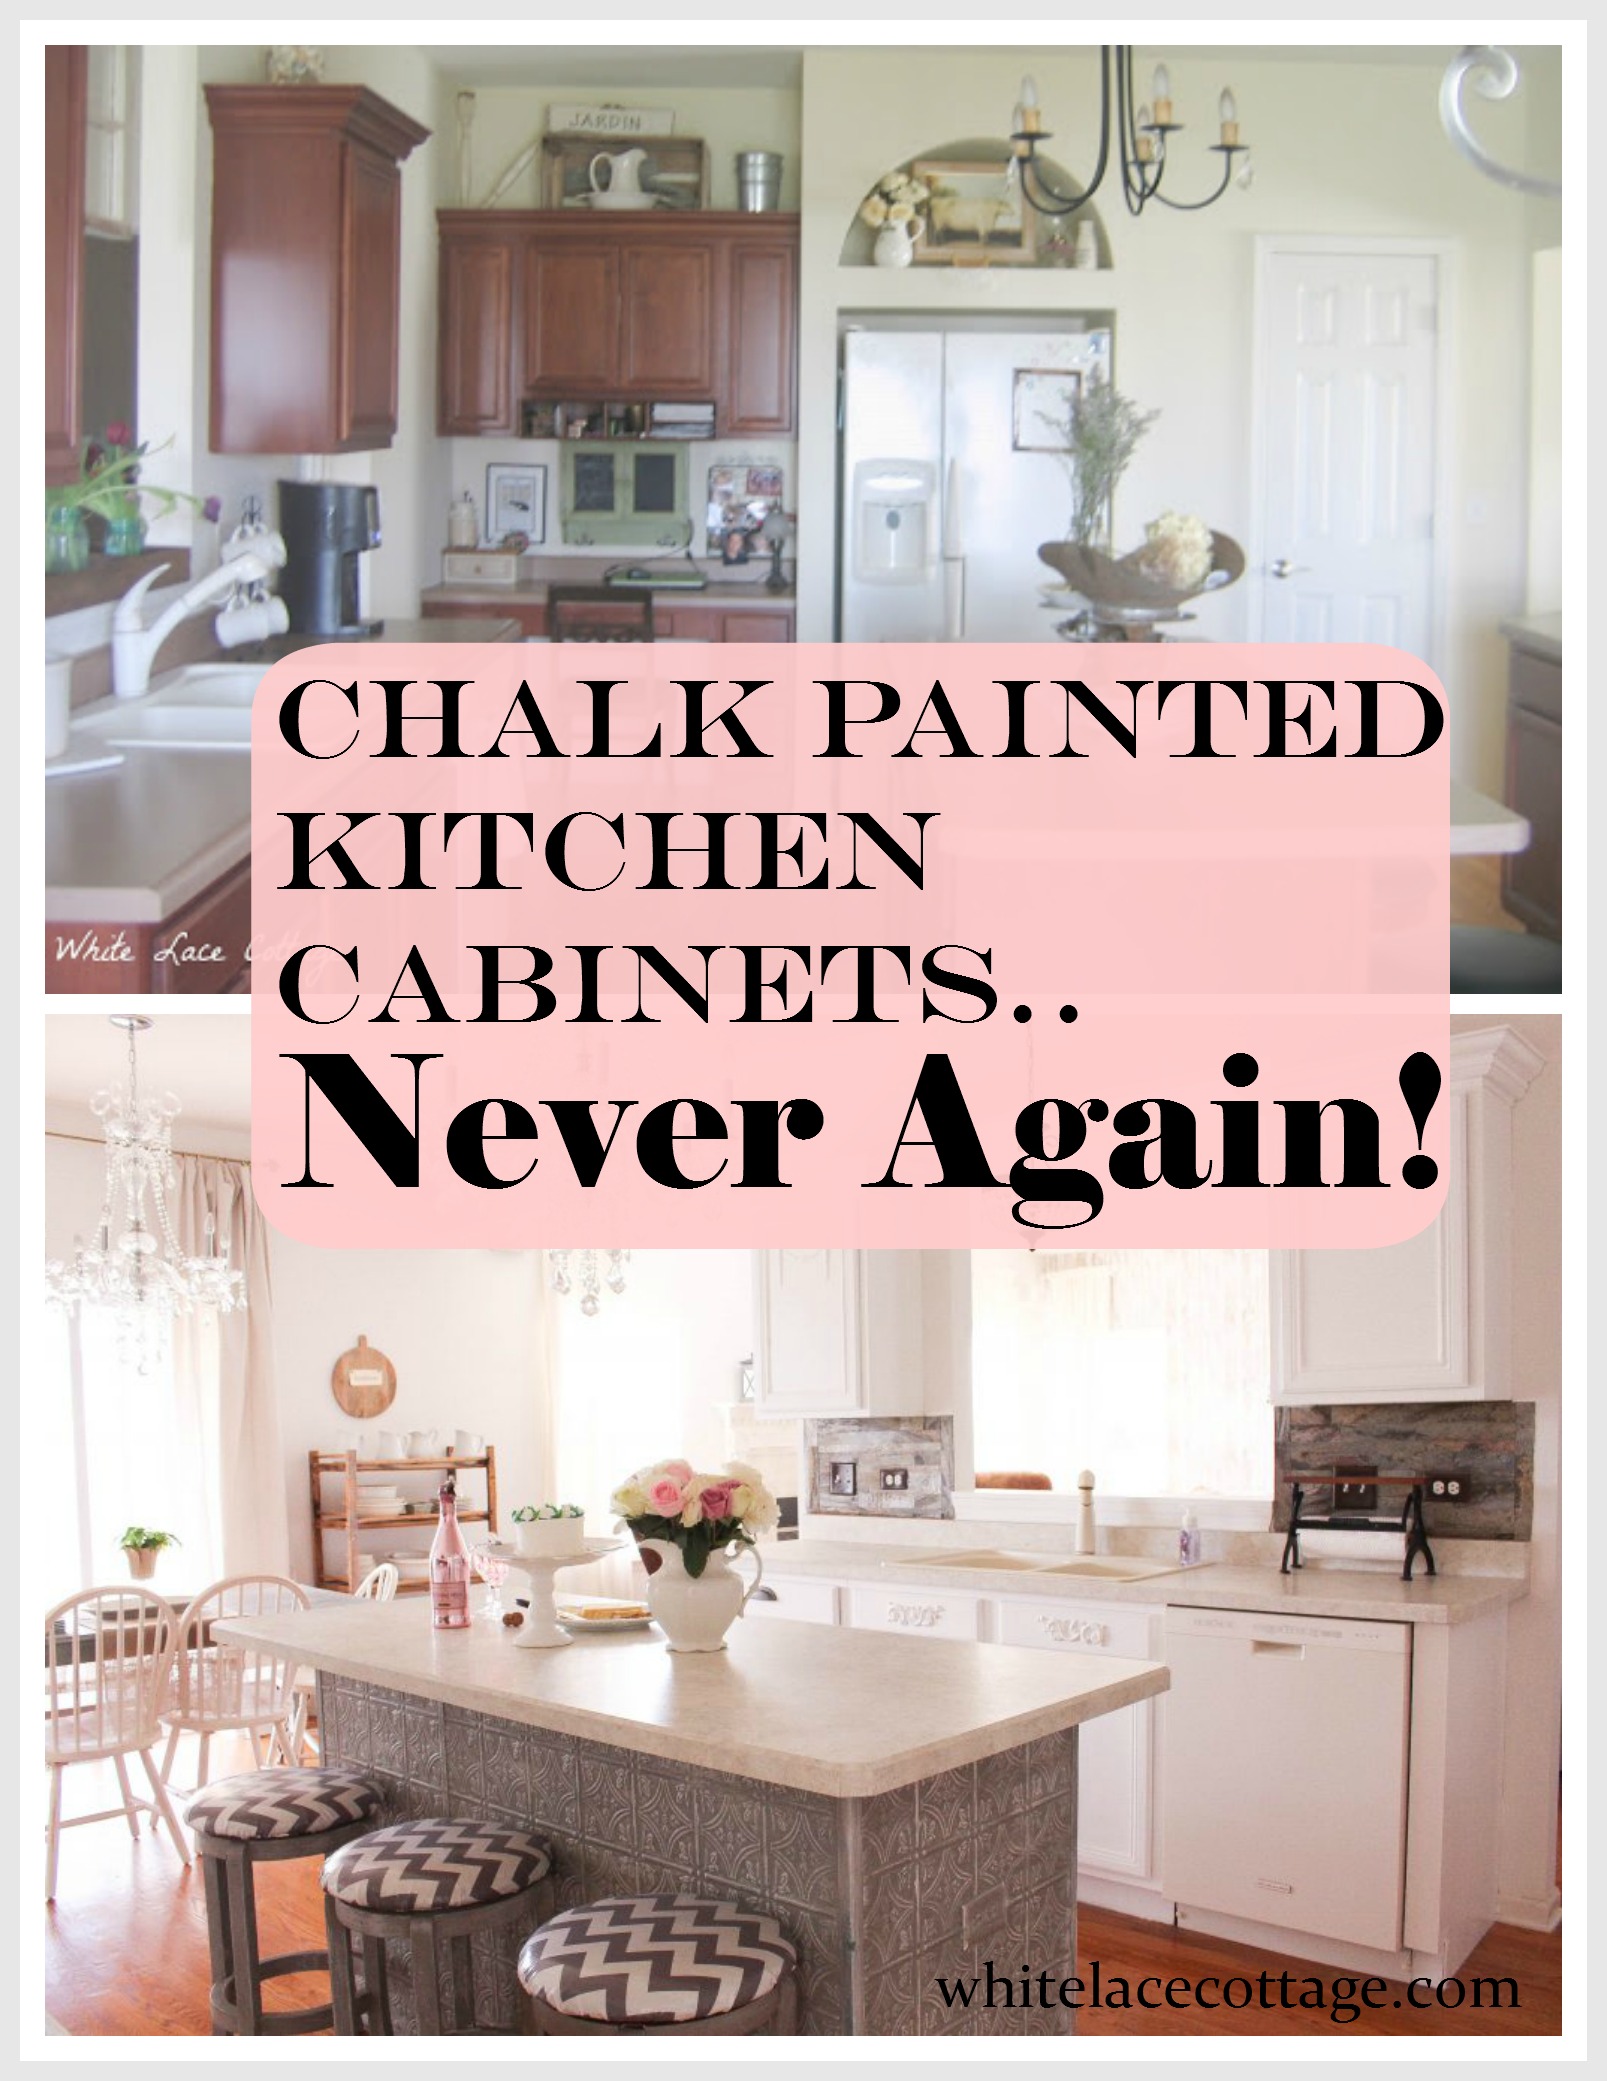
Image Source: whitelacecottage.com
Guide: Can You Use Chalk Paint On Kitchen Cupboards Easily
Yes, you can use chalk paint on kitchen cupboards, and many people find it easier than traditional paints because it often needs less preparation work like sanding and priming. Chalk paint sticks well to many surfaces. However, making it durable enough for a busy kitchen takes careful steps, especially picking and putting on the right protective finish.
Using chalk paint lets you update your kitchen look without a lot of hard work. It gives cabinets a soft, matte finish. You can get a smooth look or a slightly old, worn look. But kitchen cabinets get a lot of use. They get dirty. They get wet. They get bumped. So, chalk paint needs the right kind of care and a strong layer on top to last.
Why People Pick Chalk Paint for Kitchen Cabinets
Chalk paint became popular for old furniture. It makes old things look new or gives new things an aged feel. Many people use it for painting kitchen cabinets with chalk paint because it sticks to most surfaces without lots of sanding.
Here are some simple reasons people like it:
- Easy Start: Often, you don’t need to sand first. Just clean the cabinets well.
- Sticks Well: It grabs onto painted, varnished, or even laminate surfaces easily.
- Quick Dry: Coats dry fast, so you can finish the painting part sooner.
- Nice Look: It dries matte and soft. You can make it look smooth or show brush marks for texture.
- Change Up Style: It helps give cabinets a fresh, new color and feel fast.
Pros and Cons of Chalk Paint on Kitchen Cabinets
Like any choice, using chalk paint on cabinets has good points and not-so-good points. Weighing these helps you decide if it’s right for your kitchen.
h5 Pros of Chalk Paint on Cabinets
- Less Prep: This is the main benefit. Often, you only need to clean, not sand.
- Great Grip: It sticks to many different materials, even shiny ones.
- Fast Job: Because it dries quickly, you can put on more coats in one day.
- Fun Finishes: You can paint it on smoothly or make it look textured. You can easily rub edges to make it look worn (distressed).
- Water-Based: Most chalk paints are water-based. This means easy clean-up with water. Less smell too.
h5 Cons of Chalk Paint on Cabinets
- Needs Sealing: The paint itself is not tough or water-resistant. You MUST seal it for kitchen use.
- Sealing Matters: The seal coat you choose is key to how long it lasts. Some seals are not tough enough for kitchens.
- Less Durable Alone: Without a strong seal, it can scratch or chip easily.
- Porous Surface: The matte finish is open to stains if not sealed perfectly. Food spills, grease, or water can mark it.
- Color Range: Some brands have fewer color choices than standard paints.
Here is a simple table showing these points:
| What’s Good (Pros) | What’s Not So Good (Cons) |
|---|---|
| Often no sanding needed | Must use a strong seal coat |
| Sticks to many surfaces | Seal coat quality affects how long it lasts |
| Dries fast | Can scratch or chip without good seal |
| Easy to get different looks | Can stain if not sealed well |
| Cleans up with water | Limited color choices from some brands |
Getting Ready: Preparing Kitchen Cabinets for Chalk Paint
Even though chalk paint means less prep than other paints, you still need to do some important steps. Proper prep makes sure the paint sticks well and lasts longer. Don’t skip these steps!
h5 Take Things Apart
- Take off all cabinet doors. Keep them straight so you know which door goes where later.
- Take off all knobs and handles. Put them in a bag or container. This stops paint getting on them. It makes painting easier.
- Take out any drawers if you plan to paint the fronts.
- If you are painting inside the frames, take out shelves too.
h5 Clean, Clean, Clean!
This is the most important prep step for chalk paint. Kitchen cabinets get greasy from cooking. Paint won’t stick to grease or dirt.
- Use a strong cleaner. A good degreaser works best. Clean all surfaces you plan to paint. Clean the fronts, backs, and sides of the doors. Clean the cabinet boxes.
- Follow the cleaner’s directions. You might need to let it sit for a few minutes.
- Scrub well. Pay extra attention to areas near the stove or sink.
- Rinse all parts with clean water. Make sure all cleaner is gone.
- Let everything dry completely. Water left behind can cause problems later.
h5 Light Sanding? Maybe.
Chalk paint often says “no sanding needed.” This is true for many surfaces. But for very smooth or very shiny cabinets (like laminate or some factory finishes), a very light sand can help the paint stick even better.
- Use fine-grit sandpaper (like 150-220 grit).
- Just lightly rub the surface. You are not trying to take off the old finish. You just want to dull the shine. This is called “scuff sanding.”
- Wipe away all the dust with a damp cloth. Let it dry.
h5 Protect Areas You Don’t Paint
- Use painter’s tape to cover hinges, inside edges of frames you aren’t painting, walls next to cabinets, and countertops.
- Put down drop cloths or plastic sheets on your floor. Paint drops happen!
h5 Primer: When You Might Need It
Often, chalk paint doesn’t need a primer. It sticks so well. But sometimes using chalk paint primer for cabinets is a good idea.
- If Cabinets are Dark: If your cabinets are very dark and you are painting them a light color, a primer helps the new color cover better in fewer coats.
- If Cabinets Might Bleed: Some old finishes or wood types (like oak with knots) can let stains “bleed” through paint. A stain-blocking primer will stop this.
- Very Slick Surfaces: Even though chalk paint sticks well, a primer can add an extra layer of grip on super smooth stuff.
- If You Sanded Heavily: If you did sand a lot (not just scuffing), a primer gives a consistent base.
If you use a primer, use a type that works with chalk paint. Water-based primers are usually fine. Let the primer dry fully as the can says.
Putting Paint On: Applying Chalk Paint to Kitchen Cabinets
Now for the fun part: adding color! Chalk paint is different from regular paint. It’s thick and covers well, but you often need a few thin coats.
h5 Get Your Paint Ready
- Open the can. Stir the paint well. Chalk paint can get thick. If it feels too thick to brush smoothly, you can add a little water (maybe a tablespoon at a time) and stir. Mix it until it feels right for brushing.
h5 Use the Right Tools
- Brushes: Natural bristle brushes are often used for chalk paint. They can leave brush marks, which some people like for the look. You can also use synthetic brushes for a smoother finish. Choose a good quality brush; it makes a difference.
- Rollers: For a smoother look with fewer brush marks, you can use a small foam roller or a very fine-nap roller made for smooth surfaces. Rollers can be faster for large flat areas.
- You might use a brush for edges and corners, then a roller for the flat parts.
h5 Paint Thin Coats
- Dip your brush or roller. Don’t load too much paint.
- Put the paint on in thin, even layers. Don’t try to cover completely in one coat. Thin coats stick better and dry faster.
- Brush or roll in the direction of the wood grain (if there is one).
- Paint the backs of the doors first. Let them dry. Then paint the fronts.
- Paint the cabinet boxes.
h5 Let It Dry Between Coats
- Chalk paint dries fast, often in 30 minutes to an hour. Check the paint can for exact times.
- Wait until the first coat is dry to the touch before adding the next.
- You will likely need two coats. Sometimes three coats are needed, especially if going from dark to light colors.
h5 Decide Your Look
- Smooth: If you want a smooth look, thin the paint slightly with water. Use a good quality brush that leaves fewer marks or use a roller. Lightly sand with fine grit paper (like 220+) between dry coats for a super smooth feel. Wipe dust off before the next coat.
- Textured: Use a thicker paint. Use a natural bristle brush. Don’t over-brush; just apply the paint. This leaves brush marks and texture.
After the final coat of paint is on, let it dry completely. This might take longer than just dry-to-the-touch. Wait at least 24 hours before putting on the protective topcoat.
Making it Last: Sealing Chalk Paint on Kitchen Cabinets
Chalk paint by itself is not tough enough for kitchens. It will scratch, stain, and get damaged by water. You must seal it. Sealing chalk paint on kitchen cabinets is the most important step for making your new cabinets durable. The sealant is what protects the paint and makes it washable.
h5 Why Sealant is a Must
- Protection: It guards the paint from water, grease, food spills, and cleaning products.
- Durability: It makes the surface hard and less likely to scratch or chip.
- Washable: It creates a surface you can wipe clean without harming the paint.
h5 Picking the Best Topcoat for Chalk Painted Cupboards
There are different types of sealants. For kitchen cabinets, some work much better than others.
-
Wax:
- What it is: A traditional finish for chalk paint. It gives a soft feel.
- How it’s used: Rubbed on with a cloth or brush, then buffed.
- Is it good for kitchens? Generally NO. Wax is not very durable for high-use surfaces like kitchen cabinets. It can feel sticky, shows fingerprints, is hard to clean fully, and water can leave marks. It takes a long time to fully harden (cure). It’s better for decorative pieces that don’t get much touch or moisture.
-
Polyurethane (Water-Based):
- What it is: A liquid finish that dries into a hard plastic-like layer. Water-based types are clear, low-smell, and clean up with water.
- How it’s used: Brushed or rolled on in thin layers.
- Is it good for kitchens? YES. This is often the best choice for durability. It creates a strong, protective layer that resists water, stains, and scratches much better than wax. It comes in different levels of shine (matte, satin, semi-gloss, gloss). Satin or semi-gloss are popular for cabinets as they are easy to clean but not too shiny.
- Things to know: Use a non-yellowing formula. Alkyd (oil-based) polyurethanes are very durable but can yellow over time, smell strong, and need mineral spirits for cleanup. Water-based is usually preferred for cabinets painted with chalk paint.
-
Water-Based Varnish:
- What it is: Similar to water-based polyurethane, often used interchangeably in product names. It’s a very durable clear coat.
- How it’s used: Brushed or rolled on.
- Is it good for kitchens? YES. Provides similar great protection as water-based poly.
-
Specialty Chalk Paint Topcoats:
- What it is: Some chalk paint brands sell their own liquid topcoats.
- Is it good for kitchens? Check the product details carefully. Make sure it says it is durable and water-resistant for high-traffic areas like cabinets.
Recommendation for Kitchens: For the best durability of chalk paint on kitchen cabinets, choose a high-quality water-based polyurethane or varnish.
h5 Applying the Topcoat
- Make sure the paint is totally dry (at least 24 hours).
- If using polyurethane or varnish, stir it gently. Don’t shake it, as this creates bubbles.
- Use a clean brush or roller made for applying clear coats.
- Apply thin, even coats. Just like the paint, multiple thin coats are better than one thick coat.
- Avoid drips. Brush them out right away.
- Let each coat dry completely based on the product’s instructions. This is often 2-4 hours for water-based types.
- Most cabinets need 2-3 coats of polyurethane or varnish for good protection. Areas near the sink or stove might benefit from an extra coat.
- For a smoother feel between coats of poly/varnish, you can lightly sand with very fine grit sandpaper (like 320 or 400 grit) after a coat is fully dry. Wipe away dust. This removes tiny bumps.
Getting the Best Durability of Chalk Paint on Kitchen Cabinets
Simply using chalk paint doesn’t give you a tough cabinet finish. The key to long-lasting chalk painted cabinets in a kitchen is the sealing step and allowing enough time for everything to harden.
Here’s what makes it durable:
- Good Cleaning: Starting with a perfectly clean surface lets the paint stick as well as possible.
- Proper Application: Thin, even coats of paint stick and dry better than thick, gloopy ones.
- Choosing the Right Sealant: Water-based polyurethane or varnish is much more durable than wax for kitchens.
- Enough Coats of Sealant: Two or three thin coats of a strong sealant create a thick enough protective shield.
- Letting it Cure: This is CRITICAL. Paint dries quickly, but it takes much longer to fully harden (cure). Sealants also need time to cure.
- Chalk paint might be dry in hours, but give it 24 hours before sealing.
- Polyurethane/varnish might be dry to touch in hours, but it takes days or even weeks to reach its full hardness.
- Be gentle with your cabinets for the first few weeks. Avoid heavy use, harsh cleaning, or letting water sit on the surface during this cure time. The longer you let it cure before heavy use, the tougher it will be.
Protecting Chalk Paint on Kitchen Cabinets and Keeping Them Clean
Once your cabinets are painted and the sealant is fully cured, you’ll want to keep them looking good. Protecting chalk paint on kitchen cabinets involves gentle care and smart cleaning.
h5 Cleaning Chalk Painted Kitchen Cabinets
- Be Gentle: Don’t use harsh chemicals, abrasive scrubbers, or scouring pads. These can damage the sealant and the paint.
- Mild Soap and Water: The best way to clean is with a soft cloth or sponge dipped in warm water with a little mild dish soap.
- Wipe Spills Fast: Clean up food spills, grease splatters, and water drips right away. Don’t let them sit, especially water around knobs and pulls.
- Dry Surfaces: After cleaning, wipe the cabinets dry with a clean cloth. Don’t leave water sitting on the surface.
- Avoid Furniture Polish: You don’t need furniture polish. It can build up and make the surface sticky or dull.
h5 What to Avoid
- Cleaners with ammonia.
- Cleaners with harsh solvents.
- Abrasive powders or pads.
- Excessive rubbing in one spot.
If you get a stubborn spot, use a little more mild soap and water and gently work at it.
Other Cabinet Paint Options
While chalk paint is popular for its ease of prep, it’s helpful to know other options for painting kitchen cabinets.
- Latex Paint: Standard wall paint. Needs significant prep (thorough cleaning, sanding off old finish, and primer) to stick well and be durable on cabinets. Needs a topcoat for durability in kitchens. Water-based, easy cleanup.
- Alkyd Paint (Oil-Based): Very durable finish. Needs significant prep. Strong smell, takes a long time to dry, needs mineral spirits for cleanup. Can yellow over time, especially lighter colors.
- Acrylic-Alkyd Hybrids: Offer good durability like alkyd but with easier use and cleanup like water-based paints. Often need good prep and sometimes a primer. Becoming very popular for cabinets.
- Lacquers/Sprayed Finishes: Very durable, smooth, factory-like finish. Requires special equipment (sprayer) and skill. Usually needs a professional.
Compared to these, chalk paint with a quality water-based polyurethane or varnish falls somewhere in the middle in terms of prep effort and durability. It’s easier to prep than latex/alkyd, but the final finish’s toughness depends heavily on that topcoat, which still requires careful application.
Simple Steps to Paint Your Kitchen Cabinets with Chalk Paint
Here’s a quick run-through of the process:
- Take apart: Remove doors, drawers, hardware.
- Clean: Wash everything really well with a degreaser. Rinse and dry fully.
- Prep Surface: Lightly scuff sand if cabinets are very shiny. Wipe dust.
- Tape: Protect areas you don’t want painted.
- Prime (If needed): Apply stain-blocking or grip primer if cabinets might bleed or are very dark/slick. Let dry.
- Paint First Coat: Apply a thin, even coat of chalk paint with a brush or roller.
- Let Dry: Wait until the first coat is dry to the touch.
- Paint Second Coat: Apply another thin coat. Add a third if needed for coverage.
- Dry Fully: Let the paint dry completely (at least 24 hours).
- Apply Sealant Coat 1: Apply a thin coat of water-based polyurethane or varnish.
- Let Dry: Wait for the sealant to dry based on product instructions.
- Apply Sealant Coat 2: Apply a second thin coat. Sand lightly between coats with fine grit if desired for smoothness (optional).
- Apply Sealant Coat 3 (Optional): Add a third coat for high-wear areas.
- Cure: Let the cabinets cure for several days, ideally 2-3 weeks, before using them normally. Be gentle during this time.
- Reassemble: Put hardware back on. Hang doors.
How Much Does it Cost and How Long Does it Take?
h5 Cost
The cost depends on:
- Number of Cabinets: More cabinets mean more paint and sealant.
- Brand: Chalk paint brands vary in price. Quality sealants also vary.
- Supplies: Brushes, rollers, sandpaper, tape, cleaner add to the cost.
- Primer: If you need primer, that’s an extra cost.
You can likely expect to spend a few hundred dollars or more for paint, sealant, and supplies for an average-sized kitchen. This is much less than replacing cabinets or hiring a professional painter.
h5 Time
Painting cabinets is a project that takes several days, maybe even a week or two, depending on how fast you work and the drying/curing times.
- Prep: Taking off doors, cleaning, and taping can take half a day to a full day.
- Painting: Each coat (including drying time) takes a few hours. With 2-3 coats of paint, this is 1-2 days of actual painting time spread out.
- Sealing: Each coat of sealant takes a few hours (including drying). With 2-3 coats, this is another 1-2 days of work spread out.
- Curing: The long wait! While you aren’t working on them during this time, the cabinets aren’t ready for full use for 1-3 weeks. This is part of the project timeline.
Plan for the project to take up your kitchen for at least a long weekend for the painting and sealing part, plus the important curing time afterward.
Frequently Asked Questions
h5 How long does chalk paint last on kitchen cabinets?
How long it lasts really depends on the topcoat you use and how well you prepped. If you use a durable water-based polyurethane or varnish and let it cure fully, your cabinets can last for several years with proper care. If you use wax or no sealant, it won’t last long in a kitchen.
h5 Can I paint over chalk paint on cabinets later?
Yes, you can paint over chalk paint. First, clean the surface well. If the surface is sealed with wax, you may need to remove the wax first (it’s difficult). If sealed with poly/varnish, just clean and lightly sand to give the new paint something to stick to. Then you can apply a new paint (like a cabinet-specific paint) or prime and paint.
h5 Does chalk paint chip easily on cabinets?
Chalk paint itself is not very chip-resistant. It will chip easily if it’s not sealed properly with a durable topcoat like water-based poly. The topcoat provides the chip resistance.
h5 Is chalk paint waterproof for kitchens?
No, chalk paint itself is porous and not waterproof. Water can soak into it and leave marks or damage it. The sealant you apply on top is what makes the surface resistant to water and stains. A water-based polyurethane or varnish creates a water-resistant barrier.
In Simple Summation
Using chalk paint on kitchen cabinets can be a good project for updating your space with less messy prep work than traditional paints. Its key benefit is its ability to stick to many surfaces. However, for the cabinets to survive daily kitchen life, you absolutely must use a strong, durable sealant like water-based polyurethane or varnish, not wax. Preparing the cabinets by cleaning them very well, applying thin coats of paint, and patiently applying multiple coats of a good sealant, followed by allowing enough cure time, are all necessary steps to make sure your chalk painted kitchen cabinets look good and last. It’s a project you can do yourself, saving money, but it still requires care and time for the best results.