Yes, you absolutely can replace a kitchen sink without replacing the countertop in most cases. It often depends on the type of sink you have now and the type of sink you want to put in, as well as the material of your existing countertop. This process is common when a sink is old, damaged, or you simply want a new look.
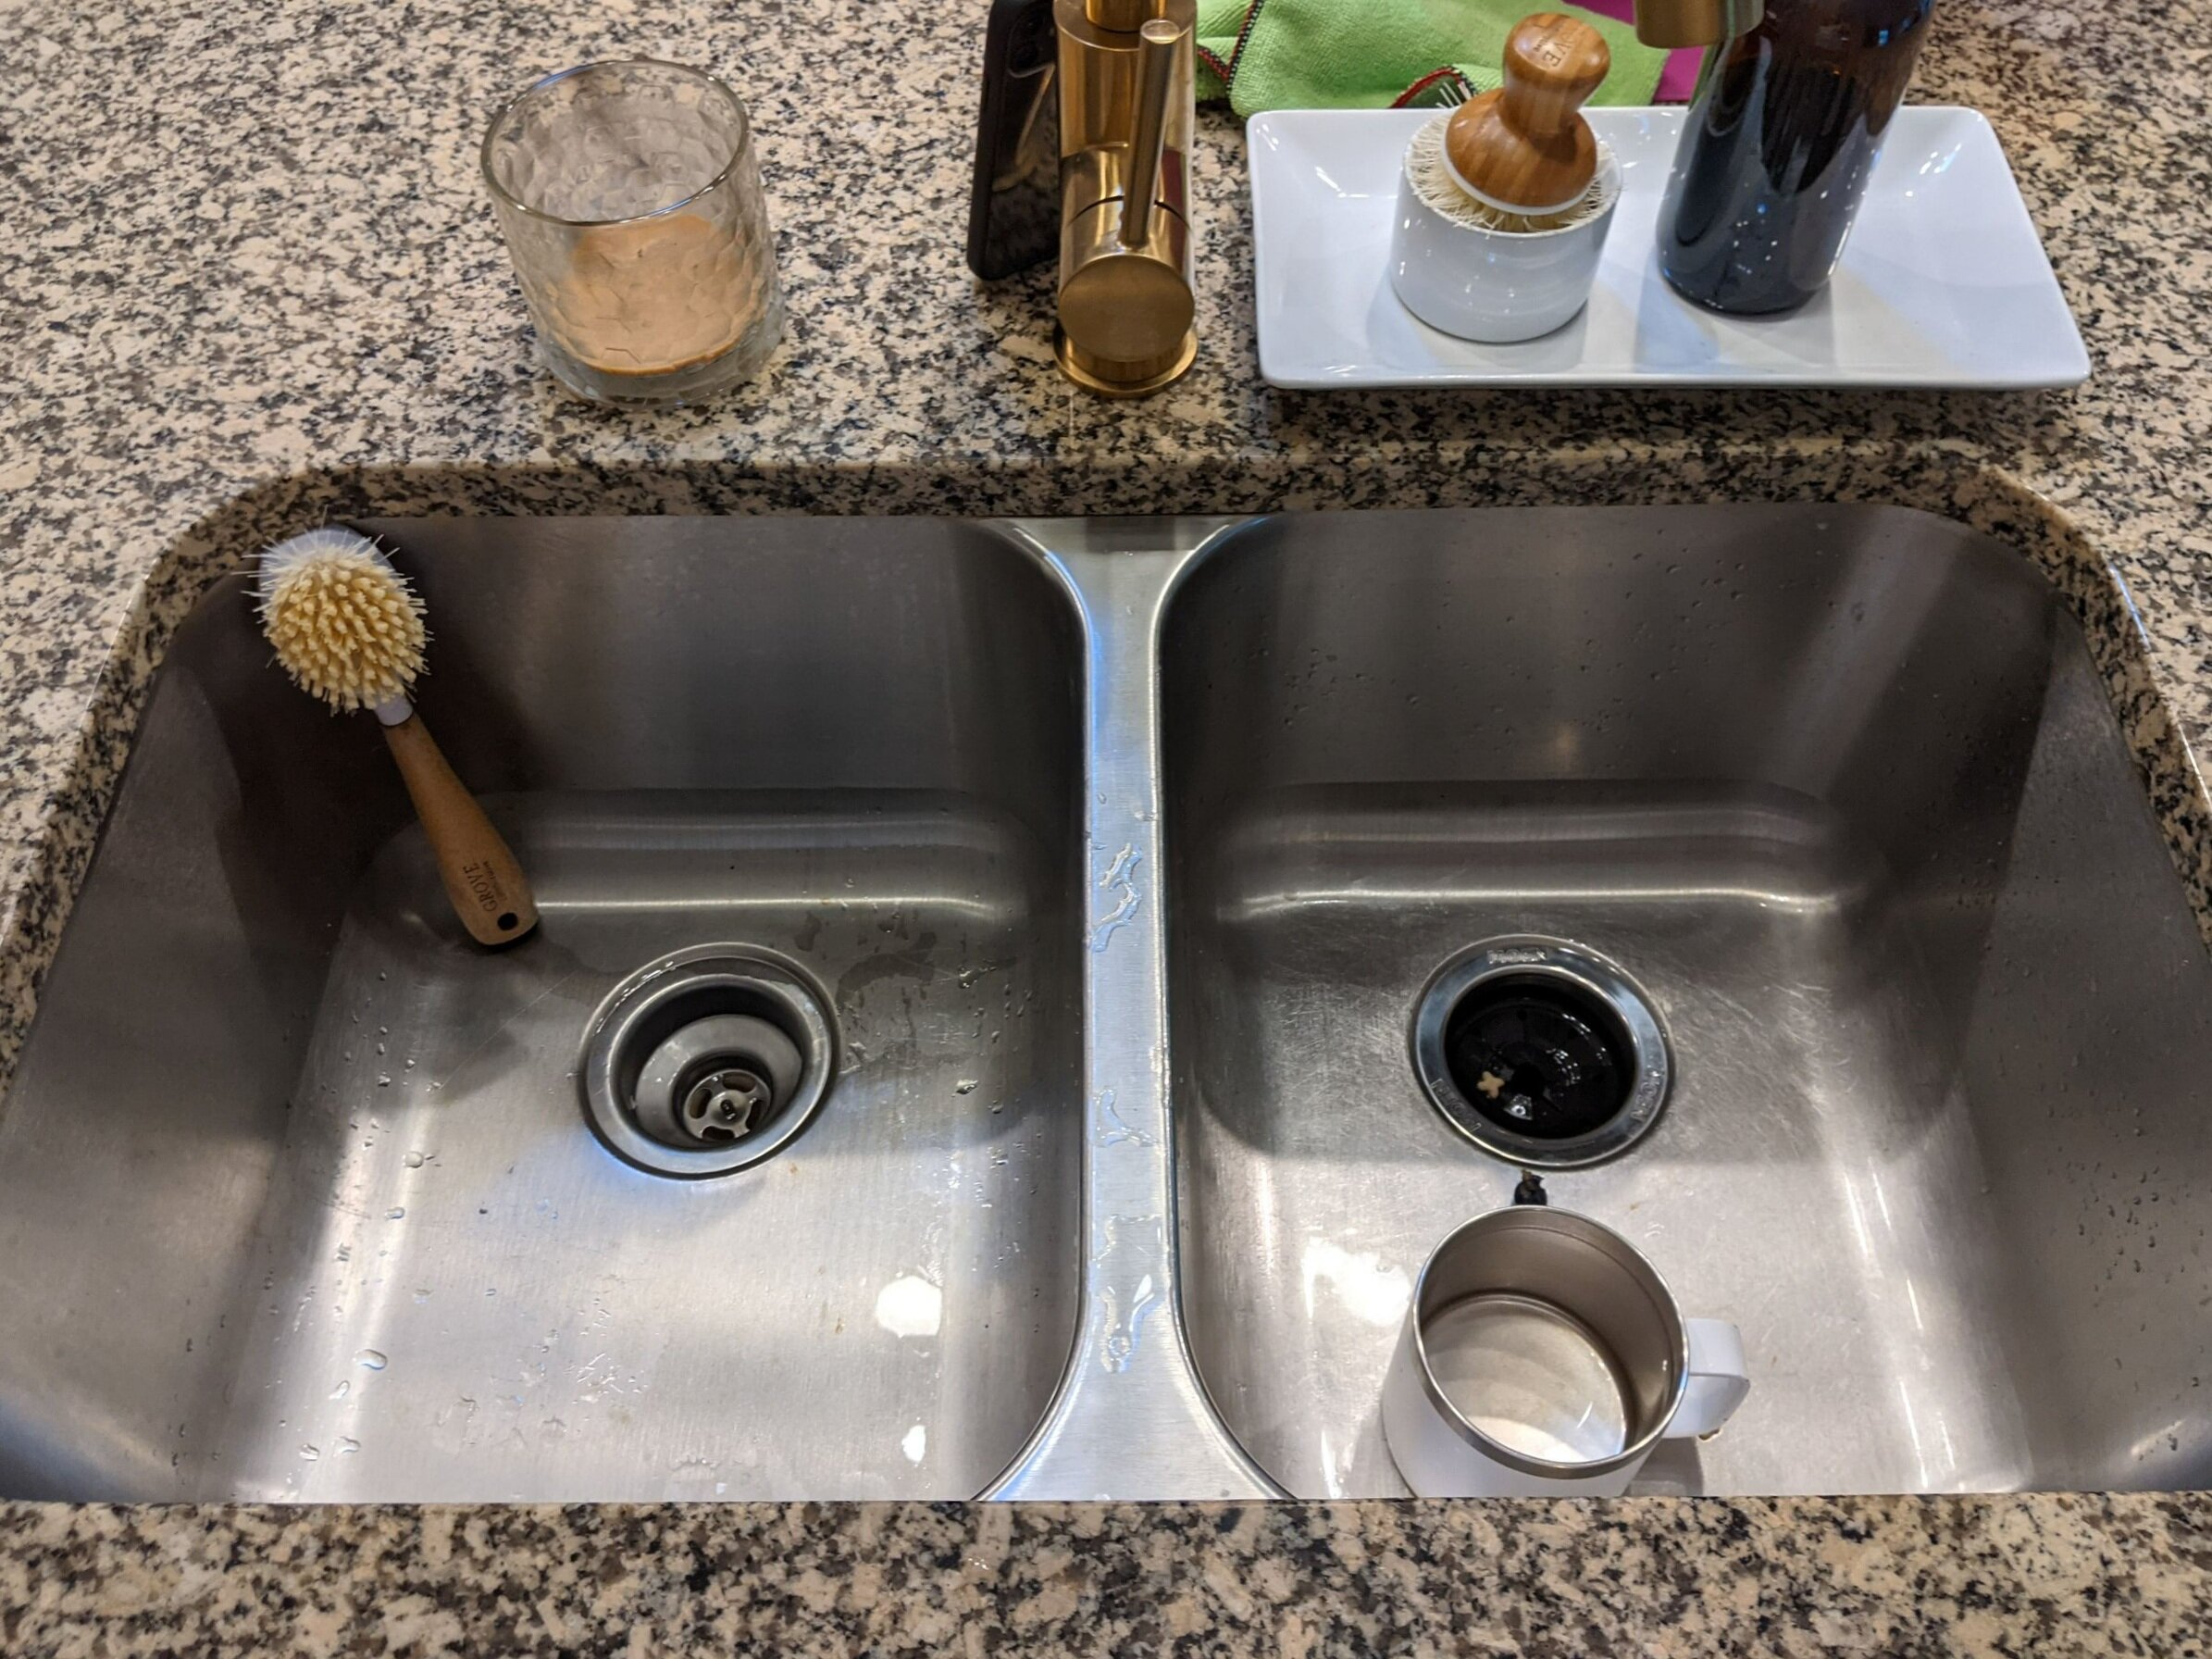
Image Source: images.squarespace-cdn.com
Grasping the Possibility
Changing out a kitchen sink without changing the whole counter is a common home project. It saves a lot of money and time compared to a full kitchen remodel. But it’s not always a simple swap. You need to think about a few key things first.
H4 What Kind of Sink Do You Have?
Kitchen sinks usually come in two main types: drop-in and undermount. Knowing which one you have is the first step.
H5 Drop-in Sinks
These sinks have a rim that sits on top of the counter. They are sometimes called top-mount sinks. You can see the edge of the sink all around the opening in the counter. They are held in place by clips underneath and sealant around the rim. Replacing sink with existing countertop is generally easiest with a drop-in sink, especially if you replace it with another drop-in sink of the same size.
H5 Undermount Sinks
These sinks are installed under the counter. The edge of the counter goes directly to the sink bowl. You don’t see a rim on top of the counter. Undermount sinks are often glued or clipped to the underside of the counter. They are commonly used with solid surface counters like granite, quartz, or solid surface materials. Undermount sink replacement can be more complex than replacing a drop-in sink.
Why Replace Just the Sink?
People change only their sink for many reasons:
* The old sink is cracked, chipped, or rusted.
* The finish is worn out or stained badly.
* You want a different style or size of sink bowl.
* You are updating your kitchen on a budget.
* The faucet is old, and it’s easier to change the sink and faucet at the same time.
What Makes Replacing Just the Sink Possible?
The main thing that makes replacing sink with existing countertop work is the size and shape of the hole in your counter.
* If your new sink fits the old hole perfectly, the job is much easier.
* If the new sink is slightly bigger (for a drop-in), you might be able to make the hole bigger, depending on the counter material.
* If the new sink is smaller, it might not cover the old hole, which means you likely do need a new counter or a custom piece to fill the gap.
* Changing from a drop-in to an undermount sink with the same counter is often possible, but it requires work on the countertop’s edge around the sink opening and might change the required hole size.
* Changing from an undermount to a drop-in is usually possible if the new drop-in sink’s rim is big enough to cover the old undermount hole and any anchor points.
Step-by-Step Guide to Replacing a Drop-in Sink
This is often the simplest scenario for replacing sink with existing countertop. Let’s walk through the steps.
H4 Tools Needed for Drop-in Sink Replacement
Gathering your tools before you start saves time and frustration. Here are the tools needed replace kitchen sink:
- Adjustable wrench or basin wrench (for plumbing)
- Pliers
- Screwdriver (Phillips and flathead)
- Utility knife or razor blade
- Putty knife or scraper
- Safety glasses
- Bucket or towels (to catch water)
- Work light (a headlamp is great)
- Measuring tape
- Caulking gun
- New sink and faucet (if changing both)
- Drain assembly (basket strainer, disposal mount)
- Plumber’s putty
- Silicone sealant (kitchen and bath type)
- Mineral spirits or rubbing alcohol (for cleaning)
- Gloves (optional, for cleaning)
H4 How to Remove Old Kitchen Sink (Drop-in)
Replacing sink with existing countertop starts with taking the old one out.
H5 Step 1: Turn Off the Water
Find the water shut-off valves under the sink. There are usually two handles, one for hot and one for cold. Turn them fully to stop the water flow to the faucet. If you don’t have valves under the sink, you’ll need to turn off the main water supply to your house. Turn on the faucet after shutting off the water to make sure it’s off and to drain any water left in the pipes.
H5 Step 2: Disconnect the Drain
Place your bucket under the drain pipes to catch any water that might leak out. Use your adjustable wrench or pliers to loosen the large nuts holding the drain trap (the U-shaped pipe). You might need to hold the pipe with one hand while turning the nut with the other. Take the trap apart carefully. Disconnect any other pipes connected to the sink drain, like a dishwasher drain hose or a garbage disposal. If you have a disposal, unplug it from the wall outlet first! Then, there’s usually a collar that twists or bolts off the sink drain opening.
H5 Step 3: Disconnect the Faucet and Other Items
Look under the sink again. You’ll see the water lines connected to the faucet handles or body. Use the adjustable wrench or basin wrench to loosen and remove these lines from the faucet tailpieces. Be ready for a little water to come out. Disconnect any spray hoses, soap dispensers, or other accessories attached to the sink.
H5 Step 4: Free the Sink from the Counter
Drop-in sinks are sealed to the counter edge with caulk or sealant. Use your utility knife or razor blade to cut through this seal all the way around the sink rim where it meets the counter. Make several passes if needed to cut through the old, hard sealant.
Next, look for the clips that hold the sink in place under the counter. These are usually spaced around the sink’s edge. Use your screwdriver to loosen or remove these clips. Some clips might just need loosening, while others need to be fully unscrewed. Keep track of the screws if you might reuse the sink or clips, but you often get new ones with a new sink.
H5 Step 5: Lift Out the Old Sink
With the water disconnected, the drain free, and the clips and sealant cut, the sink should be ready to lift out. This might take some effort as the old sealant can be tough. Gently push up from underneath or use a pry bar carefully from the top, being very careful not to damage the countertop. If it’s stuck, double-check that the sealant is cut and all clips are loose. Lift the sink straight up and out of the hole. It might be heavy, especially if it’s cast iron, so get help if needed.
H5 Step 6: Clean the Countertop Opening
Once the old sink is out, you’ll see the opening in the countertop. This area will have old sealant, dirt, and maybe plumber’s putty residue. Use your putty knife or scraper to remove all traces of the old sealant and gunk from the counter surface around the opening. Clean the area well with soap and water, then wipe it down with mineral spirits or rubbing alcohol to remove any grease and prepare the surface for the new sealant. A clean surface is key for sealing kitchen sink countertop properly.
Installing a New Drop-in Sink Existing Cutout
Now for putting the new sink in place. Installing new sink existing cutout is the goal here.
H4 Step 7: Check the Fit
Place the new sink into the old opening without any sealant yet. Does it fit? Does the rim overlap the counter opening all the way around?
* If it fits perfectly, great!
* If it’s a little tight, check the sink’s specifications and your hole measurements. Sometimes, a tiny bit of sanding or trimming might be needed if you have a laminate counter, but be very careful not to cut too much.
* If the new sink is smaller and doesn’t cover the hole, this countertop cannot be reused with this sink unless you find a way to modify the opening, which is often complex and might look bad. You likely need a different sink or a new countertop.
H4 Step 8: Install Faucet and Drains onto the New Sink
It’s much easier to install the faucet, drain baskets, and garbage disposal collar onto the new sink before you put the sink into the countertop hole. Place the new sink on sawhorses or a protected surface. Follow the instructions that came with your faucet and drain parts.
* For the faucet, you’ll feed the water lines and mounting post through the holes in the sink deck. Tighten the nuts from underneath.
* For the drain baskets, apply a rope of plumber’s putty around the underside of the drain lip that sits in the sink opening. Press the drain body through the opening from above, then install the rubber gasket, washer, and large nut from below and tighten it. Plumber’s putty helps make a watertight seal between the sink and the drain body.
* For a garbage disposal, install the mounting ring that came with the disposal following its instructions. This usually involves a gasket, support ring, and mounting ring that locks onto the sink drain opening.
H4 Step 9: Apply Sealant
Flip the new sink over so the rim is facing up. Apply a continuous bead of silicone sealant designed for kitchens and bathrooms all the way around the underside of the sink rim. This is the sealant that will sit between the sink and the countertop to prevent water from getting under the sink. Make sure the bead is thick enough to create a good seal when compressed.
H4 Step 10: Place the New Sink into the Opening
Carefully lift the sink (with the faucet and drains attached) and lower it straight into the countertop opening. Make sure it is lined up correctly. Press down firmly on the rim all around the sink to set it into the silicone sealant. The sealant will squeeze out slightly around the edge. This is good – it means you have enough.
H4 Step 11: Secure the Sink with Clips
Working from underneath the counter, install the clips that came with your new sink. These clips pull the sink down tight against the counter. There are different types of clips, so follow your sink’s instructions. Tighten them firmly, but don’t overtighten, especially on laminate or thin countertops. Tightening them evenly around the sink will help ensure a good seal.
H4 Step 12: Wipe Away Excess Sealant
Use your putty knife or a damp cloth to immediately wipe away the silicone sealant that squeezed out around the sink rim on the top side of the counter. You can use a little mineral spirits on a cloth to get it perfectly clean. Cleaning up the silicone before it dries is crucial for a neat look and proper sealing kitchen sink countertop.
H4 Step 13: Reconnect Plumbing
Now reconnect the drain pipes. Start by connecting the drain trap to the new sink drain or disposal collar. Reassemble the trap pieces, hand-tightening the nuts first, then gently snugging them with pliers. Reconnect the dishwasher drain if you have one.
Reconnect the water supply lines to the faucet tailpieces. Hand-tighten the connections, then use the adjustable wrench to tighten them about a quarter to a half turn more. Don’t overtighten plastic connections.
H4 Step 14: Test for Leaks
Once everything is connected, turn the water supply back on slowly. First, turn on the shut-off valves under the sink. If you turned off the main water, turn that back on. Turn on the faucet fully (both hot and cold) and let the water run for a few minutes. Fill the sink partway and let it drain. While the water is running and draining, carefully check all the plumbing connections underneath for any drips or leaks. Feel around the connections with your hand. If you see any leaks, try tightening the connection slightly. If it still leaks, you might need to take it apart and re-seat it, checking the washers or seals.
H4 Step 15: Allow Sealant to Cure
Silicone sealant needs time to dry and fully cure (harden). Check the sealant tube for the recommended drying time. It’s often several hours before it’s waterproof and 24 hours or more for full cure. Avoid getting water on the freshly sealed edge during this time.
This completes a basic drop-in sink replacement.
Step-by-Step Guide to Replacing an Undermount Sink
Undermount sink replacement is often more challenging, especially with heavy stone counters like granite or quartz. The sink is held up by the counter itself, often just with glue or epoxy, and sometimes clips or a cradle structure.
H4 Tools Needed for Undermount Sink Replacement
The tools list is similar to a drop-in, but you might need a few extra items:
- Same tools as drop-in sink replacement
- Safety goggles/face shield
- Blocks of wood or support frame (to hold new sink)
- Possible grinding tool (if modifying stone) – requires expertise!
- Adhesive remover or heat gun (carefully!)
- Strong epoxy or silicone adhesive recommended for the counter material
- Clamps (to hold sink while adhesive dries)
H4 How to Remove Old Kitchen Sink (Undermount)
Removing an undermount sink, especially replacing sink granite countertop where the sink is glued to heavy stone, requires care to avoid damaging the counter or the cabinet.
H5 Step 1-3: Turn Off Water, Disconnect Drain, Disconnect Faucet
These steps are the same as for a drop-in sink. Turn off the water, disconnect the drain trap and any disposal, and disconnect the faucet water lines from the faucet tailpieces. Make sure the disposal is unplugged before working on it.
H5 Step 4: Detach the Sink from the Countertop
This is the tricky part for undermount sinks. They are usually glued or epoxied to the underside of the counter. There might also be clips attached to the underside of the counter or cabinet walls that support the sink.
* Look for clips or support structures first. Remove any screws or bolts holding them in place. Note how they were installed.
* The sink is primarily held by the adhesive seal between the sink rim and the underside of the counter. This seal is strong! You need to carefully break this seal.
* Work from underneath. Use a utility knife with a fresh, sharp blade or a oscillating tool with a cutting blade to carefully cut through the sealant/adhesive gap between the top edge of the sink and the bottom surface of the counter. This takes time and effort. Be very careful not to cut into the countertop material itself.
* For very stubborn adhesive (like epoxy often used with granite), you might need specialized adhesive removers or careful application of heat with a heat gun (be aware of fire risks and cabinet finishes!). This part can be very difficult and requires patience.
* As you cut, the sink will start to separate. It helps to have someone support the sink from below or use a temporary support structure (like blocks of wood spanning the cabinet walls) to prevent the sink from falling once the adhesive bond is broken. Wear safety glasses or a face shield as debris might fall.
H5 Step 5: Lower and Remove the Old Sink
Once the adhesive bond is broken all the way around and any clips are removed, the sink should be free. Carefully lower the sink and remove it from the cabinet. Again, cast iron sinks are very heavy.
H5 Step 6: Clean the Countertop Underside Opening
Just like with a drop-in, cleaning is vital. Scrape off all the old adhesive and sealant from the underside of the countertop around the opening. This surface needs to be perfectly clean and smooth for the new sink to seal correctly. Use a scraper, wire brush, and potentially adhesive remover. Clean with a degreaser and wipe down with alcohol.
Installing a New Undermount Sink Existing Cutout
Installing new sink existing cutout as an undermount requires careful alignment and strong adhesive.
H4 Step 7: Check the Fit and Prepare
Place the new sink under the opening without adhesive to check how it fits.
* Does the new sink cover the hole correctly?
* Does the rim sit flush against the underside of the counter?
* Is there enough “reveal” (how much counter edge shows around the sink) or “offset” (sink is slightly bigger or smaller than the hole)? Match the previous reveal or decide on a new one (zero reveal, positive reveal, negative reveal).
* If the new sink is a different shape or size, installing new sink existing cutout as an undermount is much harder or impossible without countertop modification. Stone modification usually requires professional tools and skills.
H4 Step 8: Install Faucet and Drains onto the New Sink
Install the faucet, drain baskets, and disposal collar onto the new sink before lifting it into place. This is done the same way as for a drop-in sink (Step 8 in the drop-in section).
H4 Step 9: Prepare for Hanging the Sink
You need a way to hold the sink tightly against the counter while the adhesive dries.
* Method 1 (Preferred): Use clamps spanning from a support board across the top of the counter to another board under the sink. This pulls the sink up firmly.
* Method 2: Build a temporary support frame inside the cabinet that holds the sink up against the counter from below.
* Method 3: If your counter has pre-drilled holes for undermount sink clips (common with granite/quartz), you’ll use adhesive plus these clips.
H4 Step 10: Apply Adhesive
Apply a thick, continuous bead of the recommended adhesive (usually a strong silicone or epoxy designed for the counter material and sink type) to the top flange of the new sink. Make sure you apply enough for a good seal.
H4 Step 11: Lift and Position the New Sink
Carefully lift the sink into the cabinet and up towards the countertop opening. Align it precisely with the desired reveal/offset. This often requires two people.
H4 Step 12: Clamp or Support the Sink
Once the sink is in position, immediately apply your chosen support method (clamps, frame, or attach clips if using). Tighten the clamps or supports firmly to hold the sink tight against the counter. This is critical for the adhesive bond and creating a watertight seal. Wipe away any excess adhesive that squeezes out.
H4 Step 13: Allow Adhesive to Cure
Let the adhesive cure completely according to the product instructions. This can take 24 hours or more. Do not remove the clamps or supports, or use the sink, until the adhesive is fully hardened.
H4 Step 14: Reconnect Plumbing and Test
Once the adhesive is fully cured and supports are removed (if temporary), reconnect the drain pipes and water lines just like for the drop-in sink (Steps 13 and 14 in the drop-in section). Turn water back on slowly and check all connections for leaks.
H4 Step 15: Sealing the Edge (Optional but Recommended)
For extra protection, you might want to apply a small bead of clear silicone sealant underneath the counter, where the top edge of the sink meets the counter. This provides a secondary barrier against water intrusion. Wipe away excess.
DIY Sink Installation? Considerations
DIY sink installation is definitely possible, especially for replacing a drop-in with a similar size drop-in. However, if you are dealing with:
* An undermount sink
* A heavy sink (cast iron)
* A stone countertop (granite, quartz)
* Needing to modify the countertop opening
* Complex plumbing (garbage disposal, multiple drains, air gap)
…the job becomes more difficult and might require skills, tools, or even helpers you don’t have. Damage to the countertop or cabinets during removal or installation is a real risk. Leaks from improper plumbing connections or poor sealing kitchen sink countertop can cause major water damage over time.
If you’re not comfortable working with plumbing, handling heavy items, or dealing with potentially stubborn old parts, hiring a plumber or handyman experienced in sink installation might be a better option.
Installing New Sink Existing Cutout: What If It Doesn’t Match?
This is a common challenge when installing new sink existing cutout.
- New Drop-in is Bigger: If your countertop is laminate, wood, or solid surface, you might be able to enlarge the opening carefully using a jigsaw or router. Measure precisely! For granite or quartz, this requires professional stone cutting tools and expertise; a DIY approach is very risky. If your counter is tile, cutting tiles is also difficult.
- New Drop-in is Smaller: The new sink’s rim must be large enough to cover the existing hole entirely. If it’s not, you cannot use that sink with your current countertop. You would need a new countertop or a different sink.
- New Undermount is Different Size/Shape: Undermount sink cutouts are made very precisely. If the new sink is different, the hole in the stone or solid surface counter might need to be professionally modified. This is costly and creates dust/mess. A different sink that matches the existing cutout is often the easier solution.
- Changing Sink Type:
- Drop-in to Undermount: Possible if the existing cutout is suitable, but the edge of the countertop around the hole needs to be finished smooth (since it will now be visible). This requires stone polishing for granite/quartz or routing/sanding for other materials. Clips or support structures need to be installed underneath.
- Undermount to Drop-in: Usually possible if the new drop-in sink’s rim is large enough to cover the undermount hole and any signs of the old adhesive or clip locations.
In short, for installing new sink existing cutout, checking the dimensions carefully before buying the new sink is essential. Get the template for the new sink and compare it to your existing hole.
Replacing Sink Granite Countertop
Replacing sink granite countertop comes with specific considerations:
- Weight: Granite and quartz countertops are extremely heavy. Undermount sinks attached to them rely heavily on strong adhesive.
- Adhesive: The adhesive used on undermount sinks with granite is often epoxy, which is very strong and hard to break. Removing the old sink requires patience and effort to cut through this bond without damaging the stone.
- Fragility: While strong, granite can crack if stressed incorrectly, especially around cutouts. Don’t force things when removing the old sink.
- Modification: Cutting or shaping granite requires diamond tools and professional skills. Enlarging a sink hole or finishing the edge for an undermount requires hiring a stone fabricator. This adds significant cost.
- Support: Ensure the cabinet structure is strong enough to support the weight of the granite and the new sink filled with water. Undermount sinks often use clips attached to the stone underside or cabinet sides for extra support in addition to the adhesive. Make sure these are properly installed.
Kitchen Sink Replacement Cost
The kitchen sink replacement cost varies a lot depending on whether you do it yourself or hire a professional, the type and material of the sink, and the complexity of the job (e.g., changing sink type, modifying the countertop).
H4 Cost Breakdown:
- New Sink:
- Basic stainless steel drop-in: $100 – $300
- Higher quality stainless steel, composite, or cast iron drop-in: $300 – $800+
- Basic stainless steel undermount: $200 – $400
- Higher quality stainless steel, composite, or cast iron undermount: $400 – $1000+
- Farmhouse/Apron sink: $500 – $2000+ (Often requires cabinet modification, making replacement harder without counter work)
- New Faucet (Optional): $100 – $500+
- Supplies: Plumber’s putty, silicone sealant, drain pipes/fittings, water lines, clips/adhesive: $50 – $100
- Tools: If you need to buy tools: $50 – $200+ depending on what you need.
- Labor (Hiring a Pro):
- Plumber/Handyman hourly rate: $75 – $150+ per hour
- Typical flat fee for basic drop-in sink replacement: $300 – $600
- Typical flat fee for undermount sink replacement (straight swap): $400 – $800+
- Complexity Fee: If the job is tricky (stuck sink, old disposal issues, minor pipe reconfiguration), costs can go up.
- Countertop Modification (If Needed):
- Laminate/Wood/Solid Surface (DIY or Handyman): Varies, might be $100 – $300 in labor.
- Granite/Quartz (Professional Stone Fabricator): $300 – $1000+ depending on complexity of cut and polishing the edge. Often includes template making and site work.
H4 Estimated Total Cost:
- DIY Drop-in Replacement: $150 – $1000+ (depending heavily on sink/faucet cost and if you need tools)
- Hire Pro for Drop-in Replacement: $450 – $1600+
- DIY Undermount Replacement: $250 – $1200+ (requires significant skill/tools, not recommended for beginners)
- Hire Pro for Undermount Replacement (Straight Swap): $650 – $1800+
- Hire Pro for Undermount Replacement with Granite/Quartz and Counter Modification: $1000 – $3000+ (Can sometimes approach the cost of a new basic countertop)
As you can see, the cost varies greatly. Doing the work yourself saves on labor but requires you to have the tools and confidence. Hiring a professional provides expertise, especially important for undermount or granite applications, but significantly increases the total kitchen sink replacement cost.
Sealing Kitchen Sink Countertop Properly
Sealing kitchen sink countertop is perhaps the most important step to prevent water damage. Water can ruin cabinets and cause mold growth if it gets under the sink or into the countertop material, especially laminate or wood.
H4 Importance of the Seal
The sealant (usually silicone) creates a watertight barrier:
* For drop-in sinks: Between the underside of the sink rim and the top surface of the countertop. It stops water spilled on the counter from running under the sink edge.
* For undermount sinks: Primarily the adhesive forms the seal between the sink flange and the underside of the counter. A secondary seal might be applied underneath for extra security.
H4 How to Apply Sealant Correctly
- Use the Right Product: Use 100% silicone sealant specifically made for kitchens and bathrooms. It resists water, mold, and mildew. Color: Clear is common, but white or colors matching the sink/counter are available.
- Prepare the Surface: The surfaces where the sealant will touch (underside of sink rim and countertop surface for drop-in; sink flange and counter underside for undermount) must be perfectly clean, dry, and free of old sealant or grease. Clean with alcohol or mineral spirits and let it dry.
- Apply a Continuous Bead: Cut the tip of the sealant tube nozzle at a 45-degree angle, making a hole the size of the gap you need to fill (usually about 1/4 inch). Apply steady pressure to the caulking gun trigger and lay down a smooth, continuous bead of sealant along the entire perimeter where the sink meets the counter. Do not stop and start too much, as this can create gaps.
- Place the Sink: Carefully set the sink into the opening (drop-in) or lift it into place (undermount) and press it down or clamp it firmly. This will spread the sealant and create the seal.
- Wipe Away Excess: Immediately use a putty knife, a damp cloth, or your finger (wearing a glove dipped in mineral spirits or water) to wipe away the excess sealant that squeezes out. Smooth the bead for a clean look on the top edge of a drop-in sink. Clean up all excess before it starts to skin over.
- Allow to Cure: Let the sealant cure completely according to the package instructions before using the sink or getting the area wet. This is critical for a lasting, waterproof seal.
A well-applied seal protects your cabinets and floor from potential water damage for years.
Potential Problems and How to Handle Them
- Old Sink is Stuck: Cut the sealant thoroughly. Check for hidden clips or screws. For undermounts, slowly and carefully work to break the adhesive bond from underneath. Don’t use excessive force that could damage the counter.
- Plumbing Doesn’t Line Up: New sinks/disposals/faucets might have slightly different pipe locations. You might need new PVC pipe pieces and fittings to reconfigure the drain line. Flexible supply lines for faucets make water connections easier.
- Garbage Disposal Issues: Removing or installing a disposal can be messy and sometimes stuck. Make sure it’s unplugged! Follow the disposal’s instructions carefully for mounting and plumbing connections.
- Countertop Damage: Be extremely careful during removal and installation. Lay down protective sheeting on the countertops. Avoid dropping tools. Damage to laminate or wood is easier to fix than damage to stone.
- Leaks: Turn the water back on slowly and check immediately and again after an hour or two of use. A small drip can become a big problem. Most leaks are at pipe connections (tighten slightly) or the drain basket nut (might need more plumber’s putty or tightening). Leaks under the sink rim mean the seal is bad and needs to be redone.
Wrapping Up
Replacing sink with existing countertop is a very common and achievable home improvement task. For drop-in sink replacement, it’s often a manageable DIY sink installation project if the new sink fits the old hole. Undermount sink replacement, especially with granite or quartz counters, is more complex due to the removal process and the need for strong adhesive and proper support, making it a job often better suited for experienced DIYers or professionals.
Knowing how to remove old kitchen sink, preparing for installing new sink existing cutout by checking dimensions, having the right tools needed replace kitchen sink, understanding the kitchen sink replacement cost involved, and ensuring perfect sealing kitchen sink countertop are all key parts of a successful project. By taking the time to prepare and follow the steps carefully, you can give your kitchen a fresh look without the expense of new countertops.
Frequently Asked Questions (FAQ)
H4 Q: Can I replace my sink myself if I’m not very handy?
A: Replacing a drop-in sink with one of the exact same size is probably the easiest project for a beginner DIYer. However, dealing with plumbing, potential leaks, or removing a very stuck sink can be tricky. If you’re unsure, getting help from a friend who is handy or hiring a professional might be a good idea. Undermount sinks are generally harder for a beginner.
H4 Q: How long does it take to replace a kitchen sink?
A: For a simple drop-in swap, it might take a DIYer 3-6 hours. For an undermount sink or if there are complications (like a very stuck sink or needing to adjust plumbing), it can take a full day or even longer. Hiring a professional is usually faster, perhaps 2-4 hours for a straight swap.
H4 Q: Do I need to replace the faucet when I replace the sink?
A: No, you don’t have to. If your current faucet works well and you like it, you can reuse it. However, many people choose to replace the faucet at the same time since it’s already disconnected and easily accessible before the new sink is fully installed. New sinks often look best with new faucets.
H4 Q: Can I put an undermount sink into a laminate countertop?
A: Yes, it is possible, but it’s less common and comes with challenges. Laminate edges are often not finished for the visible edge needed around an undermount sink. Special edge kits or custom fabrication are needed to seal the particleboard core of the laminate from water. Water damage is a higher risk with undermount sinks in laminate compared to solid surface counters.
H4 Q: What is plumber’s putty used for?
A: Plumber’s putty is a soft, pliable sealing compound used to create a watertight seal under the rim of drain parts (like sink strainers or disposal flanges) where they meet the sink surface. It stays soft and allows for future removal. It is typically not used to seal the sink rim to the countertop; silicone sealant is used for that.
H4 Q: What if the new sink doesn’t come with clips?
A: Most new sinks come with the necessary mounting clips. If yours doesn’t, or if the old clips are needed and don’t fit the new sink, you’ll need to buy generic sink mounting clips that are compatible with your new sink and countertop type at a hardware store or plumbing supply store. Ensure they are the correct type for your sink and counter.
H4 Q: Is it messy to replace a sink?
A: Yes, it can be. You’ll deal with old caulk, potentially dirty pipes, water drips, and sometimes sticky adhesive (especially with undermounts). Lay down drop cloths or old towels to protect your floors and cabinets. Having a bucket handy is essential for disconnecting drain lines. Cleaning the old sealant is the messiest part.