Image Source: whitelacecottage.com
Expert Guide: Can You Paint Kitchen Cabinets With Chalk Paint?
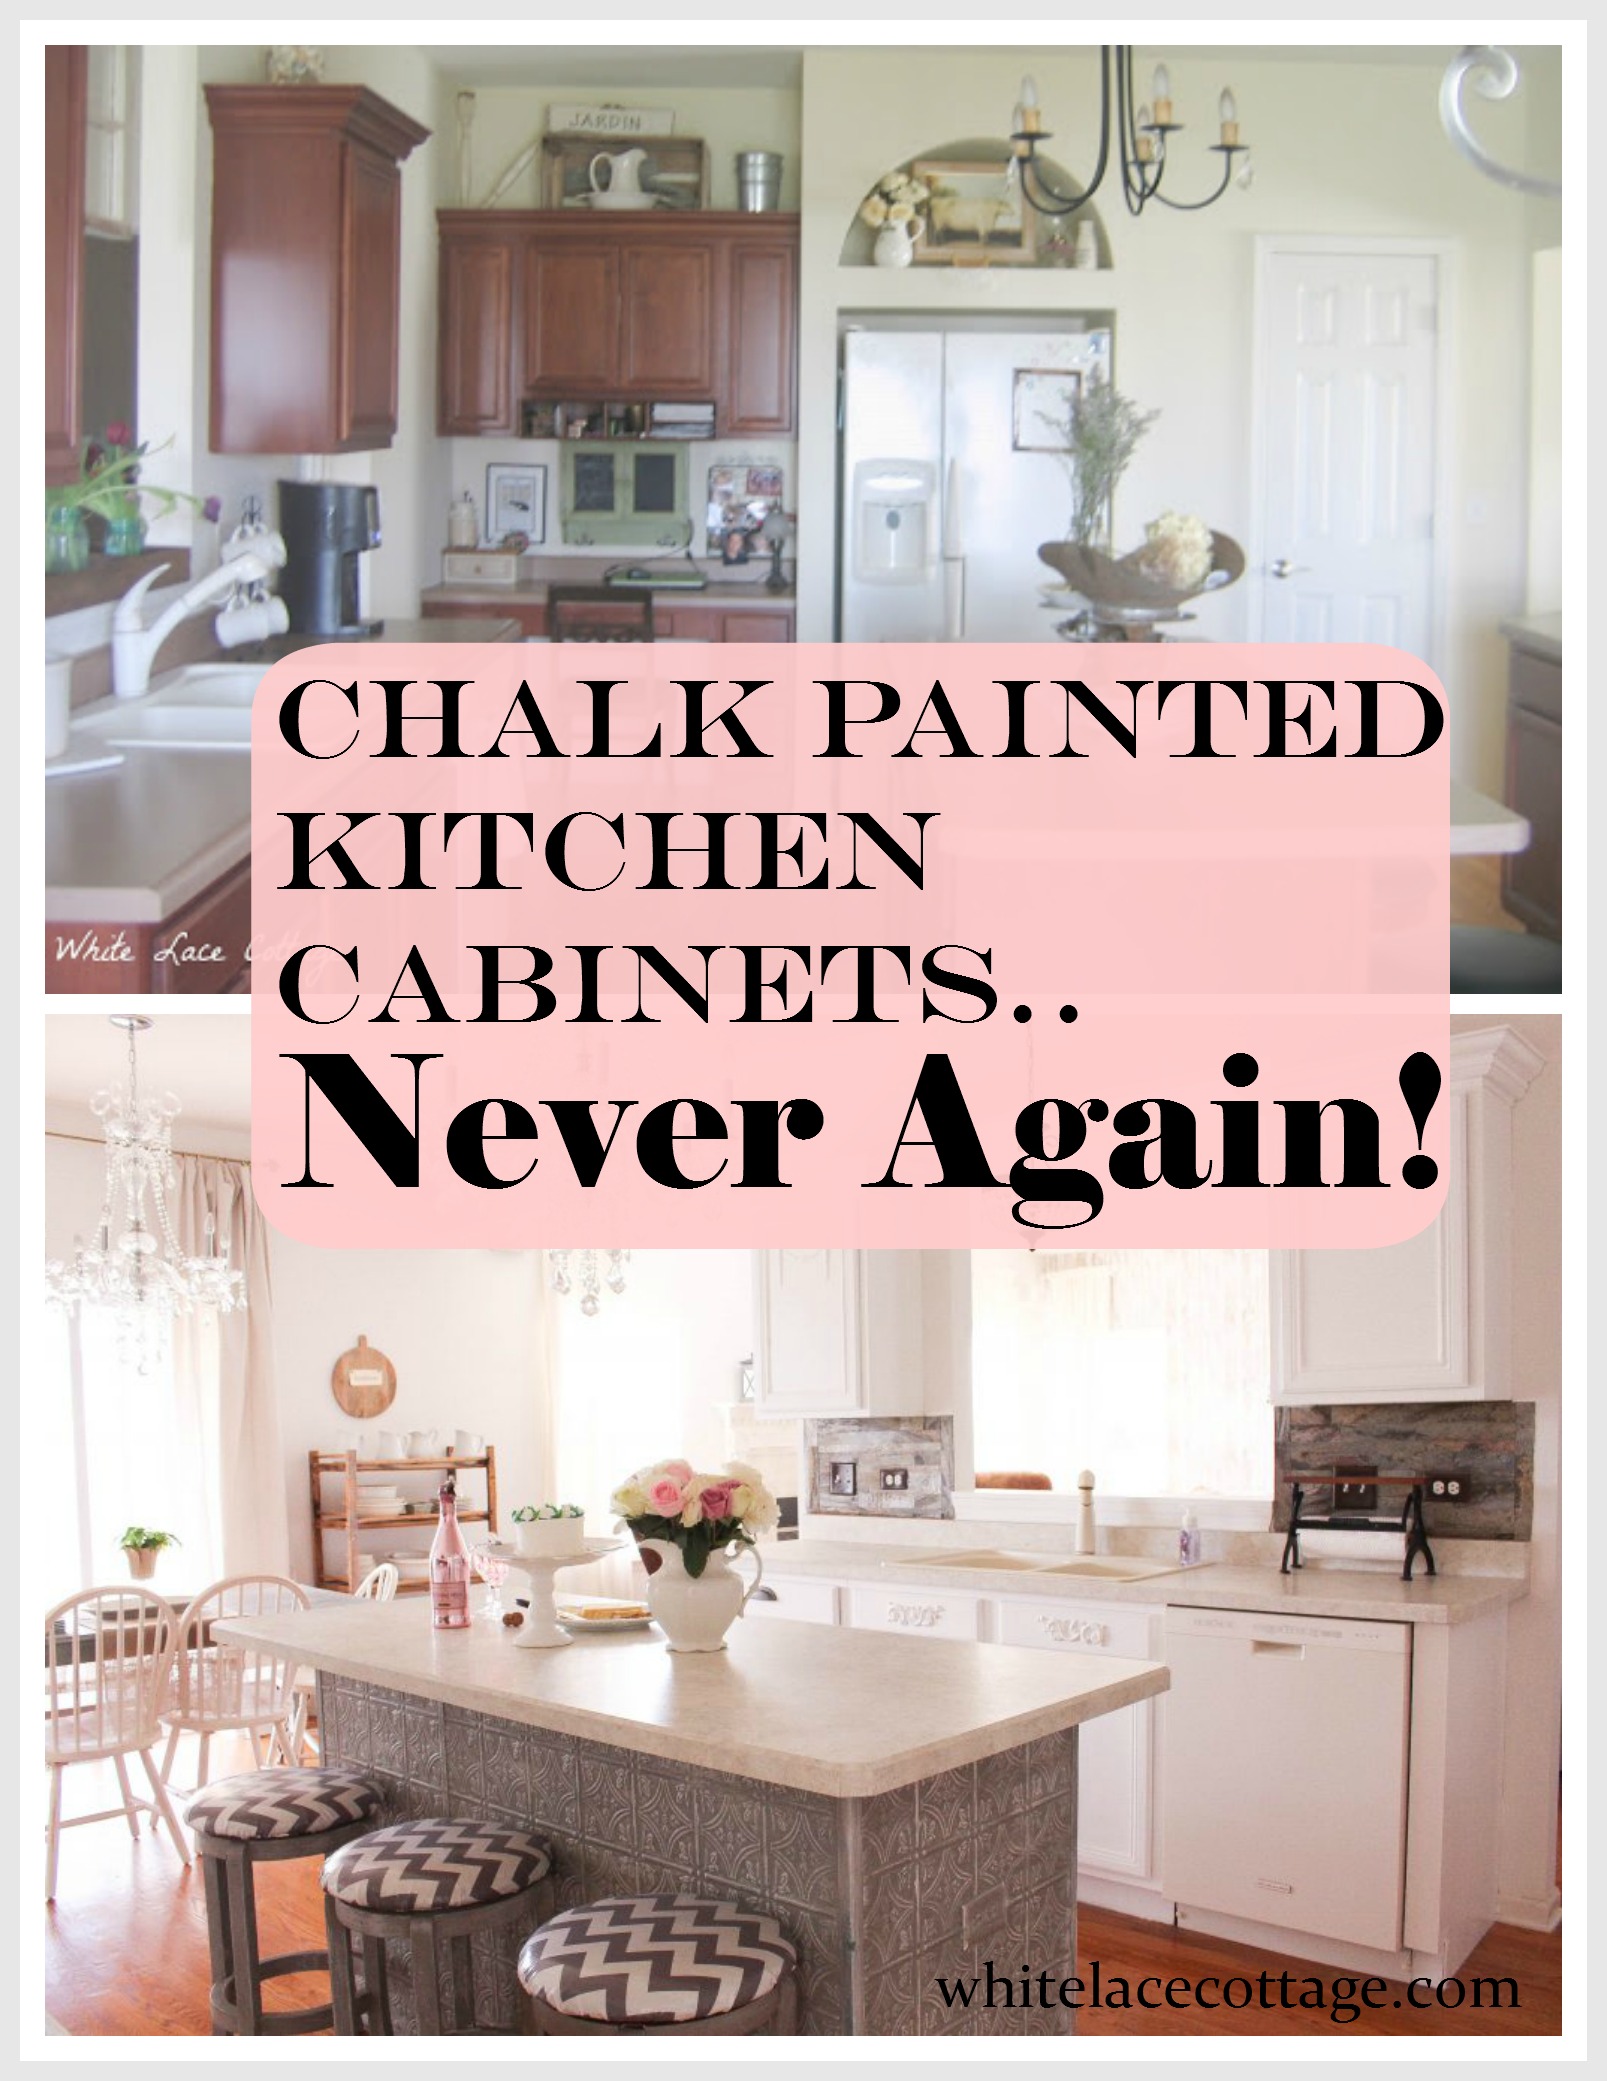
Yes, you absolutely can paint kitchen cabinets with chalk paint, and it’s a popular choice for achieving a vintage, matte, or distressed look. However, it’s crucial to understand the process and limitations for a successful and durable finish.
Deciphering the Chalk Paint Cabinet Transformation
Transforming your kitchen cabinets with chalk paint can be a rewarding DIY project. Chalk paint is known for its ability to adhere to various surfaces with minimal prep, its matte finish, and its ease of distressing. This makes it a favorite for chalk paint cabinet transformation projects, especially for those aiming for a charming, rustic, or farmhouse aesthetic. The appeal lies in its forgiving nature and the ability to create unique, custom looks. Many chalk paint kitchen cabinet ideas revolve around achieving this vintage charm.
The Allure of Chalk Paint for Furniture Refinishing
Chalk paint has revolutionized chalk paint furniture refinishing for a reason. Unlike traditional paints that require extensive sanding and priming, chalk paint often boasts superior adhesion. This means you can typically bypass heavy surface preparation, saving time and effort. Its velvety matte finish is also a significant draw, providing a sophisticated yet approachable look. When applied to cabinets, this can lead to a stunning chalk paint cabinet finish that feels both current and timeless.
Chalk Paint Cabinet Prep: The Foundation for Success
While chalk paint is lauded for its minimal prep, chalk paint cabinet prep is still a vital step for a long-lasting, beautiful finish. Skipping this can lead to adhesion issues, uneven finishes, or a finish that doesn’t hold up to daily wear and tear.
Essential Chalk Paint Cabinet Prep Steps:
-
Cleaning: This is paramount. Kitchen cabinets are prone to grease, grime, and food splatters. Thoroughly clean all surfaces with a degreaser. A solution of warm water and a few drops of dish soap works well. For stubborn grease, a specialized kitchen degreaser or a solution of TSP (trisodium phosphate) can be used, but always test in an inconspicuous area first and wear protective gear. Rinse thoroughly with clean water and allow the cabinets to dry completely.
-
Light Scuff Sanding (Optional but Recommended): While chalk paint adheres well to most surfaces, a light scuff sand with a fine-grit sandpaper (180-220 grit) can improve adhesion even further, especially on very glossy or slick surfaces like laminate. This isn’t about removing the old finish, but rather creating a slightly roughened surface for the paint to grip onto. Wipe away all dust with a tack cloth after sanding.
-
Addressing Hardware: Remove all cabinet doors, drawers, and hardware. This allows for more even application of the paint and a cleaner finish. Store hardware in labeled bags to ensure you know where each piece goes.
-
Protecting Your Workspace: Lay down drop cloths to protect your floors and countertops. Use painter’s tape to mask off any areas you don’t want to paint, such as the inside of the cabinets or the cabinet frames themselves.
Choosing the Best Chalk Paint for Cabinets
When embarking on DIY kitchen cabinet painting with chalk paint, selecting the best chalk paint for cabinets is crucial. Not all chalk paints are created equal, and some formulations are better suited for high-traffic areas like kitchens.
Factors to Consider When Selecting Chalk Paint:
- Durability and Quality: Look for brands known for their robust formulations. Higher-quality chalk paints tend to have better coverage and a more durable finish once sealed.
- Adhesion: While most chalk paints offer good adhesion, some are specifically formulated for challenging surfaces.
- Color Range: Chalk paint offers a vast array of colors. Consider your kitchen’s aesthetic and choose a color that complements your existing decor.
- Low VOCs (Volatile Organic Compounds): For indoor projects, opting for low-VOC or zero-VOC paints is healthier.
Top Brands to Consider (Research current reviews for specific product lines):
- Annie Sloan Chalk Paint: The original and a benchmark for quality. Known for its velvety texture and excellent adhesion.
- Rust-Oleum Chalked Ultra Matte Paint: A more budget-friendly option that still delivers good results.
- Farrow & Ball Estate Emulsion (Can be used like chalk paint with minimal prep): While not strictly “chalk paint,” its matte finish and adhesion properties make it a viable alternative for a similar look.
- Valspar Chalkboard Paint (can be tinted): Offers a unique finish and can be a fun option for a specific look.
The Painting Process: Achieving a Flawless Chalk Paint Cabinet Finish
Applying chalk paint to cabinets is a multi-step process that requires patience and attention to detail to achieve a beautiful chalk paint cabinet finish.
Steps for Applying Chalk Paint to Cabinets:
-
First Coat: Apply a thin, even coat of chalk paint. Use a good quality synthetic brush or a foam roller for a smooth finish. Work in the direction of the wood grain. Avoid overworking the paint, as this can lead to brush strokes. Let the first coat dry completely according to the manufacturer’s instructions.
-
Second Coat (and Subsequent Coats): Most cabinets will require two to three coats of chalk paint for full coverage and a uniform color. Apply subsequent coats in the same manner as the first. Lightly sand with very fine-grit sandpaper (220-320 grit) between coats if you notice any imperfections or raised grain. Wipe away dust with a damp cloth or tack cloth.
-
Distressing (Optional): If you desire a distressed look, this is the time to do it. Once the paint is dry, use fine-grit sandpaper or a sanding sponge to gently distress edges, corners, or areas that would naturally show wear over time. Wipe away the dust.
-
Adding a Glaze (Optional): For an antique or aged look, you can apply a glaze over the chalk paint. Apply the glaze thinly and wipe away excess with a clean cloth, allowing it to settle into crevices and create depth.
Chalk Paint Cabinet Sealant: Protecting Your Investment
The matte finish of chalk paint is beautiful, but it’s also porous and susceptible to stains and moisture. Therefore, a chalk paint cabinet sealant is absolutely essential for chalk paint cabinet durability. Without proper sealing, your cabinets will be vulnerable to damage from everyday kitchen use.
Types of Sealants:
- Water-Based Polycrylic: This is the most recommended sealant for chalk-painted cabinets. It dries clear, is highly durable, and doesn’t yellow over time. It’s also water-resistant and easy to clean. Apply in thin, even coats.
- Water-Based Polyurethane: Similar to polycrylic, but can sometimes impart a slight amber hue, especially on lighter colors. Use with caution if a perfectly clear finish is desired.
- Wax: While traditional wax finishes are often used with chalk paint on furniture, they are generally not recommended for kitchen cabinets. Wax provides a softer, less durable finish that is prone to water spots, heat damage, and can attract dirt.
Applying the Sealant:
- Ensure Paint is Fully Cured: Allow the final coat of chalk paint to dry thoroughly, ideally for at least 24-48 hours, before applying the sealant.
- Apply Thin Coats: Use a high-quality synthetic brush or foam applicator to apply thin, even coats of your chosen sealant (polycrylic is preferred).
- Allow Drying Time Between Coats: Let each coat of sealant dry completely according to the manufacturer’s instructions.
- Light Sanding Between Coats (Optional): For an ultra-smooth finish, you can lightly sand with very fine-grit sandpaper (320-400 grit) between sealant coats. Wipe away dust with a tack cloth.
- Multiple Coats: Apply at least 2-3 coats of sealant for adequate protection. For high-traffic areas or for maximum chalk paint cabinet durability, consider 4-5 coats.
Chalk Paint Cabinet Durability: What to Expect
Chalk paint cabinet durability is a common concern. When prepared correctly, painted with quality chalk paint, and sealed with multiple coats of a durable topcoat like polycrylic, chalk-painted cabinets can be surprisingly resilient. They can withstand regular cleaning and use. However, they may not be as robust as factory-finished cabinets, especially against very harsh abrasions or prolonged exposure to moisture without immediate wiping.
Factors Affecting Durability:
- Quality of Paint and Sealant: Using high-quality products makes a significant difference.
- Number of Sealant Coats: More coats equal more protection.
- Proper Prep: A clean, scuffed surface ensures good adhesion.
- Cleaning Habits: Gentle cleaning with a soft cloth and mild detergent is best. Avoid abrasive cleaners.
- Usage: High-traffic areas will naturally experience more wear.
Chalk Paint Cabinet Pros and Cons
Like any painting method, using chalk paint for kitchen cabinets comes with its advantages and disadvantages. It’s important to weigh these chalk paint cabinet pros and cons before diving in.
Pros of Using Chalk Paint for Kitchen Cabinets:
- Minimal Prep: Often requires less sanding and no priming compared to traditional paints.
- Excellent Adhesion: Sticks well to most surfaces, including wood, laminate, and previously painted finishes.
- Matte Finish: Provides a sophisticated, velvety look.
- Easy to Distress: Allows for a customizable vintage or aged appearance.
- Quick Drying Times: Chalk paint generally dries faster than traditional paints, allowing for quicker application of multiple coats.
- Beautiful Color Palette: Available in a wide range of colors.
- Good for DIYers: Its forgiving nature makes it accessible for beginners.
Cons of Using Chalk Paint for Kitchen Cabinets:
- Requires Sealing: The porous nature of chalk paint necessitates a topcoat for durability and protection, especially in a kitchen environment.
- Durability Concerns (Without Proper Sealing): If not sealed correctly, the finish can be prone to chipping, scratching, and staining.
- Wax is Not Recommended for Kitchens: While wax is used on furniture, it’s generally not suitable for cabinets due to its lack of durability against moisture and heat.
- Can be More Expensive: High-quality chalk paints and the necessary sealants can add up in cost.
- Requires Careful Cleaning: Harsh chemicals or abrasive scrubbers should be avoided to maintain the finish.
Chalk Paint Cabinet Finish: Achieving Different Looks
The beauty of chalk paint lies in its versatility. Beyond the classic matte finish, you can achieve a variety of looks with the right techniques.
Popular Chalk Paint Cabinet Finishes:
- Smooth Matte: Achieved by applying thin, even coats and using a good quality roller or brush. Lightly sanding between coats and using a smooth application of polycrylic will enhance this.
- Distressed: After painting and sealing (or before sealing), gently sand specific areas to reveal the underlying paint color or wood.
- Layered Colors: Apply one color, let it dry, then apply a contrasting color and distress to reveal the base color.
- Waxed Finish (for decorative areas only): While not ideal for high-use cabinets, a thin layer of clear wax can add a subtle sheen and depth to certain areas. However, sealants are still the primary protector.
- Glazed Finish: Apply a glaze over the dried paint for an aged or antique effect.
Frequently Asked Questions About Painting Kitchen Cabinets with Chalk Paint
Q1: Do I really need to seal chalk paint on kitchen cabinets?
A1: Yes, absolutely. Sealing is critical for chalk paint cabinet durability. Chalk paint is porous and will not withstand kitchen use, moisture, or stains without a durable topcoat like polycrylic.
Q2: Can I use wax as a sealant for kitchen cabinets?
A2: It is generally not recommended. While wax provides a beautiful finish on furniture, it’s not durable enough for the demands of a kitchen. It’s susceptible to water damage, heat, and general wear and tear.
Q3: What is the best way to clean chalk-painted cabinets?
A3: Clean them gently with a soft cloth and a mild dish soap mixed with water. Avoid abrasive cleaners, scrub brushes, or harsh chemicals, as these can damage the paint and sealant.
Q4: Will chalk paint hold up to grease and grime in the kitchen?
A4: With proper sealing, chalk-painted cabinets can be cleaned effectively. However, it’s best to wipe up spills and splatters promptly to prevent staining.
Q5: How many coats of sealant do I need for my cabinets?
A5: For good chalk paint cabinet durability, aim for at least 2-3 coats of a water-based polycrylic. For high-traffic kitchens, 4-5 coats are recommended. Apply thin, even coats for the best results.
Q6: Can I paint over existing laminate cabinets with chalk paint?
A6: Yes, chalk paint adheres well to laminate, but thorough cleaning and a light scuff-sand are crucial for proper adhesion. Always test in an inconspicuous area first.
Q7: What kind of brush or roller should I use for chalk paint on cabinets?
A7: For a smooth finish, a high-quality synthetic bristle brush or a fine-density foam roller is recommended. Avoid cheap brushes that shed bristles.
Q8: How long does it take for chalk paint to cure?
A8: Chalk paint typically dries to the touch within an hour or two, but it takes about 3-4 weeks for the paint to fully cure and reach its maximum hardness. Avoid heavy use or aggressive cleaning during this curing period.
In conclusion, painting kitchen cabinets with chalk paint is a viable and popular option for a beautiful and updated look. By following proper chalk paint cabinet prep procedures, selecting the best chalk paint for cabinets, applying it meticulously, and crucially, using an effective chalk paint cabinet sealant, you can achieve a stunning and durable chalk paint cabinet finish that transforms your kitchen. Remember that attention to detail throughout the process, especially in the sealing stage, is key to ensuring long-lasting chalk paint cabinet durability.