Yes, you can absolutely spray paint kitchen cupboards! It’s a popular and effective way to give your kitchen a fresh, updated look without the high cost of replacing cabinets. This method offers a smooth, factory-like finish that is often superior to brush or roller application for a professional result.
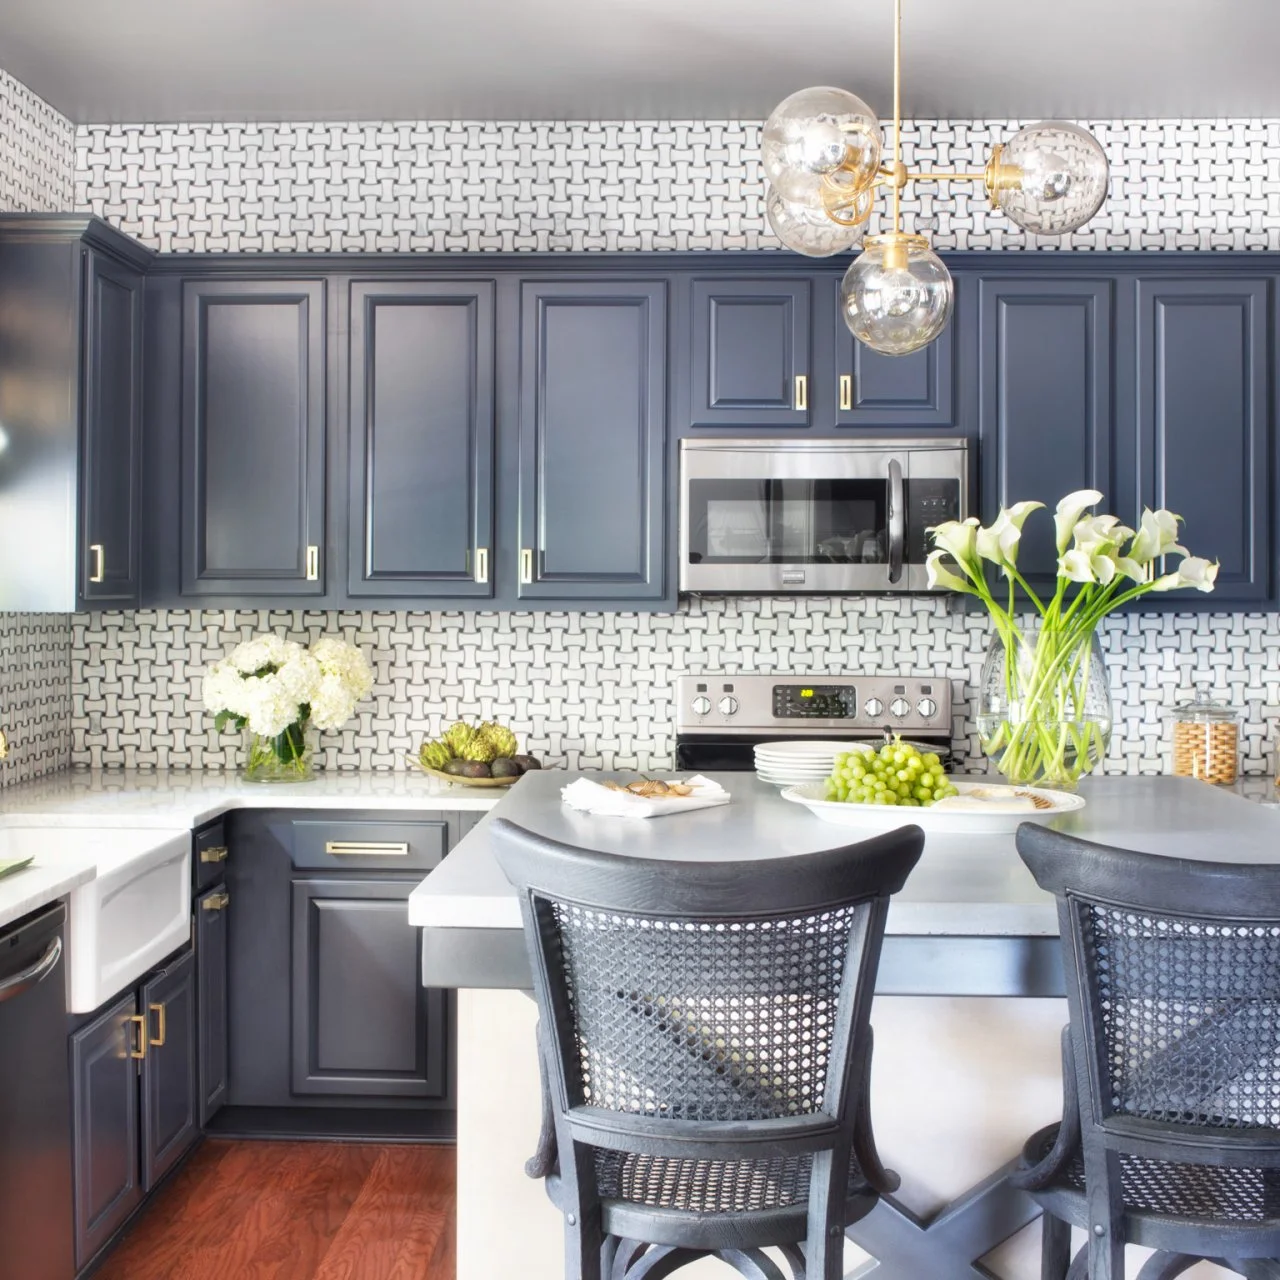
Image Source: hgtvhome.sndimg.com
Revitalizing Your Kitchen with Spray Paint
Are your kitchen cabinets looking a little tired? Do you dream of a modern update but balk at the thought of a full renovation? DIY cupboard painting using spray paint might be the perfect solution for you. This technique allows you to completely transform the look and feel of your kitchen, breathing new life into old, worn cabinets. Whether you have wood, laminate, or even older melamine surfaces, understanding the process can lead to stunning results.
The Allure of Spray Painting Cabinets
Kitchen cabinet refinishing via spray painting has gained immense popularity for several compelling reasons. The primary draw is the professional-quality finish it can achieve. Unlike brushing or rolling, spray paint application lays down a thin, even coat that minimizes brush strokes and roller marks, resulting in a smooth, sleek appearance. This makes it an excellent option for achieving that coveted showroom look right in your own home.
Beyond aesthetics, spray painting offers efficiency. Once you’ve mastered the technique, applying multiple thin coats can be faster than meticulously brushing or rolling, especially for intricate cabinet doors. It’s also a budget-friendly alternative to replacing cabinets or hiring professionals for a complete overhaul. For those seeking a dramatic change on a budget, spray paint for cabinets is a game-changer.
Cabinet Painting Pros and Cons: A Balanced View
Before you grab that spray can, it’s essential to weigh the advantages against the potential drawbacks. This will help you decide if spray painting is the right approach for your kitchen cabinet project.
Advantages of Spray Painting Kitchen Cabinets:
- Superior Finish: Achieves a smooth, even, factory-like finish with no brush strokes or roller marks.
- Efficiency: Can be faster than brush or roller application for large or intricate projects once you get the hang of it.
- Cost-Effective: Significantly cheaper than replacing cabinets or hiring professional painters.
- Versatility: Works on various materials, including wood, MDF, laminate, and even spray painting melamine cabinets, with proper preparation.
- Durable Results: When the right paint and techniques are used, spray-painted cabinets can be very durable.
Disadvantages of Spray Painting Kitchen Cabinets:
- Requires Significant Preparation: This is the most crucial and time-consuming step.
- Overspray: Creates overspray that can get on walls, floors, and surrounding areas, requiring careful masking.
- Ventilation Needs: Requires good ventilation, especially when using oil-based paints or in enclosed spaces.
- Learning Curve: There’s a slight learning curve to achieve an even spray pattern and avoid drips.
- Limited Color Changes (Sometimes): While versatile, drastically changing from dark to light can require more coats.
Deciphering the Best Spray Paint for Kitchens
Choosing the right spray paint for cabinets is paramount to achieving a durable and attractive finish. Not all spray paints are created equal, especially for a high-traffic area like a kitchen.
Key Paint Characteristics to Look For:
- Durability: Kitchen cabinets are subjected to daily wear and tear, including moisture, grease, and cleaning. The paint needs to withstand this.
- Adhesion: The paint must adhere well to the cabinet surface to prevent chipping or peeling.
- Finish: Most people opt for a satin or semi-gloss finish for cabinets, as it’s easier to clean and more resistant to moisture than a matte finish.
- Type of Paint:
- Enamel Paints: Often recommended for their hardness and durability. Many enamel spray paints are oil-based, which can offer excellent adhesion and a tough finish but require mineral spirits for cleanup and good ventilation.
- Acrylic Enamels: Offer good durability and flexibility, often with lower VOCs than traditional oil-based enamels. They clean up with water.
- Lacquers: Provide a very hard, smooth finish and dry quickly, but they can be more brittle and may require specialized spray equipment.
- Cabinet-Specific Sprays: Some brands offer spray paints formulated specifically for cabinets, often featuring excellent adhesion and a built-in primer.
Top Considerations for “Best Spray Paint for Kitchens”:
- Adhesion Promoters: Look for paints with excellent adhesion properties or consider a dedicated spray primer.
- Resistance to Moisture and Grease: Essential for kitchen environments.
- UV Resistance: Helps prevent fading over time from sunlight.
- Low VOCs (Volatile Organic Compounds): For better air quality during and after painting.
Table: Spray Paint Types for Kitchen Cabinets
| Paint Type | Pros | Cons | Best For |
|---|---|---|---|
| Oil-Based Enamel | Very durable, hard finish, excellent adhesion, good moisture resistance. | Strong fumes, requires mineral spirits for cleanup, longer drying time. | High-traffic areas, deep color changes, those prioritizing maximum durability. |
| Acrylic Enamel | Good durability, flexible, faster drying than oil, easier cleanup (water). | May not be as hard as oil-based, can be prone to scratching if not sealed. | General use, lighter colors, DIYers who prefer water cleanup, those sensitive to strong fumes. |
| Lacquers | Very fast drying, extremely hard finish, smooth application. | Can be brittle, may require specific sprayers, strong fumes, can be costly. | Professional results where speed and hardness are paramount, experienced users. |
| Cabinet-Specific Sprays | Formulated for adhesion and durability on cabinets, often hybrid formulas. | Can be more expensive, color selection might be more limited than general sprays. | Anyone seeking a paint specifically designed for cabinet longevity and a good finish. |
How to Spray Paint Cabinets: A Comprehensive Tutorial
This detailed cupboard painting tutorial will guide you through each step, ensuring a professional and lasting result. This is a project that requires patience and attention to detail, especially in the preparation phase.
Step 1: Planning and Gathering Supplies
Before you begin, lay out your plan and gather everything you need.
Essential Supplies:
- Spray Paint: Your chosen best spray paint for kitchens.
- Spray Primer: Crucial for adhesion, especially on laminate or melamine.
- Sanding Blocks/Sandpaper: Various grits (e.g., 120, 180, 220).
- Degreaser/TSP Substitute: For thorough cleaning.
- Rubbing Alcohol: For final surface cleaning.
- Painter’s Tape: High-quality tape for clean lines.
- Plastic Sheeting/Drop Cloths: To protect surrounding areas.
- Screwdriver/Drill: To remove cabinet doors and hardware.
- Clean, Lint-Free Cloths: For wiping down surfaces.
- Safety Gear: Respirator mask (essential for spray painting), safety glasses, gloves.
- Optional: Tack cloths, pre-paint degreaser.
Choosing Your Workspace:
- Well-Ventilated Area: Garage, outdoors (if weather permits), or a well-ventilated room.
- Clean and Dust-Free: Minimizing dust is key to a smooth finish.
- Space to Lay Out Doors: You’ll need a flat surface to paint the cabinet doors and drawer fronts.
Step 2: Preparing Kitchen Cabinets for Paint – The Foundation of Success
This is arguably the most critical step. Skipping or rushing preparation will lead to poor adhesion, chipping, and an unprofessional look.
- Remove Doors and Drawer Fronts: Unscrew all cabinet doors, drawer fronts, and any visible hardware. Keep them organized using labeled bags or containers to ensure they go back to the correct place.
- Remove Hardware: Take off hinges, knobs, and pulls.
- Clean Thoroughly: This is non-negotiable. Use a good degreaser or a TSP substitute to remove all grease, grime, and food residue. Kitchen cabinets accumulate a lot! Wipe down every surface, paying attention to corners and edges.
- Rinse and Dry: After degreasing, rinse the cabinets thoroughly with clean water and dry them completely with lint-free cloths.
- Light Sanding: Lightly scuff the surfaces to be painted with 180-grit or 220-grit sandpaper. This creates a “tooth” for the primer and paint to adhere to. Don’t try to remove the old finish; just dull the surface. For cabinets with a slick finish (like some laminates or melamine), you might need to use a bonding primer after sanding.
- Clean Again: After sanding, wipe down all surfaces with a tack cloth or a damp cloth (followed by a dry cloth) to remove all dust particles. A final wipe with rubbing alcohol can ensure a perfectly clean surface for primer.
- Masking: This is crucial for a clean finish. Use high-quality painter’s tape to mask off any areas you don’t want to paint, such as cabinet interiors (unless you’re painting them too), cabinet frames, countertops, appliances, and floors. Cover surrounding walls and furniture with plastic sheeting or drop cloths.
Step 3: Priming for Adhesion and Coverage
Priming is essential for ensuring your paint adheres properly and provides an even base color.
- Apply Primer: Choose a high-quality spray primer specifically designed for cabinets or the material of your cabinets (e.g., a bonding primer for laminate or melamine). Shake the can thoroughly and test on a scrap piece of material or an inconspicuous area.
- Spray in Thin, Even Coats: Hold the spray can about 10-12 inches away from the surface. Move your hand in a consistent, sweeping motion. Overlap each pass by about 50%. Avoid holding the can still, as this will cause drips.
- Allow Proper Drying Time: Let each coat of primer dry completely according to the manufacturer’s instructions. This is usually 15-30 minutes for spray primers.
- Light Sanding Between Coats (Optional but Recommended): After the first coat of primer has dried, lightly sand with very fine-grit sandpaper (220-320 grit) to smooth out any imperfections and further enhance adhesion. Wipe away dust with a tack cloth.
- Apply Second Coat of Primer (If Needed): If you’re making a drastic color change or have some surface imperfections, a second coat of primer might be beneficial.
Step 4: Spray Painting Your Kitchen Cabinets
Now for the main event! This step requires patience and a steady hand.
- Shake the Paint Can: Shake the spray paint can vigorously for at least two minutes. Stirring the ball inside is essential for mixing the pigment and propellant.
- Test Spray: Before spraying your cabinets, test the spray pattern on cardboard or a scrap piece of wood. Adjust your distance and speed to achieve an even mist.
- Apply Thin, Even Coats: Apply the first thin coat of your chosen spray paint for cabinets using the same technique as the primer: 10-12 inches away, consistent sweeping motion, 50% overlap.
- Allow Drying Time Between Coats: Let each coat dry completely as per the manufacturer’s instructions. This is crucial for building up a durable finish without runs or sags. For most spray paints, this means waiting at least 30 minutes to an hour between coats.
- Apply Multiple Coats: Most projects will require 2-4 thin coats for full coverage and durability. Don’t try to achieve full opacity in one go; this leads to drips.
- Light Sanding Between Coats (Optional but Recommended): For an ultra-smooth finish, you can lightly sand between paint coats with very fine-grit sandpaper (320-400 grit), especially if you notice any imperfections. Always wipe away dust with a tack cloth.
- Final Coat and Curing: Apply your final coat smoothly and evenly. Allow the paint to cure fully. Curing is a longer process than drying; it’s when the paint hardens completely. This can take several days to a week. During the curing period, be extra gentle with your cabinets, avoiding harsh cleaning or placing heavy items against them.
Step 5: Reassembly and Final Touches
- Reattach Hardware: Once the paint is fully cured, reattach your hinges, knobs, and drawer pulls.
- Rehang Doors: Carefully rehang the cabinet doors and reinsert drawers.
- Clean Up: Remove all painter’s tape and plastic sheeting. Clean your spray equipment (if using a sprayer or if the cans have nozzles that can be cleaned).
Spray Painting Melamine Cabinets: Special Considerations
Spray painting melamine cabinets presents unique challenges due to melamine’s slick, non-porous surface. Adhesion is the biggest concern.
- Preparation is Paramount: Melamine requires extra careful cleaning and degreasing. Any residual surface contaminants will prevent adhesion.
- Bonding Primer is Key: A high-quality bonding primer is essential. Look for primers specifically designed for laminate or slick surfaces. These primers are formulated to grip these challenging materials.
- Light Sanding: Even with a bonding primer, a light scuff-sanding of the melamine surface (using 220-grit sandpaper) before priming will greatly improve adhesion.
- Multiple Thin Coats: Expect to apply multiple thin coats of both primer and paint. Rushing the process or applying thick coats can lead to peeling.
- Durability: While achievable, the long-term durability of spray-painted melamine might not be as robust as on solid wood, especially in high-moisture areas. Consider a durable topcoat or a cabinet-specific enamel for added protection.
Ensuring a Durable Cabinet Paint Finish
The longevity of your painted cabinets depends on several factors, from the paint choice to the application technique.
- Choose the Right Paint: As discussed, opt for durable enamel or cabinet-specific paints.
- Proper Surface Preparation: This cannot be stressed enough. Clean, degreased, and lightly sanded surfaces are crucial for paint adhesion.
- Use a Quality Primer: A primer specifically designed for your cabinet material and for adhesion will make a significant difference.
- Apply Thin Coats: Thick coats are more prone to chipping and scratching. Thin, even coats build up a stronger film.
- Allow Adequate Drying and Curing Times: Patience here prevents premature wear and tear.
- Consider a Topcoat: For added protection, especially in high-moisture or high-traffic areas, a clear spray-on polyurethane topcoat can enhance durability and make cleaning easier. Choose a satin or semi-gloss finish to match your paint.
Frequently Asked Questions (FAQ)
Q1: How long does it take to spray paint kitchen cabinets?
A1: The actual spraying might take a day or two, but including prep, drying, and curing time, the entire project can take anywhere from 3 days to a week or more, depending on your pace and the number of coats.
Q2: Can I spray paint over existing cabinet finishes?
A2: Yes, provided the existing finish is clean, degreased, lightly sanded, and you use a good quality primer. Most finishes can be painted over with proper preparation.
Q3: Do I need a special spray gun or can I use aerosol cans?
A3: Aerosol cans (spray cans) are perfectly fine for DIYers and can yield great results. For very large projects or if you want ultimate control over the spray pattern, an HVLP (High Volume, Low Pressure) sprayer can be a worthwhile investment.
Q4: What’s the best way to clean spray paint overspray?
A4: Depending on the type of paint, you might be able to wipe away wet overspray with a damp cloth. For dried overspray, try a gentle cleaner and a soft cloth. For stubborn overspray on non-painted surfaces, mineral spirits (for oil-based) or rubbing alcohol might be effective, but always test in an inconspicuous area first.
Q5: Can I spray paint the inside of my kitchen cabinets?
A5: Yes, you can, but it requires extra masking of the exterior surfaces. Many people choose to paint only the interior shelves or leave the insides as they are to save time and effort.
Q6: How do I avoid drips when spray painting?
A6: Apply paint in thin, even coats. Hold the can 10-12 inches away from the surface and move your hand in a consistent, sweeping motion, overlapping each pass by about 50%. Avoid stopping and starting the spray mid-stroke. If a drip occurs, stop immediately, let it dry, and then gently sand it down before applying another thin coat.
Q7: Is it worth spray painting cabinets versus brushing or rolling?
A7: For a smooth, professional finish, spray painting is generally superior. Brushing and rolling can leave visible marks, which might be acceptable for some, but spray painting offers a more factory-like appearance.
Q8: What grit sandpaper should I use for kitchen cabinets?
A8: For scuff-sanding before priming, 180-220 grit is usually sufficient. For smoothing between coats of primer or paint, 320-400 grit is recommended.
By following these detailed steps and choosing the right materials, you can successfully spray paint kitchen cupboards and achieve a beautiful, updated look for your kitchen. It’s a rewarding DIY cupboard painting project that can dramatically enhance your home’s appearance and value.