Want to keep your kitchen tidy and your hands dry? Learn how to make a hanging kitchen towel! You can easily create a practical and attractive addition to your kitchen with these simple DIY methods. This tutorial covers both sewing and no-sew techniques, perfect for any skill level.
A hanging kitchen towel is more than just a way to dry your hands; it’s a functional accessory that can add a pop of color and personality to your kitchen decor. Tired of towels falling on the floor or cluttering your countertops? A hanging towel solves this problem elegantly. This guide will show you how to make a DIY kitchen towel that’s both useful and stylish, whether you’re a seasoned sewer or prefer no-sew crafts.
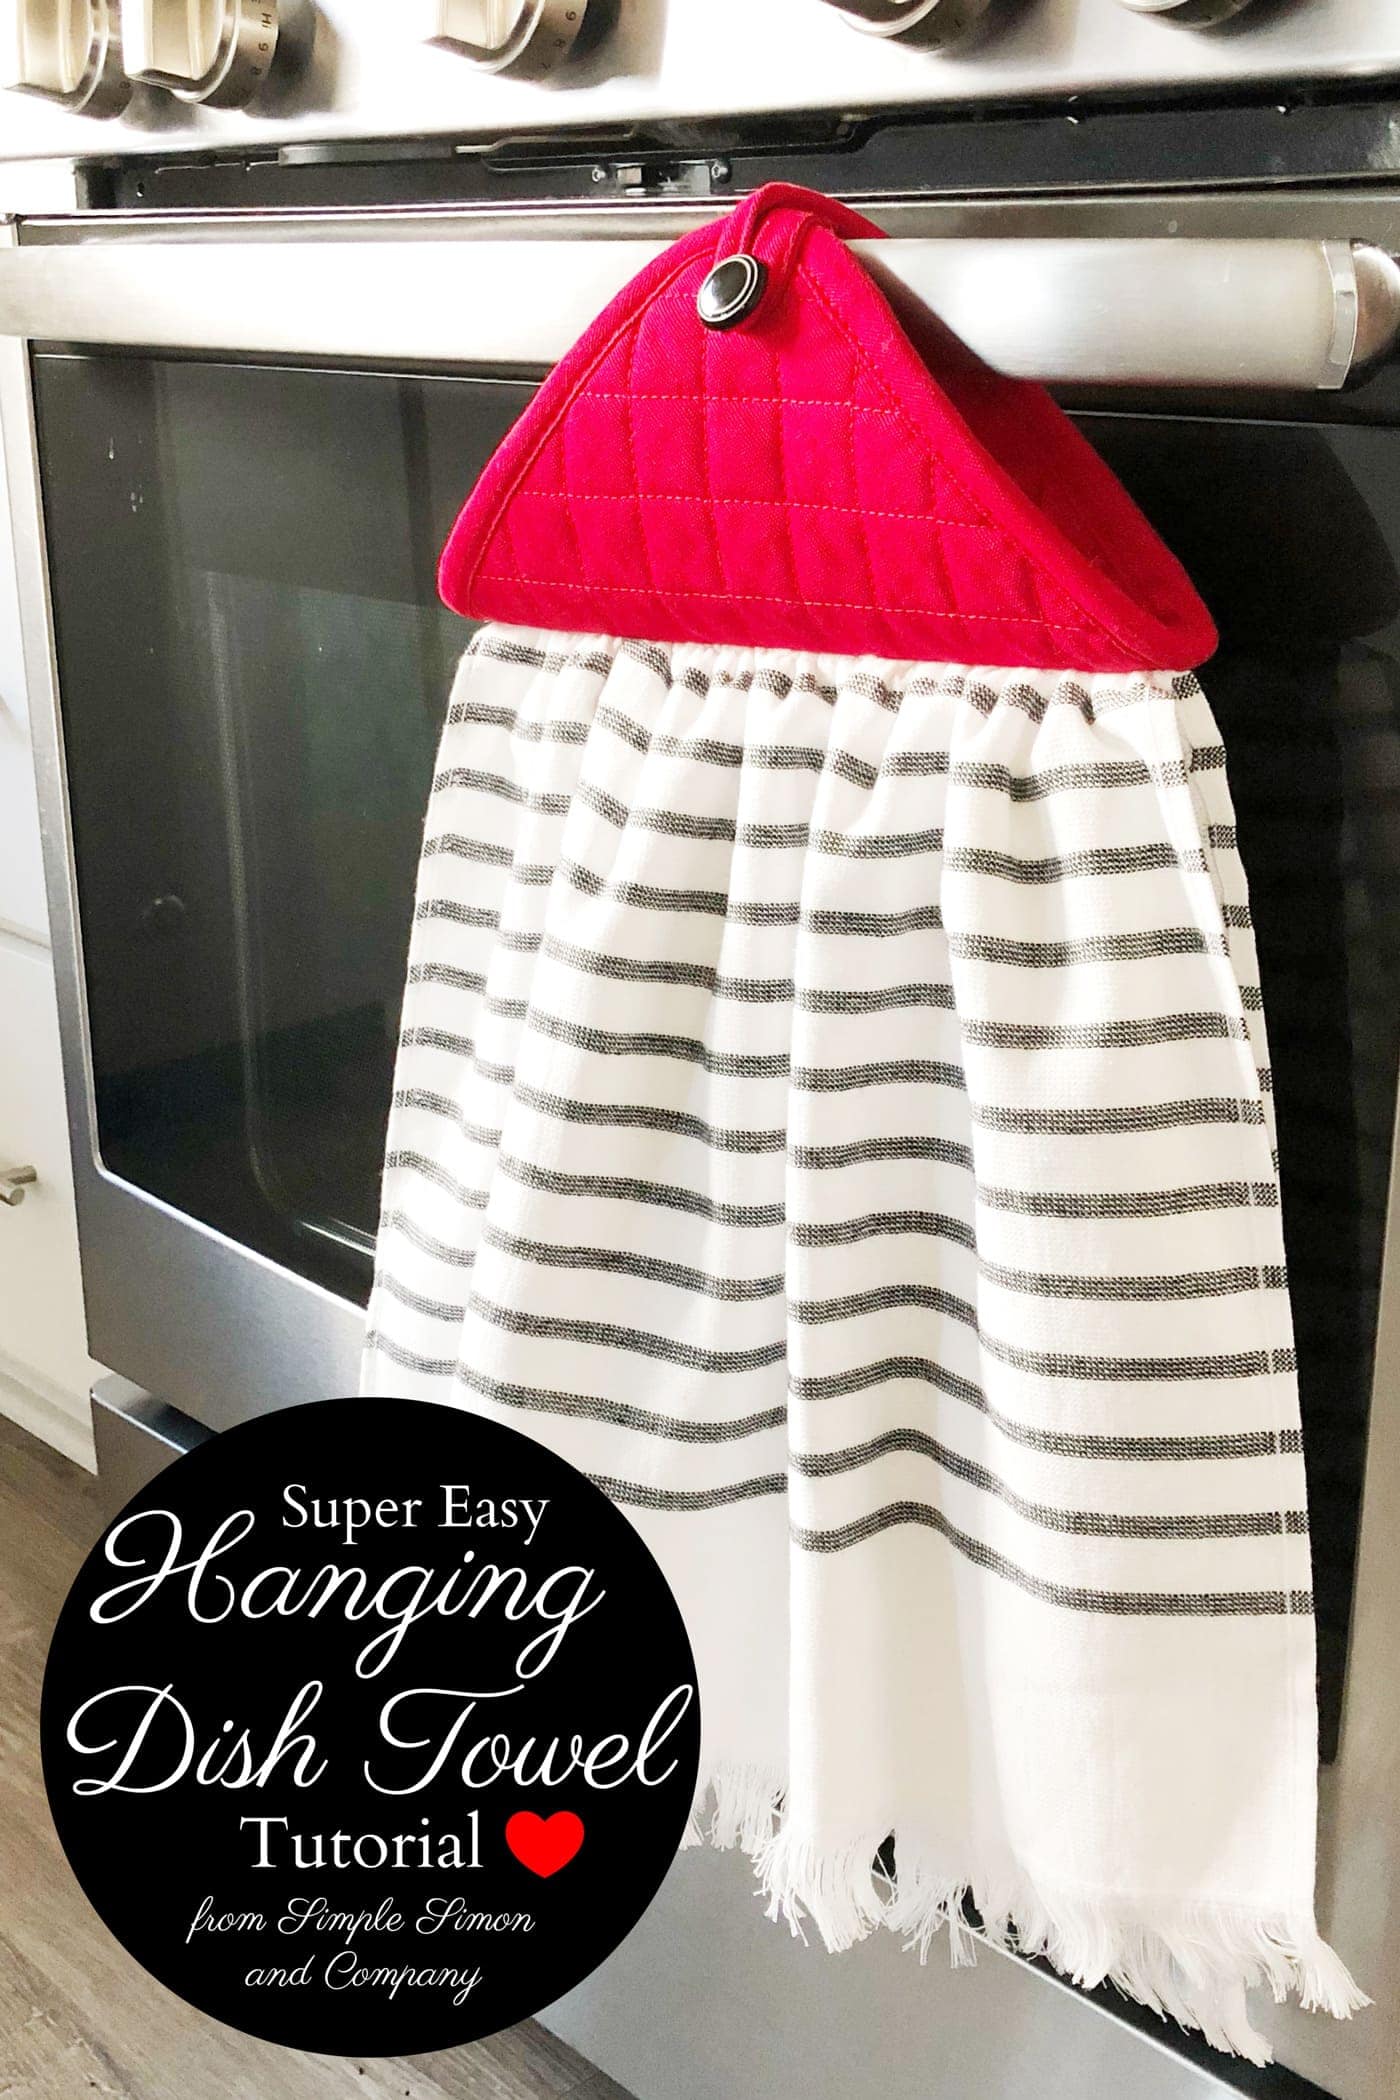
Image Source: www.polkadotchair.com
Why Make Your Own Hanging Kitchen Towel?
Creating your own reusable kitchen towel offers several advantages over buying one off the shelf.
- Customization: You choose the fabric, colors, and closure method to perfectly match your kitchen’s aesthetic.
- Cost-Effective: Using fabric scraps or inexpensive remnants can be much cheaper than purchasing a pre-made hanging towel.
- Skill Building: It’s a fantastic way to practice sewing or no-sew crafting skills.
- Eco-Friendly: Repurposing fabric reduces waste and contributes to a more sustainable lifestyle.
- Thoughtful Gifting: A handmade kitchen towel makes a charming and practical gift for friends and family.
This craft kitchen towel project is a quick and rewarding way to enhance your kitchen.
Benefits at a Glance
| Benefit | Description |
|---|---|
| Personalization | Select your favorite fabrics and designs. |
| Savings | Use leftover fabric or budget-friendly materials. |
| Skill Growth | Practice and improve your crafting abilities. |
| Sustainability | Reduce waste by reusing materials. |
| Gift Appeal | Create unique presents for loved ones. |
Planning Your Hanging Kitchen Towel
Before you start, consider a few key aspects of your hanging towel tutorial. This planning ensures your project is successful and meets your needs.
Choosing Your Towel Base
You have several options for the main part of your hanging kitchen towel:
- Dish Towels: Standard kitchen towels (cotton or terry cloth) are readily available and absorbent. You can use a new one or upcycle an older one.
- Terry Cloth Fabric: If you’re sewing, you can cut and hem your own terry cloth for a custom size.
- Flour Sack Towels: These are lightweight, absorbent, and have a nice drape, making them ideal for a more decorative towel.
- Fabric Scraps: Larger fabric scraps (cotton, linen blends) can be used to create decorative fronts or backs for your towel.
Deciding on the Hanging Mechanism
The way your towel hangs is crucial. Here are the most common methods:
- Button Closure: A classic and secure way to attach the towel.
- Snap Closure: Similar to a button, but uses snaps for a smooth finish.
- Velcro Closure: Offers easy on-and-off convenience.
- Loop Only: A simple fabric loop allows you to hang the towel on a hook or knob.
We’ll explore how to create these in detail.
Fabric Selection for Loops and Accents
If you’re adding decorative elements or creating a fabric loop, consider these fabric types:
- Cotton: Durable, easy to work with, and comes in endless patterns.
- Linen: Offers a natural, rustic look and good absorbency.
- Quilting Cotton: Perfect for adding colorful accents or binding.
Your chosen fabrics should complement your kitchen decor.
Method 1: The Sewn Hanging Kitchen Towel
This method involves some basic sewing techniques. If you’re new to sewing kitchen towel projects, this is a great beginner-friendly option.
What You’ll Need (Sewn Method):
- A kitchen towel (dish towel, flour sack towel, or terry cloth)
- A coordinating fabric for the hanging loop and any decorative band (about 4-6 inches wide and 12 inches long)
- Matching thread
- Sewing machine
- Fabric scissors
- Pins
- Iron and ironing board
- A button, snap, or Velcro (depending on your chosen closure)
- Needle (if using a button)
- Pencil or fabric marker
Step-by-Step: Sewn Hanging Towel with Button
This is a popular and secure way to make your towel hang.
Step 1: Prepare Your Towel
- Lay your kitchen towel flat.
- If your towel has a finished hem on one side, you’ll use that as the top edge. If not, you may want to hem all four sides for a neater finish before proceeding.
- Decide where you want the hanging loop to be positioned on the top edge of the towel. Usually, it’s centered.
Step 2: Create the Fabric Loop
- Take your coordinating fabric. Cut a rectangle approximately 2 inches wide and 10 inches long.
- Fold the fabric rectangle in half lengthwise, wrong sides together. Press the fold with your iron.
- Open the fabric. Fold each long raw edge in towards the center crease. Press again.
- Fold the fabric in half along the original center crease, enclosing the raw edges. You should now have a strip about 1/2 inch wide and 10 inches long, with all raw edges hidden.
- Press this folded strip firmly.
- Stitch along the open edge of the folded strip, about 1/8 inch from the edge. Stitch the other long edge as well. This creates a strong fabric loop.
Step 3: Attach the Loop and Button
- Take the fabric loop you just made. Fold it in half to create a loop, and place the raw ends at the center top edge of your kitchen towel. The loop should extend upwards, away from the towel.
- Pin the raw ends of the loop securely to the center top edge of the towel. Ensure the loop is pointing upwards.
- Using your sewing machine, stitch the loop to the towel with a sturdy stitch, such as a zig-zag stitch or a straight stitch reinforced with a few backstitches. Stitch across the base of the loop, ensuring it’s firmly attached.
- Now, decide where your button will go on the opposite end of the loop to secure it.
- Place the button on the towel, allowing the loop to overlap it. Mark the buttonhole position with a pencil or fabric marker.
- If your sewing machine has a buttonhole function, use it to create a buttonhole. If not, you can sew a small zig-zag stitch back and forth multiple times to create a sturdy opening.
- Sew the button securely to the towel, directly opposite the buttonhole.
Step 4: Finishing Touches
- Trim any excess threads.
- You can optionally add a decorative fabric band to the bottom of your towel. Cut a strip of fabric (e.g., 4 inches wide and the width of your towel). Hem the short ends, then fold the top raw edge down about 1/4 inch and press. Place this band along the bottom edge of the towel, wrong side of the band to the right side of the towel, and stitch along the top folded edge of the band. Fold the band down, press, and topstitch along the bottom edge of the band to secure it neatly.
Your sewing kitchen towel is now complete and ready to hang!
Step-by-Step: Sewn Hanging Towel with Snaps
Snaps offer a cleaner, more modern look than buttons for some kitchens.
Steps 1 & 2: Prepare Towel and Create Fabric Loop
Follow the same steps as above for preparing your towel and creating the fabric loop.
Step 3: Attach the Loop and Snaps
- Attach the fabric loop to the center top edge of your towel using your sewing machine as described in Step 3 of the button method.
- Determine where the snaps will be placed. One part of the snap will attach to the end of the loop, and the other part will attach to the towel below it.
- Follow the instructions that come with your snaps for attaching them. This usually involves a special tool or a sewing machine attachment.
- For pronged snaps: Place one part of the snap on the end of the loop and the other on the towel. Push the prongs through the fabric and use the tool to crimp them securely.
- For sew-on snaps: Position the snaps and stitch them firmly in place using your sewing machine or a needle and thread.
Step 4: Finishing Touches
Add decorative bands or hem edges as desired, just like in Step 4 of the button method.
Your quick kitchen towel project is almost done!
Method 2: The No-Sew Hanging Kitchen Towel
Don’t have a sewing machine or prefer a simpler approach? This no-sew method is perfect for you!
What You’ll Need (No-Sew Method):
- A kitchen towel (dish towel, flour sack towel)
- A coordinating fabric for the hanging loop (about 4-6 inches wide and 12 inches long)
- Fabric glue (strong, permanent fabric adhesive) or fusible webbing/iron-on adhesive
- Fabric scissors
- Pins
- Iron and ironing board (essential for fusible webbing)
- A button, snap, or Velcro closure
- A permanent fabric marker or pencil (for marking placement)
Step-by-Step: No-Sew Hanging Towel with Fabric Glue & Button
This is a straightforward way to create a functional hanging towel without any sewing.
Step 1: Prepare Your Towel and Fabric
- Lay your kitchen towel flat. Decide on the placement for your hanging loop.
- Cut your coordinating fabric for the loop: a rectangle approximately 2 inches wide and 10 inches long.
Step 2: Create the Fabric Loop (No-Sew)
- Fold the fabric rectangle in half lengthwise, wrong sides together. Press the fold.
- Open the fabric. Fold each long raw edge in towards the center crease. Press again.
- Fold the fabric in half along the original center crease, enclosing the raw edges. You’ll have a strip about 1/2 inch wide.
- Apply a thin, even line of fabric glue along the inside edge of one of the folded sides.
- Press the two folded sides together firmly. You might need to hold it in place for a minute or two until the glue starts to set.
- Apply fabric glue along the other long edge and press the fabric strip firmly together. Ensure all raw edges are enclosed.
- Allow the fabric glue to dry completely according to the product’s instructions. You can use clips or pins to hold it while it dries if needed. This creates your fabric loop.
Step 3: Attach the Loop and Button (No-Sew)
- Once the loop is dry and secure, fold it in half to form a loop.
- Apply fabric glue to the raw ends of the loop.
- Position the glued ends at the center top edge of your kitchen towel, with the loop extending upwards. Press firmly and hold until the glue adheres. You might need to use a clip to keep it in place while it dries.
- For the button closure: Place the button on the towel where the loop will overlap it. Use a permanent fabric marker to mark the spot for the button.
- Apply a generous amount of fabric glue to the back of the button and press it firmly onto the marked spot on the towel. Hold until set.
- To create a buttonhole effect, you can carefully cut a small slit in the fabric loop with sharp scissors where it will go over the button. Alternatively, you can attach a small piece of Velcro to the underside of the loop and the corresponding spot on the towel.
Step 4: Adding a No-Sew Decorative Band (Optional)
- Cut a decorative fabric strip (e.g., 4 inches wide and the width of your towel).
- Fold the top raw edge down about 1/4 inch and press.
- Apply fabric glue to the back of this folded edge and press it onto the bottom edge of your towel.
- Apply fabric glue along the bottom edge of the decorative strip and press it firmly onto the towel. Ensure all edges are secure.
- Allow ample drying time for all glued areas.
This no-sew kitchen towel is a fantastic and quick project!
Step-by-Step: No-Sew Hanging Towel with Fusible Webbing & Snaps
Fusible webbing is a great no-sew alternative to fabric glue for creating strong seams.
Steps 1 & 2: Prepare Towel and Create Fabric Loop
Follow the same steps as above for preparing your towel and creating the fabric loop using fabric glue or by carefully folding and ironing strips of fabric with fusible webbing in between. If using fusible webbing for the loop:
- Cut your fabric strip as before (2″ x 10″).
- Lay it flat, wrong side up. Place a strip of fusible webbing along the center lengthwise.
- Fold in the long raw edges to meet the center. Place another strip of fusible webbing on top to hold the folds.
- Fold the entire strip in half lengthwise to create the loop, with raw edges enclosed. Place a final strip of fusible webbing to secure.
- Press with a hot iron according to the fusible webbing instructions. This will fuse all layers together to create your loop.
Step 3: Attach Loop and Snaps (No-Sew)
- Attach the fabric loop to the towel using fabric glue or by ironing fusible webbing to secure the loop ends.
- For snaps: Follow the instructions for your specific snap type. Many no-sew snaps come with tools that allow you to press them into place without sewing. Attach one part to the end of the loop and the other to the towel.
Step 4: Finishing Touches
Add decorative bands using fabric glue or fusible webbing as described previously.
Advanced Techniques & Variations
Once you’ve mastered the basics, you can explore more advanced options for your craft kitchen towel.
Adding a Decorative Fabric Band
This is a popular way to add visual interest.
- Fabric Choice: Select a contrasting or complementary fabric.
- Cutting: Cut a strip of fabric the width of your towel and about 3-6 inches tall, depending on how wide you want the band.
- Preparation:
- Sewn: Hem the short sides of the band. Fold the top raw edge down 1/4 inch and press. Fold the bottom edge up about 1/2 inch and press.
- No-Sew: Fold the short sides of the band under by 1/4 inch and secure with fabric glue or fusible webbing. Fold the top raw edge down 1/4 inch and press. Fold the bottom edge up 1/2 inch and press.
- Attachment:
- Sewn: Place the prepared band right sides together with the bottom edge of your towel. Stitch along the bottom folded edge of the band. Fold the band down, press, and topstitch along the bottom edge of the band for a neat finish.
- No-Sew: Apply fabric glue to the top folded edge of the band and press it onto the bottom edge of the towel. Apply glue to the bottom folded edge and press it onto the towel. Ensure all edges are securely attached.
Using Velcro
Velcro offers the easiest on-and-off functionality.
- Attachment: Attach the fabric loop to the towel as usual.
- Velcro Placement: Cut two pieces of Velcro: one loop side and one hook side.
- Attachment Methods:
- Sewn: Stitch one piece of Velcro to the end of the loop and the corresponding piece to the towel below it.
- No-Sew: Use strong fabric glue or iron-on adhesive to attach the Velcro pieces to the loop and towel.
Hanging Loop Only
For a minimalist approach, simply create a sturdy loop.
- Loop Creation: Make a fabric loop as described in Method 1, Step 2. Ensure it’s well-constructed for durability.
- Attachment:
- Sewn: Pin the raw ends of the loop to the center top edge of your towel. Stitch securely in place with multiple passes of your sewing machine.
- No-Sew: Use strong fabric glue to attach the loop ends to the towel. Ensure the glue creates a very strong bond.
This hanging towel tutorial can be adapted for your preferred style.
Towel Care and Maintenance
To keep your handmade hanging kitchen towel looking great, follow these care tips:
- Washing: Wash in a washing machine on a gentle cycle with cold or warm water.
- Drying: Tumble dry on low heat or air dry. Terry cloth towels can become stiff if dried at high heat.
- Ironing: Iron on the appropriate heat setting for the fabric. Avoid ironing directly over buttons or snaps if possible.
Proper care will ensure your reusable kitchen towel lasts a long time.
Frequently Asked Questions (FAQ)
Here are some common questions about making hanging kitchen towels.
Q1: What is the best fabric for a hanging kitchen towel?
A1: Cotton is generally the best choice due to its absorbency, durability, and ease of washing. Terry cloth is excellent for absorbency, while flour sack or linen blends are good for lighter, more decorative towels.
Q2: Can I use an old towel to make a new hanging towel?
A2: Absolutely! Upcycling old towels is a fantastic way to be eco-friendly and save money. Just ensure the towel is clean and in reasonably good condition. You might need to trim off any frayed edges.
Q3: How wide should the fabric loop be?
A3: A fabric loop that is about 1/2 inch wide when finished is usually a good size. This provides enough strength without being too bulky.
Q4: How do I make sure the fabric glue is strong enough?
A4: Always use a high-quality, permanent fabric glue designed for textiles. Follow the product’s instructions carefully regarding application and drying time. For extra security, you can sometimes reinforce glued areas with a few hand stitches.
Q5: What is the quickest way to make a hanging kitchen towel?
A5: The no-sew method using fabric glue and a simple loop without extra embellishments is generally the quickest quick kitchen towel project. Adding a button or snap might add a few extra minutes.
Q6: Can I make a hanging towel without a button or snap?
A6: Yes, you can create a towel with just a loop. This loop can then be used to hang the towel on a hook, handle, or knob.
Q7: What if my sewing machine doesn’t have a buttonhole stitch?
A7: You can create a functional buttonhole by using a tight zig-zag stitch on your machine. Sew back and forth over the marked slit several times to build up a strong edge that the button can pass through.
Q8: How wide should the towel be for this project?
A8: Standard kitchen towels are usually around 16-18 inches wide. The fabric loop attaches to one of the shorter ends, so the width of the towel doesn’t significantly impact the hanging mechanism.
Q9: Can I use knit fabric for the loop?
A9: Yes, you can use knit fabric for the loop, but it might stretch more than woven fabric. Ensure you use a stretch stitch or zig-zag stitch if sewing to prevent the stitches from breaking. For no-sew methods, fabric glue should work well, but ensure it’s flexible once dry.
Q10: Where can I buy fabric for these projects?
A10: You can find fabrics at local craft stores, fabric shops, and online retailers like Amazon, Etsy, or specialized fabric websites. Remnants bins are also great places to find affordable fabric scraps.
By following these simple steps and creative ideas, you can easily make your own stylish and functional hanging kitchen towels. Enjoy your new DIY kitchen towel!