Can you extend a kitchen island? Yes, you absolutely can extend a kitchen island! This is a fantastic way to boost functionality and improve the flow of your kitchen. Extending a kitchen island is a popular kitchen renovation project for homeowners looking to gain more workspace, storage, or seating.
Is your kitchen feeling a bit cramped? Do you find yourself constantly wishing for more counter space or a better place to eat your morning cereal? If so, you’re not alone. The kitchen island is often the heart of the home, a central hub for cooking, socializing, and even homework. But what happens when your current island just isn’t cutting it anymore? The answer is simple: extend it!
This guide will walk you through everything you need to know about how to extend your kitchen island. We’ll cover various kitchen island extension ideas, from simple DIY modifications to more involved kitchen island renovations. Whether you’re looking to add a little extra counter space, incorporate a dining area, or simply increase your kitchen island size, we’ve got you covered.
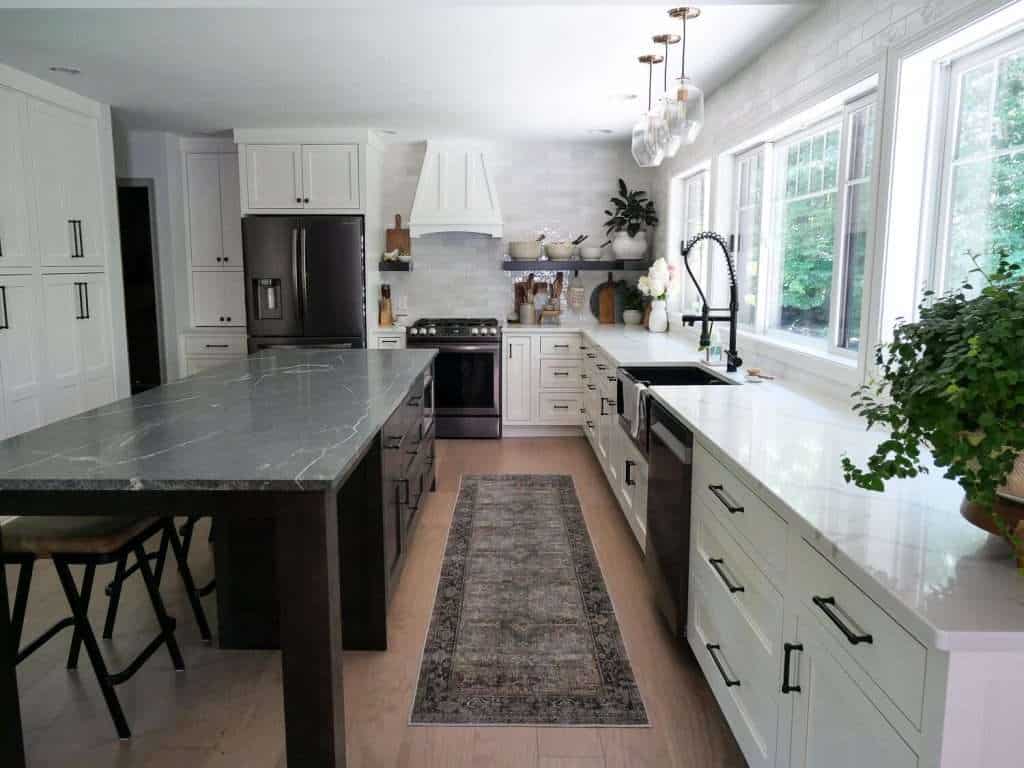
Image Source: graceinmyspace.com
Why Extend Your Kitchen Island?
Before diving into the “how,” let’s explore the compelling reasons why extending your kitchen island might be the perfect solution for your home:
- Increased Workspace: More counter space means more room for prepping meals, baking, and spreading out ingredients. This is especially beneficial for those who love to cook or entertain.
- Enhanced Storage: Extending your island can provide opportunities to add more cabinets, drawers, or open shelving, tackling your kitchen’s storage woes.
- Additional Seating: A larger island can easily accommodate bar stools or a breakfast bar, creating a casual dining spot and encouraging family interaction.
- Improved Kitchen Flow: A well-extended island can better define kitchen zones, creating a more logical and efficient layout.
- Aesthetic Upgrade: A custom-extended island can be a stylish focal point, enhancing the overall look and feel of your kitchen.
- Higher Home Value: Kitchen renovations, especially those that improve functionality like extending an island, can significantly boost your home’s market value.
Planning Your Kitchen Island Extension
A successful kitchen island expansion begins with careful planning. Rushing this stage can lead to costly mistakes and a less-than-ideal outcome.
Assessing Your Current Space and Needs
Start by looking at your existing kitchen layout.
- Measure Everything: Accurately measure your current island’s dimensions (length, width, height). Also, measure the surrounding floor space to ensure you have enough clearance for movement once the island is extended. Aim for at least 36 inches of clearance around the island for comfortable walking and working.
- Identify Your Goals: What do you primarily want to achieve by extending your island? More prep space? Seating? Storage? Knowing your main objectives will guide your design choices.
- Consider Traffic Flow: Ensure your extension won’t obstruct pathways to doors, appliances, or other key areas of your kitchen.
- Electrical and Plumbing: Does your current island have electrical outlets? Will your extension require new outlets or plumbing (e.g., for a sink)? Factor in the cost and complexity of any electrical or plumbing work.
Choosing the Right Extension Style
There are many ways to add countertop space to your kitchen island or increase its overall dimensions. Your choice will depend on your needs, budget, and the existing style of your kitchen.
Popular Kitchen Island Extension Ideas
- Simple Countertop Extension: This is the most straightforward method, involving adding a section of countertop to one or more sides of the existing island. This is great for adding just a bit more prep space or a small overhang for casual seating.
- Adding a Peninsula: If your island is currently in the center of the kitchen, you could extend it outwards from one end to create a peninsula. This connects the island to a wall or cabinet run, effectively increasing your counter space and potentially adding seating.
- Extending with a Drop-Leaf or Pull-Out: These are great solutions for smaller kitchens or those who don’t need a permanent large island. A drop-leaf section folds down when not in use, while a pull-out extension slides out from under the main countertop.
- Incorporating a Table Extension: This involves attaching a table or a specially designed extension that can serve as a dining area or a larger workspace. This is ideal for creating a multi-functional kitchen island table extension.
- Adding a Second Tier or Waterfall Countertop: This can add visual interest and functional space. A waterfall countertop flows down the side of the island, adding a modern touch, while a second tier can create a distinct prep area and seating zone.
Material Selection
The material you choose for your extended countertop is crucial for both aesthetics and functionality.
Common Countertop Materials and Their Suitability for Extensions
| Material | Durability | Maintenance | Cost (Est.) | Notes for Extension |
|---|---|---|---|---|
| Granite | Very High | Low | $$$ | Durable, heat resistant, many color options. |
| Quartz | Very High | Very Low | $$$ | Non-porous, stain-resistant, consistent look. |
| Marble | Moderate | Moderate | $$$$ | Beautiful, but porous and prone to etching/staining. |
| Butcher Block | Moderate | Moderate | $$ | Warm look, good for chopping, needs regular sealing. |
| Laminate | Moderate | Low | $ | Affordable, wide variety of styles, less heat resistant. |
| Solid Surface | High | Low | $$ | Seamless appearance, repairable, can scratch. |
When extending, try to match your existing countertop material for a cohesive look. If that’s not possible or desirable, choose a complementary material that enhances your kitchen’s design.
Budgeting for Your Project
Extending a kitchen island can range from a budget-friendly DIY project to a significant investment.
- DIY vs. Professional: A simple DIY countertop extension with laminate might cost a few hundred dollars. Hiring professionals for a granite extension with custom cabinetry could easily run into thousands.
- Material Costs: The price of your chosen countertop material will be a major factor.
- Labor Costs: If you’re not doing it yourself, factor in the cost of cabinet makers, countertop installers, electricians, and plumbers.
- Permits: Check with your local building department to see if any permits are required for structural modifications or electrical work.
Methods for Extending Your Kitchen Island
Now, let’s get into the practical ways you can achieve your kitchen island expansion.
DIY Kitchen Island Modification: Simple Extensions
If you’re comfortable with basic DIY skills, you can often tackle smaller extensions yourself.
Adding a Simple Countertop Extension
This is a popular approach for those looking to add countertop space without major structural changes.
- Prepare the Existing Island: Ensure the side you’re extending from is structurally sound. If your island has a cabinet base, you might need to remove an existing panel or modify a cabinet to accommodate the extension.
- Cut and Fit Your New Countertop Section: Measure and cut your chosen countertop material to the desired size. Many home improvement stores offer custom cutting services for materials like laminate or quartz.
- Install Support: Depending on the length of the extension and the material used, you’ll need adequate support. This could involve:
- Cabinet Brackets: For shorter extensions or lighter materials.
- Under-Counter Brackets: Mounted to the existing island’s frame.
- Knee Brackets: Decorative brackets that also serve as support, often used for overhangs.
- Adding a Support Leg: For longer overhangs or heavier materials like stone, a decorative leg or a support leg integrated into the design might be necessary.
- Attach the Countertop: Secure the new countertop section to the supports using adhesive or screws, depending on the material and manufacturer’s recommendations.
- Finishing Touches: Seal any seams, especially with natural stone or butcher block, and ensure all edges are smooth and finished.
Incorporating a Kitchen Island Table Extension
This method can transform your island into a versatile dining and prep area.
- Design the Extension: Decide on the shape and size of your table extension. It could be a simple rectangular slab or a more elaborate design with curved edges.
- Build or Purchase a Support Structure: You might need to build a custom cabinet or frame to support the table extension. Alternatively, you can purchase pre-made table legs or a pedestal base.
- Attach the Table Extension: Securely fasten the table extension to the support structure and the existing island. Ensure it’s level and stable.
- Consider Movability: For some designs, the table extension might be on casters or have a folding mechanism to allow for flexibility.
Professional Kitchen Island Renovation: Expanding Size and Functionality
For larger projects or when dealing with heavier materials like granite or quartz, professional help is often recommended.
Extending Kitchen Island Size with Cabinetry
This involves extending the physical footprint of the island by adding new cabinet sections.
- Design and Cabinet Fabrication: Work with a cabinet maker to design and build new cabinet boxes that match your existing island. This is crucial for a seamless look.
- Demolition and Preparation: If necessary, remove any existing decorative panels or sections of the island. Ensure the floor is prepped for the new footprint.
- Structural Reinforcement: The existing island frame will likely need to be reinforced to support the added weight and size.
- Assembly and Installation: New cabinet sections are attached to the existing island and leveled.
- Countertop Installation: The new, larger countertop is then measured, fabricated, and installed. This often requires specialized tools and expertise, especially for stone materials.
Adding Seating to Your Kitchen Island
A common goal of extending is to create a breakfast bar or seating area.
- Overhang: Ensure you have sufficient countertop overhang for comfortable seating. Typically, 10-12 inches of clear knee space is recommended for counter-height stools and 15-18 inches for bar-height stools.
- Support is Key: Longer overhangs will require robust support, such as metal brackets hidden beneath the countertop or decorative legs.
- Stool Clearance: Leave enough space between stools for comfortable access and movement.
Kitchen Island Countertop Extension: Beyond Simple Adds
This can involve more complex designs that integrate the extension seamlessly.
- Waterfall Edge: Extending the countertop material down the side of the island creates a sleek, modern look. This requires precise fabrication and careful installation.
- Integrated Cutting Boards or Drop-In Features: You can incorporate custom features like pull-out cutting boards or designated spaces for small appliances when extending your island.
- Island Expansion Methods: Consider adding a curved extension for a softer look or an L-shaped extension to create a distinct work zone.
Considerations for Specific Extension Projects
- Increasing Kitchen Island Dimensions: If you’re significantly increasing the size, think about how it will impact your kitchen’s overall layout and whether you have enough floor space.
- Kitchen Island Renovation: This term often implies a more comprehensive update, which might include new cabinets, countertops, and potentially moving plumbing or electrical.
- Kitchen Island Countertop Extension: This focuses specifically on the surface area. You might extend just the countertop without altering the cabinet base significantly.
Frequently Asked Questions (FAQ)
Q1: How much space do I need around my kitchen island?
You generally need at least 36 inches (about 91 cm) of clear space around your kitchen island for comfortable movement and to allow cabinet doors and appliance doors to open fully. For high-traffic areas or areas where multiple people will be working, 42-48 inches is even better.
Q2: Can I match my existing countertop exactly?
If your original countertop is a standard material like laminate or a common granite pattern, you might be able to find a very close match. However, natural stones like granite and marble have unique patterns, making an exact match difficult. Sometimes, a complementary material or a slight variation can create a more intentional and attractive look.
Q3: What is the most affordable way to extend my kitchen island?
The most affordable method is usually a DIY countertop extension using laminate or a less expensive solid surface material. Adding a simple drop-leaf section can also be cost-effective.
Q4: Do I need an overhang for seating? How much?
Yes, an overhang is necessary for comfortable seating. For counter-height stools (about 36 inches high), aim for a 10-12 inch overhang. For bar-height stools (about 42 inches high), you’ll need a 15-18 inch overhang.
Q5: Will extending my island require a permit?
This depends on your local building codes. If your extension involves significant structural changes, moving electrical wiring, or adding plumbing, you will likely need a permit. It’s always best to check with your local building department before starting any major renovations.
Q6: How do I support a long countertop extension?
For extensions that provide seating overhang, you’ll need adequate support. Options include:
* Hidden Brackets: Metal brackets mounted to the existing island frame and underneath the countertop.
* Knee Brackets: Decorative brackets that are visible from the seating side.
* Support Legs: A standalone leg or a decorative furniture-style leg can provide essential support for longer spans. The type of support needed depends on the countertop material’s thickness and weight, as well as the length of the extension.
Q7: What if my island is L-shaped? Can I extend it?
Yes, you can extend an L-shaped island. You can extend either leg of the ‘L’ or even add an extension to both sides, creating a larger, more functional workspace or seating area. The planning and support considerations will be similar to extending a rectangular island.
Q8: How do I make sure the extended island fits my kitchen’s style?
Consider the following:
* Material Match: Try to match or complement your existing cabinetry and countertop materials.
* Color Palette: Choose colors that harmonize with your kitchen’s overall color scheme.
* Style Elements: If your island has decorative trim or a specific design style, try to replicate it in the extension.
* Proportion: Ensure the extended island’s size is proportionate to your kitchen’s overall dimensions. An island that is too large can make the kitchen feel cramped.
By carefully planning and choosing the right methods, extending your kitchen island can be a rewarding project that significantly enhances your kitchen’s functionality and your enjoyment of your home.