Can you paint kitchen cabinets without cleaning them first? No, you absolutely cannot paint kitchen cabinets without thoroughly cleaning them first. Proper cleaning is the most crucial step in kitchen cabinet prep to ensure your paint job adheres well and lasts. What is the best way to clean kitchen cabinets before painting? The best way involves a multi-step process of cleaning, degreasing, and ensuring a smooth surface.
Painting your kitchen cabinets can dramatically update your home’s look and feel, but a beautiful finish starts with meticulous kitchen cabinet surface preparation. Skipping this vital step is a recipe for peeling paint, uneven finishes, and a less-than-professional result. This comprehensive guide will walk you through the process of cleaning kitchen cabinets for painting, ensuring your DIY project shines. We’ll cover everything from identifying the best kitchen cabinet cleaning solutions to effectively degrease kitchen cabinets and prepare them for a flawless coat of paint.
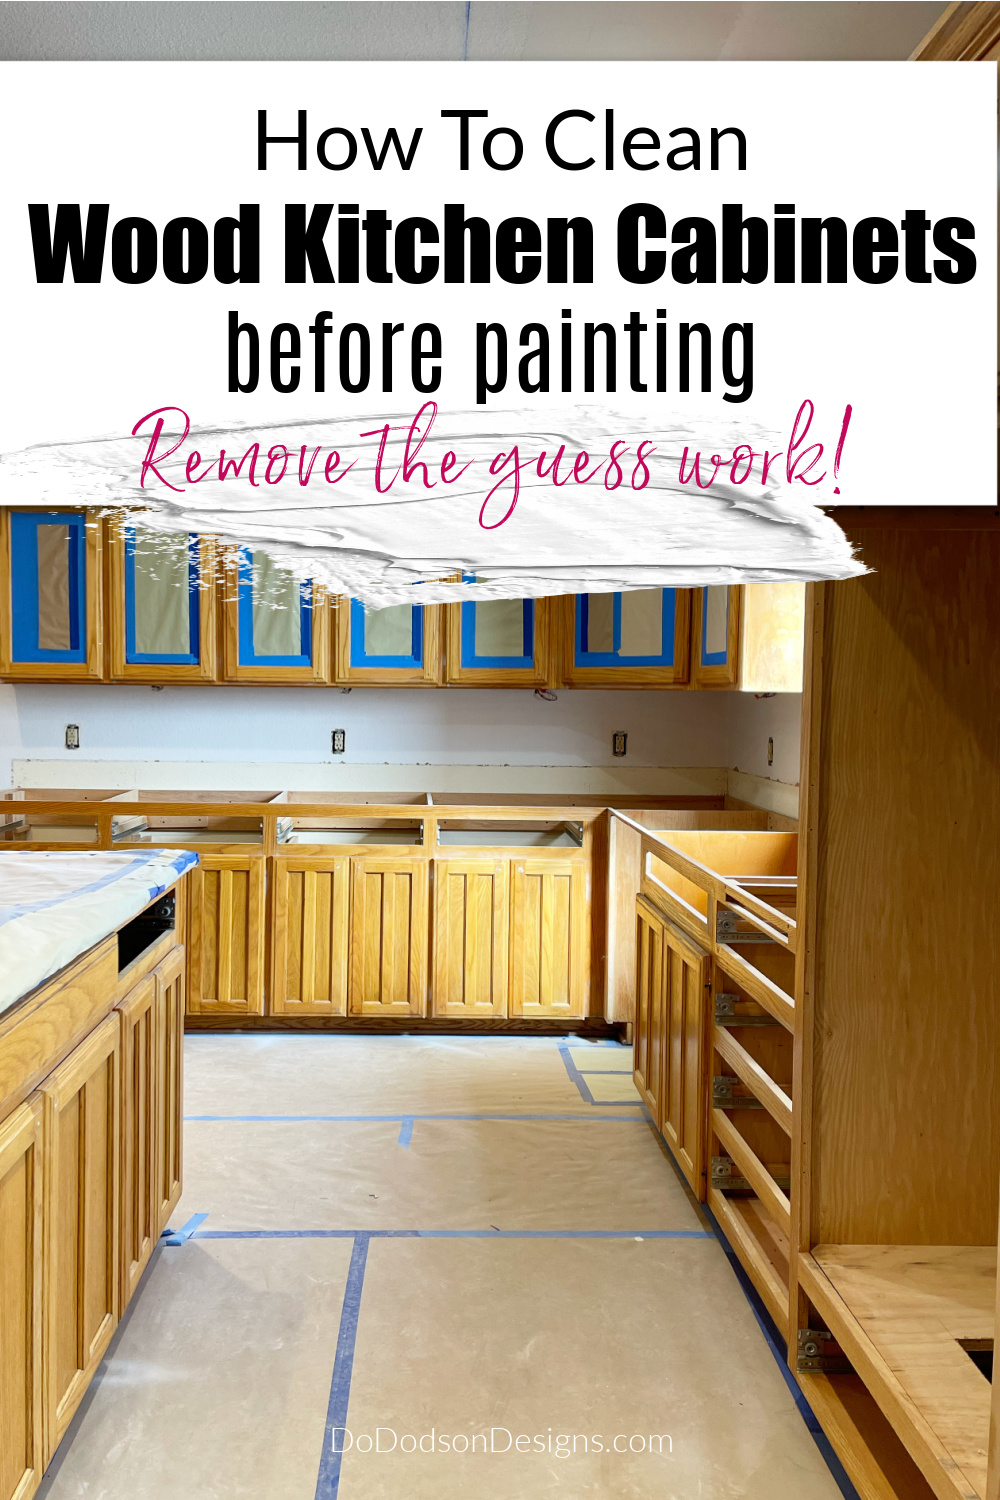
Image Source: www.dododsondesigns.com
Why Proper Cleaning is Essential
Before we dive into the “how,” let’s talk about the “why.” Your kitchen cabinets are constantly exposed to a variety of substances that can compromise a paint finish:
- Grease and Grime: Cooking splatters, steam, and general kitchen activity lead to a buildup of grease and dirt. This film prevents paint from adhering properly.
- Food Residue: Tiny food particles can stick to cabinets, especially around handles and seams.
- Fingerprints and Hand Oils: Frequent touching leaves oils that act as a barrier to paint adhesion.
- Dust and Debris: Airborne particles settle on surfaces, creating an uneven base.
- Old Finishes (if applicable): If cabinets have a previous wax or polish, it needs to be removed.
Failing to address these issues means your new paint might crack, chip, or peel prematurely. It’s like trying to build a house on a shaky foundation – it’s destined to fail. Effective kitchen cabinet cleaning solutions tackle these problems head-on.
Step 1: Gather Your Supplies
Having all your supplies ready before you begin makes the kitchen cabinet prep process much smoother. Here’s what you’ll need:
- Screwdriver or Drill with Bits: To remove cabinet doors and hardware.
- Buckets: At least two – one for your cleaning solution and one for rinse water.
- Microfiber Cloths: Plenty of them! They are soft and absorbent.
- Sponges: Non-abrasive sponges are ideal.
- Stiff Brush or Old Toothbrush: For getting into nooks and crannies.
- Degreaser: A good quality kitchen degreaser is key for removing grease from kitchen cabinets. Options include:
- Commercial Kitchen Degreasers: Many brands are specifically formulated for this purpose.
- Dish Soap: A strong dish soap like Dawn can be surprisingly effective.
- TSP (Trisodium Phosphate) Substitute: A more heavy-duty option for tough grease. Always follow safety precautions and wear gloves and eye protection if using TSP or its substitutes.
- Mild All-Purpose Cleaner: For lighter cleaning or as a follow-up.
- Rubbing Alcohol (Isopropyl Alcohol): Excellent for a final wipe-down to remove any lingering residue and to help paint adhere.
- Protective Gear: Gloves, safety glasses, and old clothes are essential.
- Drop Cloths or Tarps: To protect your floor and countertops.
- Plastic Wrap and Painter’s Tape: To cover any areas you don’t want to clean or paint.
Step 2: Remove Cabinet Doors and Hardware
This is a crucial part of cleaning kitchen cabinet doors effectively. Painting doors while they are still attached to the cabinet boxes is difficult and will result in a less professional, uneven finish.
- Label Everything: As you remove each door, use painter’s tape and a pen to label it. Mark both the door and its corresponding cabinet frame location. For example, “Upper Left Door,” “Lower Right Drawer Front.” This will save you a headache when it’s time to rehang them.
- Remove Hardware: Use your screwdriver or drill to carefully remove hinges, knobs, and pulls. Place all hardware in a plastic bag or container, clearly labeled with the corresponding door number. This keeps everything together and prevents loss.
- Organize Doors: Lay out your cabinet doors on a protected surface. A clean floor covered with drop cloths, or sawhorses, works well. You can also lean them against a wall if space is limited, but ensure they are stable.
Step 3: Initial Dusting and Vacuuming
Even if your cabinets look clean, there’s likely a fine layer of dust or debris.
- Dusting: Use a dry microfiber cloth to wipe down all surfaces of the cabinet doors and frames.
- Vacuuming (Optional but Recommended): If your vacuum has a brush attachment, go over all surfaces, especially around edges and grooves. This removes loose particles that might just get smeared around with a cloth.
Step 4: The Degreasing Process: Removing Grease is Key
This is where the real kitchen cabinet prep happens. You need to degrease kitchen cabinets thoroughly. This step is vital for achieving a smooth, durable paint finish.
Choosing Your Kitchen Cabinet Cleaning Solution
The best cleaner for cabinets before painting will depend on the level of grease buildup.
- For Light Grease and Grime: A solution of warm water and a few drops of a good quality dish soap (like Dawn) is often sufficient.
- For Moderate to Heavy Grease:
- Commercial Kitchen Degreaser: Follow the product instructions carefully.
- TSP Substitute Solution: Mix according to the package directions. This is a powerful cleaner that can cut through stubborn grease. Always wear gloves and eye protection when using TSP or its substitutes. Ensure good ventilation.
- For Stubborn Spots: Rubbing alcohol can sometimes help lift particularly tenacious grease spots, but use it sparingly and test in an inconspicuous area first.
The Degreasing Technique: Washing Kitchen Cabinets for Paint
This method focuses on effectively degrease kitchen cabinets without damaging the surface.
-
Prepare Your Cleaning Station:
- Fill one bucket with your chosen cleaning solution.
- Fill the second bucket with clean, warm water for rinsing.
- Have your microfiber cloths and sponges ready.
-
Clean in Sections: Work on one cabinet door or a section of the cabinet frame at a time. This prevents the cleaning solution from drying on the surface.
-
Apply the Cleaner:
- Dip a clean microfiber cloth or sponge into the cleaning solution.
- Wring it out well so it’s damp, not soaking wet.
- Wipe down the entire surface of the cabinet door or frame. Apply gentle pressure.
- Use a soft-bristled brush or an old toothbrush to get into any crevices, corners, or around hardware holes.
-
Rinse Thoroughly:
- Immediately after cleaning a section, take a clean microfiber cloth dipped in plain warm water.
- Wring it out well.
- Wipe down the entire cleaned section to remove any cleaning solution residue.
- It’s important to rinse thoroughly, as leftover cleaner can also interfere with paint adhesion. You might need to rinse your cloth and repeat the wiping process a couple of times for each section.
-
Dry Immediately: Use a clean, dry microfiber cloth to dry the surface completely. Do not let water or cleaning solution air dry on the cabinets, as this can lead to water spots or damage.
-
Inspect and Repeat if Necessary: After drying, inspect the surface. If you still see greasy streaks or feel a slick residue, repeat the cleaning and rinsing process. Removing grease from kitchen cabinets is paramount.
What is the best cleaner for cabinets before painting?
The best cleaner for cabinets before painting is generally a good quality kitchen degreaser. For less severe grease, a strong dish soap mixed with warm water works well. For very tough, baked-on grease, a TSP substitute is a powerful option, but always follow safety instructions. For a final clean, rubbing alcohol is excellent for removing any last traces of residue and ensuring optimal adhesion.
Step 5: Dealing with Stubborn Stains and Marks
Sometimes, a good degreasing isn’t enough. You might encounter:
- Water Stains: For minor water stains, a paste of baking soda and water can sometimes lift them. Apply, let sit for a few minutes, then gently scrub and rinse.
- Paint Splatters or Adhesive Residue: A plastic scraper can often lift these. For adhesive, mineral spirits or a dedicated adhesive remover might be necessary, but test in an inconspicuous spot first as these can sometimes damage finishes.
Step 6: Sanding for Adhesion – A Crucial Step in Preparing Cabinets for Refinishing
Sanding is often the most overlooked but arguably the most critical part of preparing cabinets for refinishing or painting. It creates a “tooth” for the new paint to grip onto.
Why Sand?
- Creates a Profile: Sanding creates microscopic scratches on the cabinet surface, allowing the new paint to bond securely.
- Levels Imperfections: It can help smooth out minor bumps or imperfections.
- Removes Faint Residue: Even after washing, a very faint, almost invisible layer of grime might remain. Sanding removes this.
Sanding Technique: Cleaning Wood Cabinets Before Painting
When cleaning wood cabinets before painting, sanding is a vital addition to the cleaning process.
- Choose the Right Sandpaper: For most cabinet surfaces, start with a medium-grit sandpaper (around 120-150 grit). If the surface is very smooth or has a glossy finish, you might need to start with a slightly coarser grit (like 100 grit) for the initial pass, but then follow up with 120-150. For a final smooth finish before painting, a finer grit (180-220) is often used after priming.
- Sanding by Hand vs. Electric Sander:
- Hand Sanding: This offers the most control, especially for detailed areas, raised panels, and edges. Use a sanding block to ensure even pressure.
- Electric Sander (Orbital Sander): Can speed up the process for flat door panels, but be very careful not to over-sand or create an uneven surface. It’s generally not recommended for intricate details.
-
Sanding Technique:
- Sanding Doors: Sand each cabinet door in the direction of the wood grain. Apply light to moderate pressure. The goal is to scuff the surface, not remove the original finish entirely (unless you’re stripping it down to bare wood, which is a different process).
- Sanding Cabinet Frames: Carefully sand the cabinet frames, again following the grain. Use your sanding block or folded sandpaper for edges and corners.
- Nooks and Crannies: Use folded sandpaper or a sanding sponge for areas that are hard to reach.
-
Wipe Away Dust: This is crucial! After sanding, a fine dust will cover everything.
- Vacuum: Use your vacuum with a brush attachment to remove the bulk of the dust.
- Tack Cloth: This is the best way to remove sanding dust from kitchen cabinets. A tack cloth is a pliable, sticky cloth designed to pick up fine dust particles. Wipe down every surface thoroughly with a tack cloth. You may need several.
Step 7: Final Wipe Down with Rubbing Alcohol
For the ultimate kitchen cabinet surface preparation before priming and painting, a final wipe with rubbing alcohol is highly recommended.
- Purpose: Rubbing alcohol (isopropyl alcohol) evaporates quickly and effectively removes any residual dust, oils, or cleaning solution that might still be on the surface. It also helps to etch the surface slightly, promoting better adhesion.
- Technique:
- Dampen a clean microfiber cloth with rubbing alcohol.
- Wipe down every surface of the cabinet doors and frames.
- Allow the surface to dry completely. It should only take a minute or two.
Step 8: Inspect Your Work
Before you even think about picking up a paintbrush, take a good look at your prepared cabinets.
- Feel the Surface: Run your hand over the cabinets. They should feel smooth, not greasy or gritty.
- Look for Residue: Check for any remaining dust, smudges, or streaks.
- Check for Damage: Ensure you haven’t accidentally sanded through the finish in any areas, creating bare spots (unless this was your intention for a specific look).
If you find any issues, address them now. A quick re-wipe or touch-up sanding might be necessary. This is your last chance to ensure perfect kitchen cabinet prep before the paint goes on.
Table: Cleaning Supplies Checklist
| Item | Purpose | Notes |
|---|---|---|
| Screwdriver/Drill | Remove hardware and doors | Ensure you have the correct bits. |
| Buckets (2) | Hold cleaning solution and rinse water | |
| Microfiber Cloths | Wiping, drying, applying cleaner | Have plenty on hand. |
| Sponges (non-abrasive) | Scrubbing and applying cleaner | |
| Stiff Brush/Toothbrush | Clean crevices and corners | |
| Kitchen Degreaser | Remove grease from kitchen cabinets | Dish soap, commercial degreaser, or TSP substitute. |
| Mild All-Purpose Cleaner | Lighter cleaning or follow-up | |
| Rubbing Alcohol | Final degreasing and residue removal | Evaporates quickly, aids adhesion. |
| Gloves | Protect hands from cleaners and dust | Chemical-resistant for strong cleaners. |
| Safety Glasses | Protect eyes from splashes | |
| Drop Cloths/Tarps | Protect floors and countertops | |
| Painter’s Tape | Masking and labeling | |
| Sandpaper (120-220 grit) | Create surface tooth for paint adhesion | Choose grit based on cabinet finish. |
| Sanding Block | Even sanding pressure | |
| Tack Cloth | Remove fine sanding dust | Essential for a dust-free surface. |
| Plastic Scraper | Remove old paint or adhesive | Use carefully to avoid scratching. |
Frequently Asked Questions About Cleaning Kitchen Cabinets for Painting
Q1: Do I need to remove the cabinet doors to clean them?
A: Yes, it is highly recommended to remove cabinet doors and drawers. This allows for thorough cleaning of all surfaces, edges, and even the areas behind the hinges, ensuring a more professional and even paint finish. Trying to clean and paint with doors attached can lead to drips, missed spots, and a less durable result.
Q2: What is the best cleaner for cabinets before painting if they are very greasy?
A: For heavily greased cabinets, a strong kitchen degreaser or a TSP (Trisodium Phosphate) substitute mixed with warm water is most effective. Dish soap, especially a grease-cutting variety like Dawn, can also work for moderately greasy surfaces. Always test your cleaner in an inconspicuous area first.
Q3: Can I use magic erasers to clean kitchen cabinets before painting?
A: While Magic Erasers can be effective at removing some stains and grime, they are mildly abrasive. If used too aggressively, they can dull or even damage the cabinet’s original finish. If you choose to use one, do so very gently and with a light touch, and follow up with a proper degreaser and rinse. It’s generally safer to stick with softer cleaning methods like cloths and sponges.
Q4: How long should I wait for cabinets to dry after cleaning?
A: After your final cleaning steps (especially with rubbing alcohol), allow the cabinets to dry completely for at least a few hours, or ideally overnight, before proceeding to prime and paint. Ensuring the surface is bone dry is critical for proper adhesion.
Q5: Do I need to clean the inside of my kitchen cabinets before painting?
A: If you plan to paint the inside of your cabinets, then yes, you absolutely need to clean them thoroughly, just as you would the exterior. However, many people opt to only paint the exterior and leave the interior as is, or line it. If you are only painting the exterior, you can skip cleaning the interior.
Conclusion: The Foundation of a Flawless Paint Job
Mastering the art of cleaning kitchen cabinets for painting is the bedrock of a successful cabinet refinishing project. By diligently following these steps, from removing hardware to the final wipe-down, you create an ideal surface that will welcome your new paint with open arms. This thorough kitchen cabinet prep ensures that your hard work translates into a beautiful, durable finish that will enhance your kitchen for years to come. Remember, patience and attention to detail in this cleaning phase are your greatest allies in achieving professional-looking results. Happy painting!